Build Address Book For Templates
Create and use Objects and connect them with your Templates.
 15 min | 6 Tasks
Task 2 Create Object properties
You may notice Address book has already appeared in the top menu. But before going there we need to create properties.
- Make sure you are in the Properties section of the Objects and click the Create button.
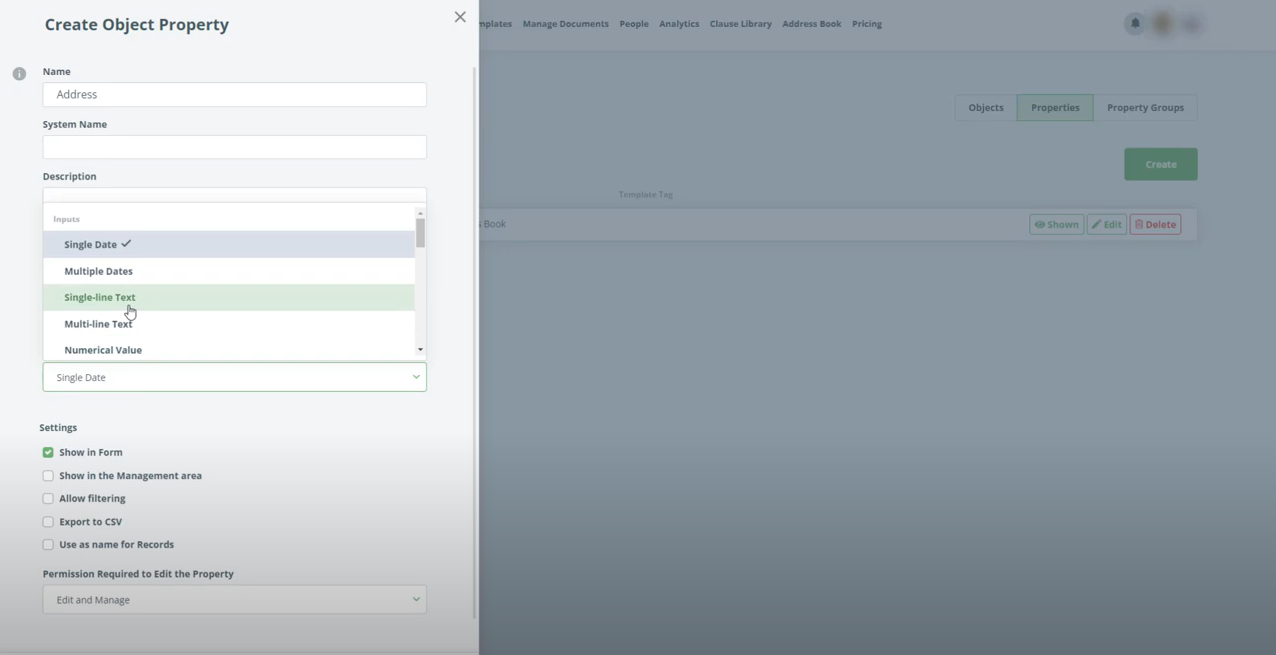
- Add “Address” to the Name field. Change the Property Type to “Single-line Text”
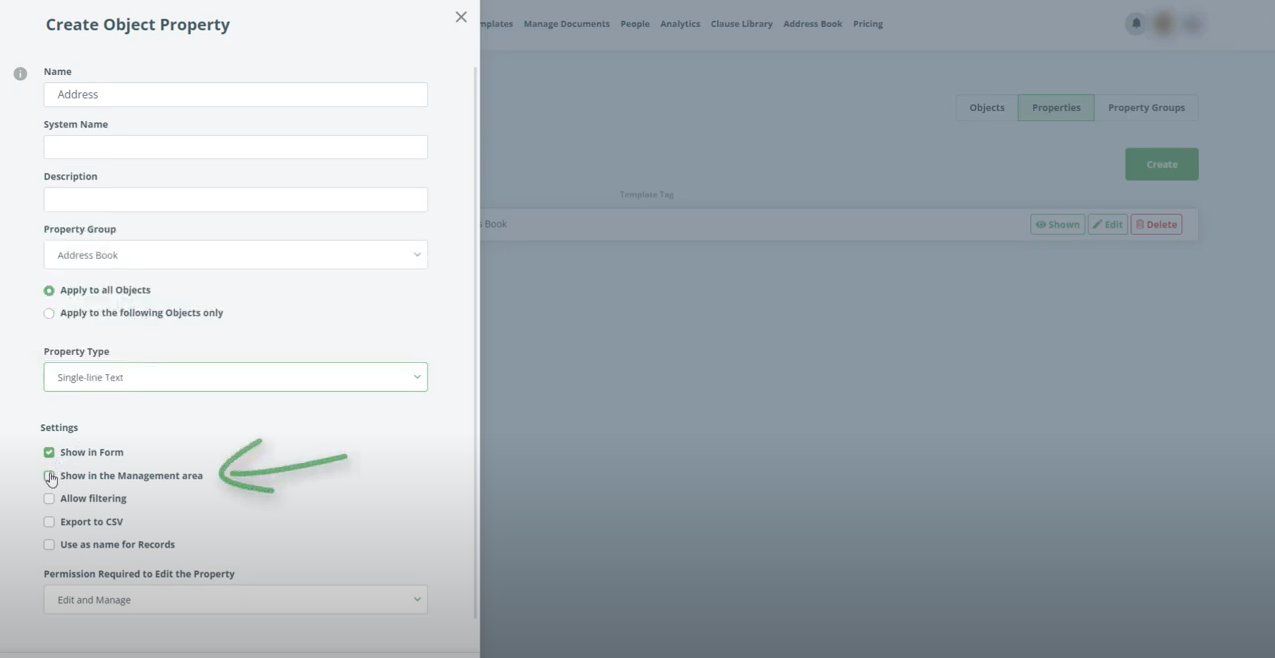
- Check the Checkbox “Show in Document Management area”
- Click Create
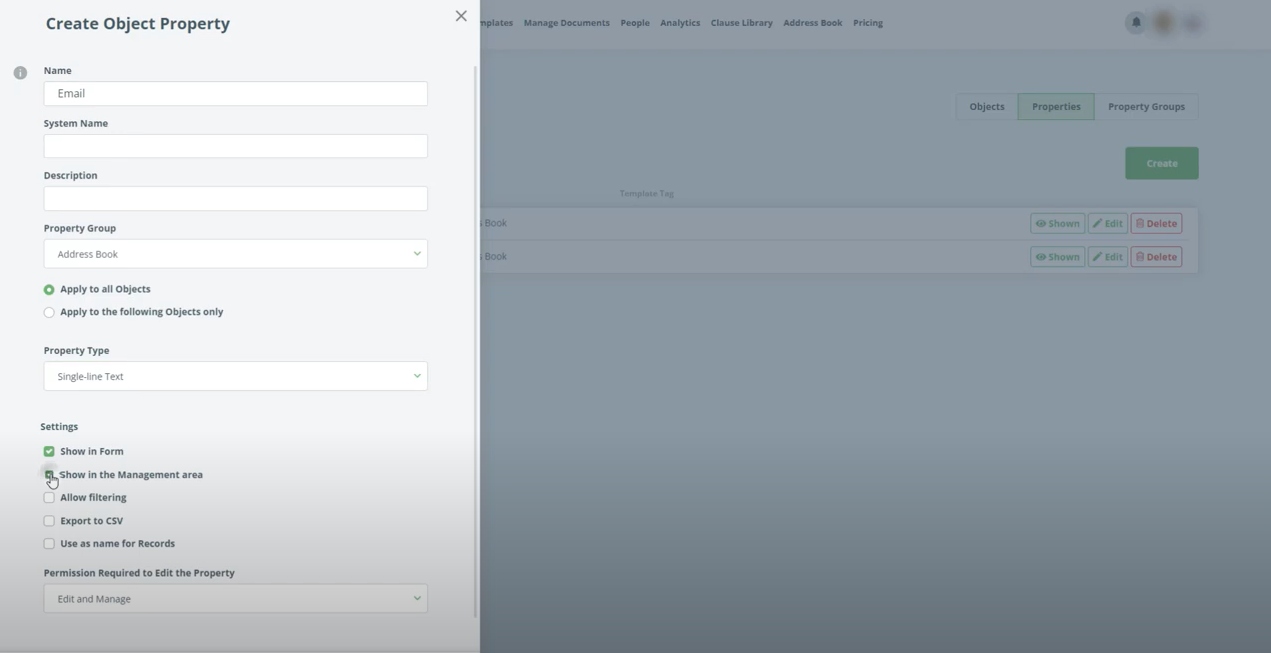
- Create additional property “Email” the same way.
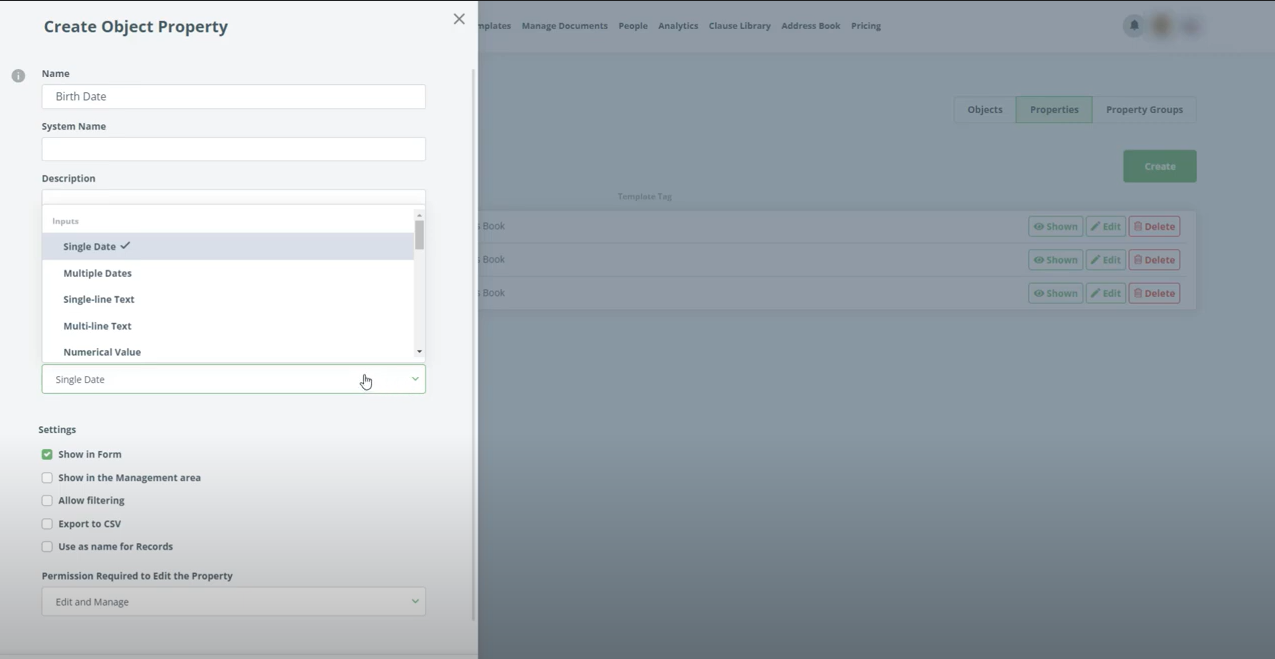
- Create a property “Birth date” the same way as previous properties, just use Property Type “Single Date”
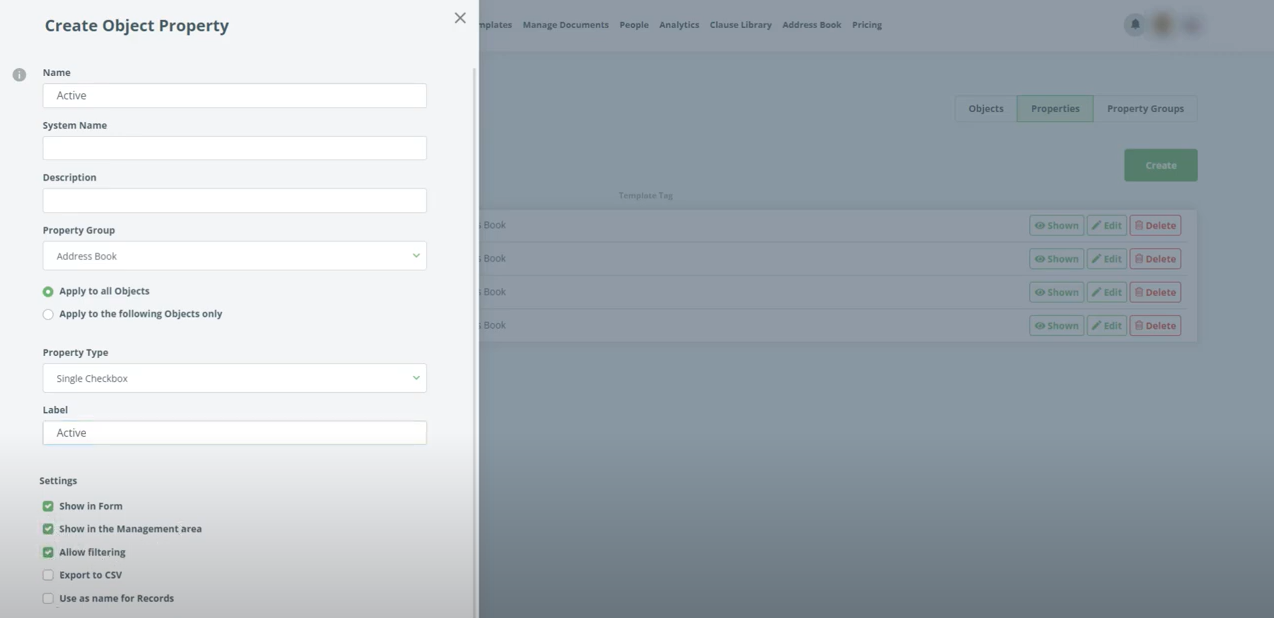
- Create a property “Active” the same way as previous properties, just use Property Type “Single Checkbox” and fill in the field Label value “Active” and Check the Checkbox to “Allow filtering”
Step-by-Step Guide
Step 1: Click the Create Button
Make sure you are in the Properties section of the Objects and click the Create button.

Step 2: Add "Address" to the Name field
Add “Address” to the Name field. Change the Property Type to “Single-line Text”
Check the Checkbox “Show in Document Management area”.
Click Create.
Step 3: Create additional property “Email” the same way.
Create additional property “Email” the same way.
Step 4: Create a property "Birth date"
Create a property “Birth date” the same way as previous properties, just use Property Type “Single Date”.
Step 5: Create a property “Active”
Create a property “Active” the same way as previous properties, just use Property Type “Single Checkbox” and fill in the field Label value “Active” and Check the Checkbox to “Allow filtering”.