Build Project Management Application
Create and use Objects and connect them with your Templates.
Task 4 Create New Properties
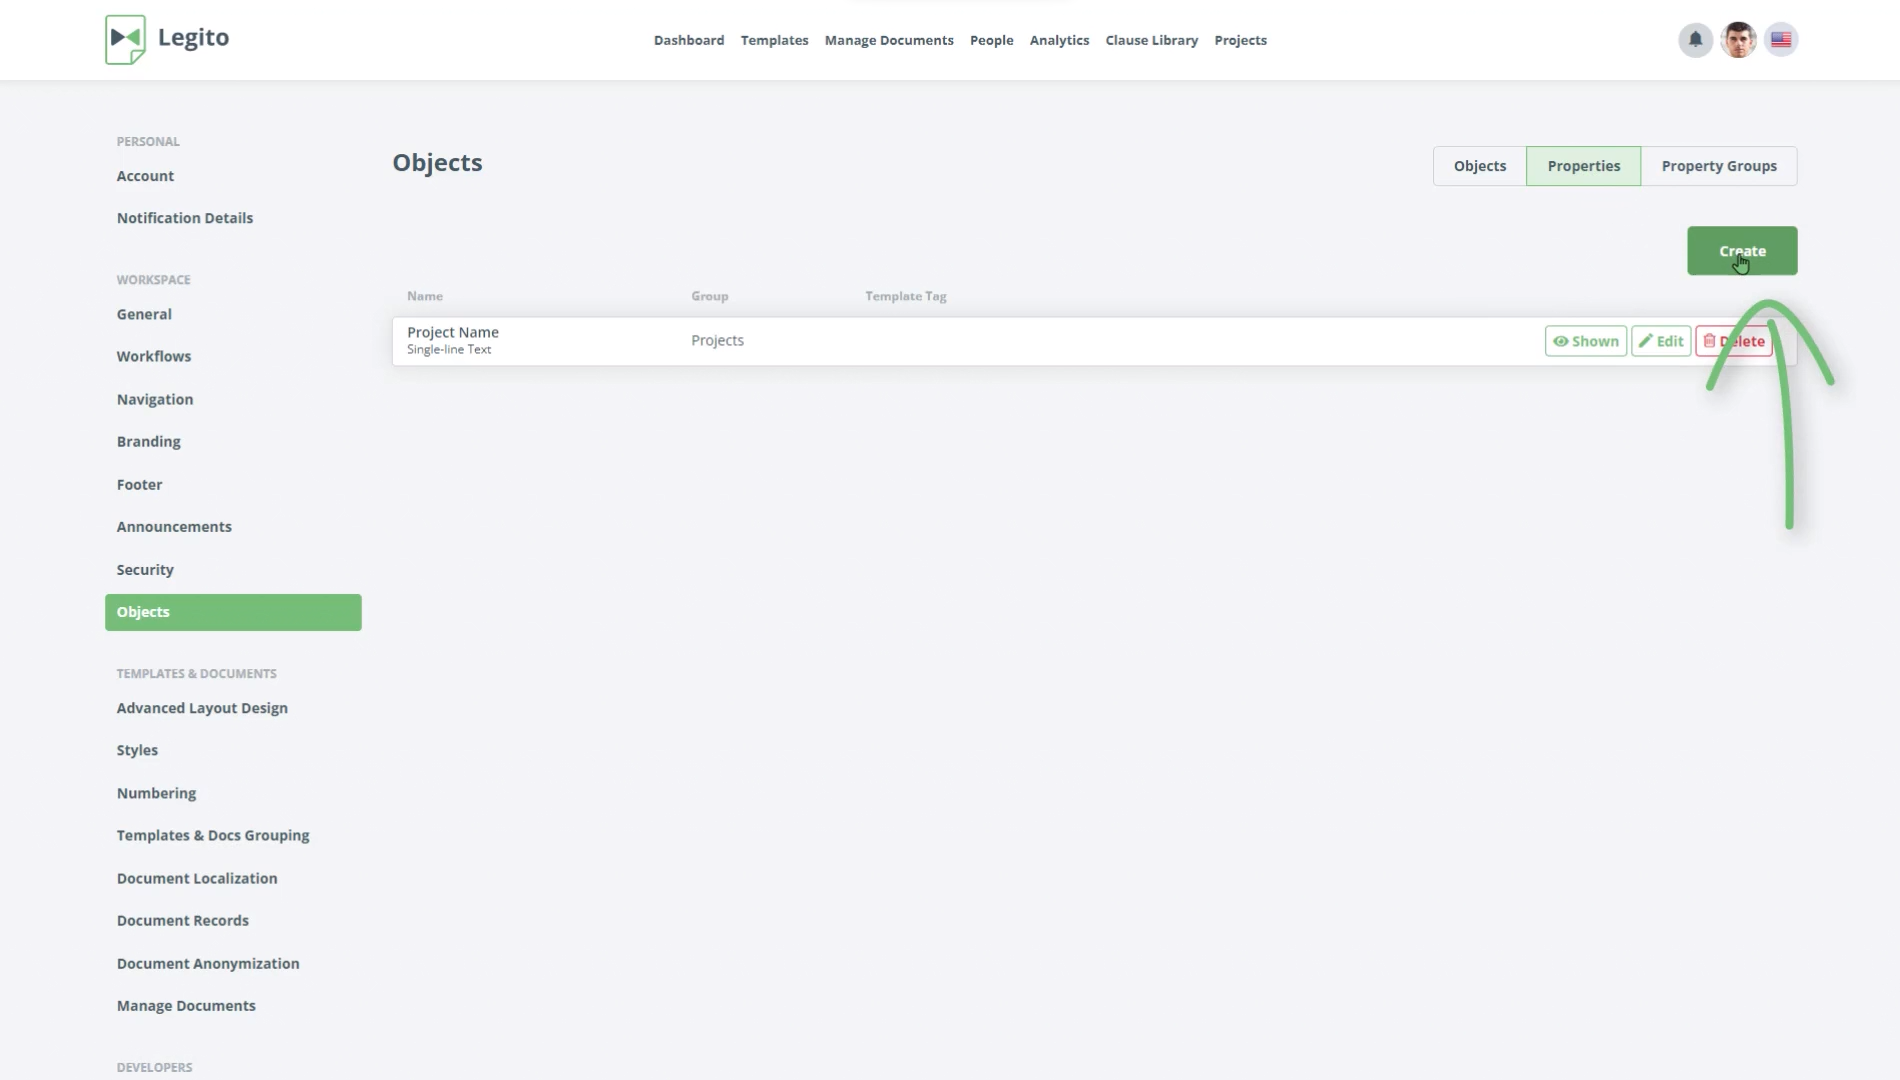
- Now click the Create button to add a new property.
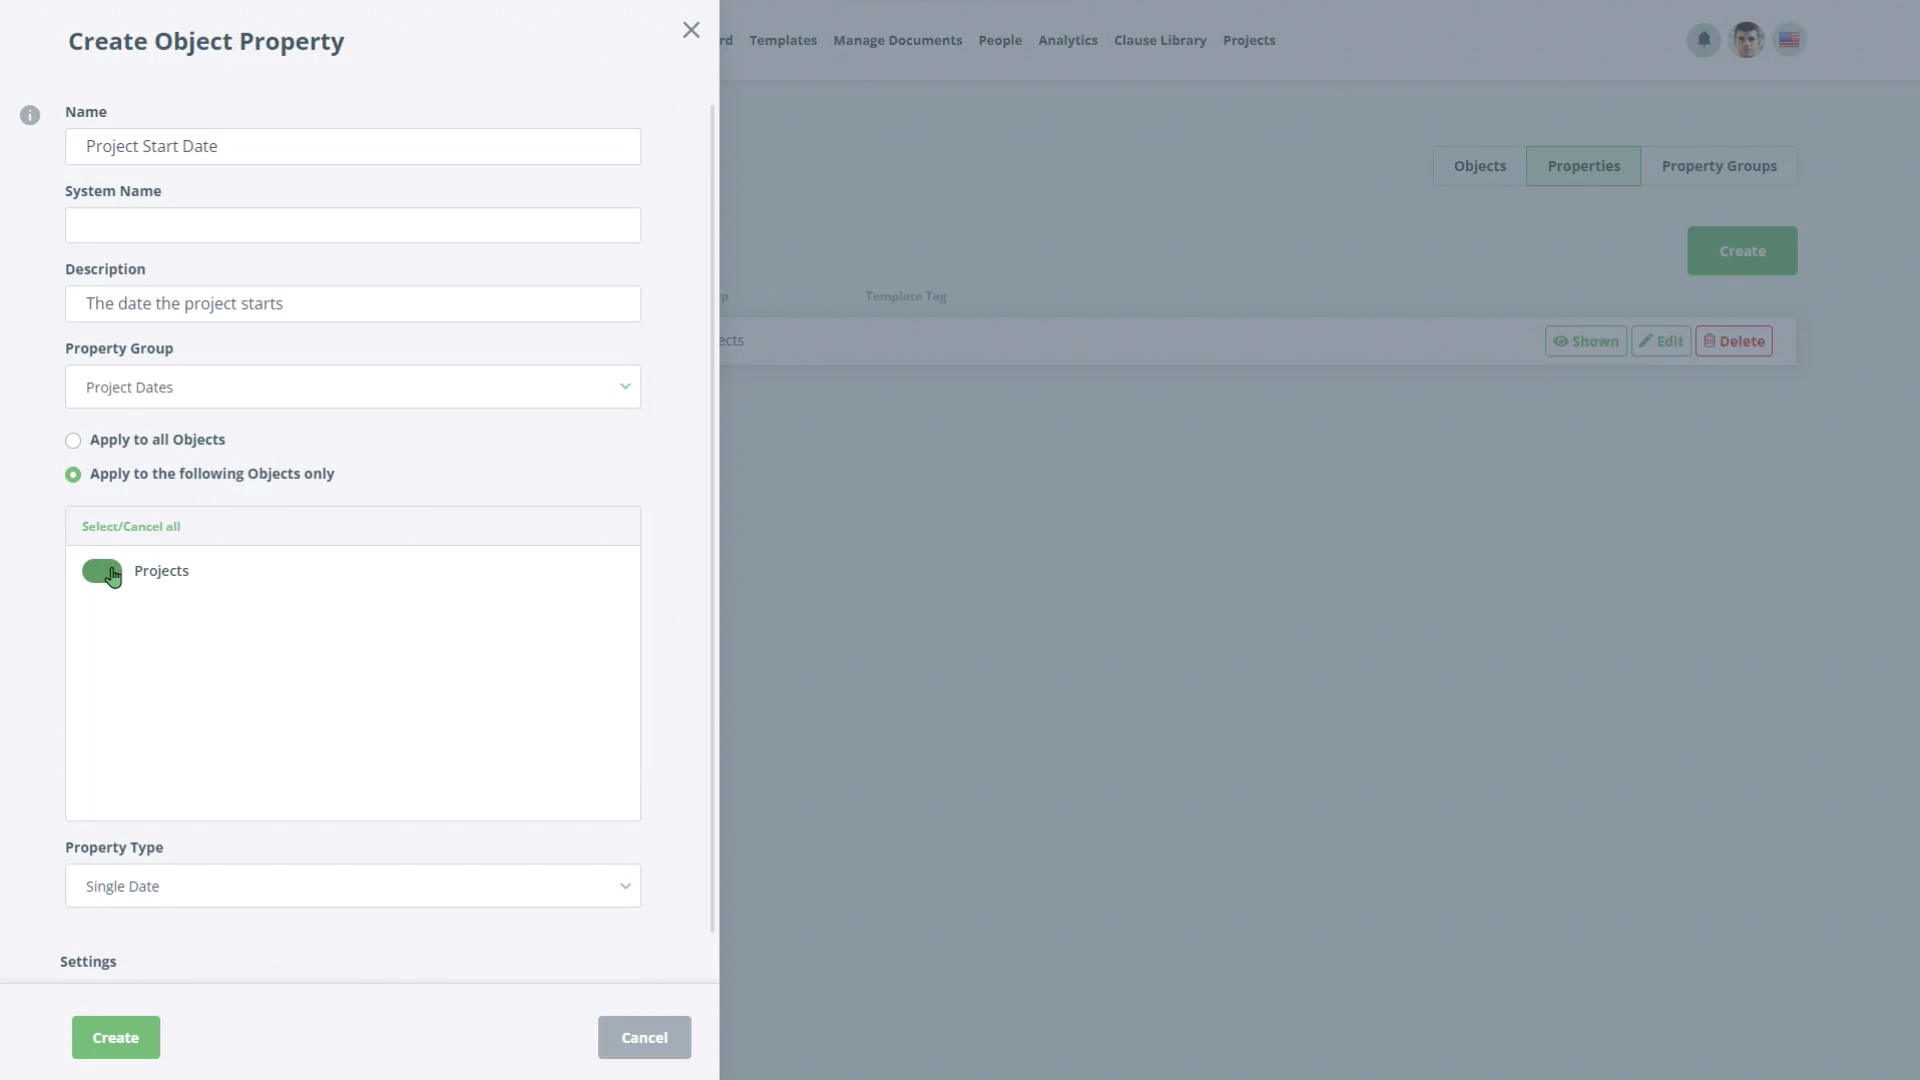
- Add “Project Start Date” to the Name field. Leave the Property Type as “Single Date”.
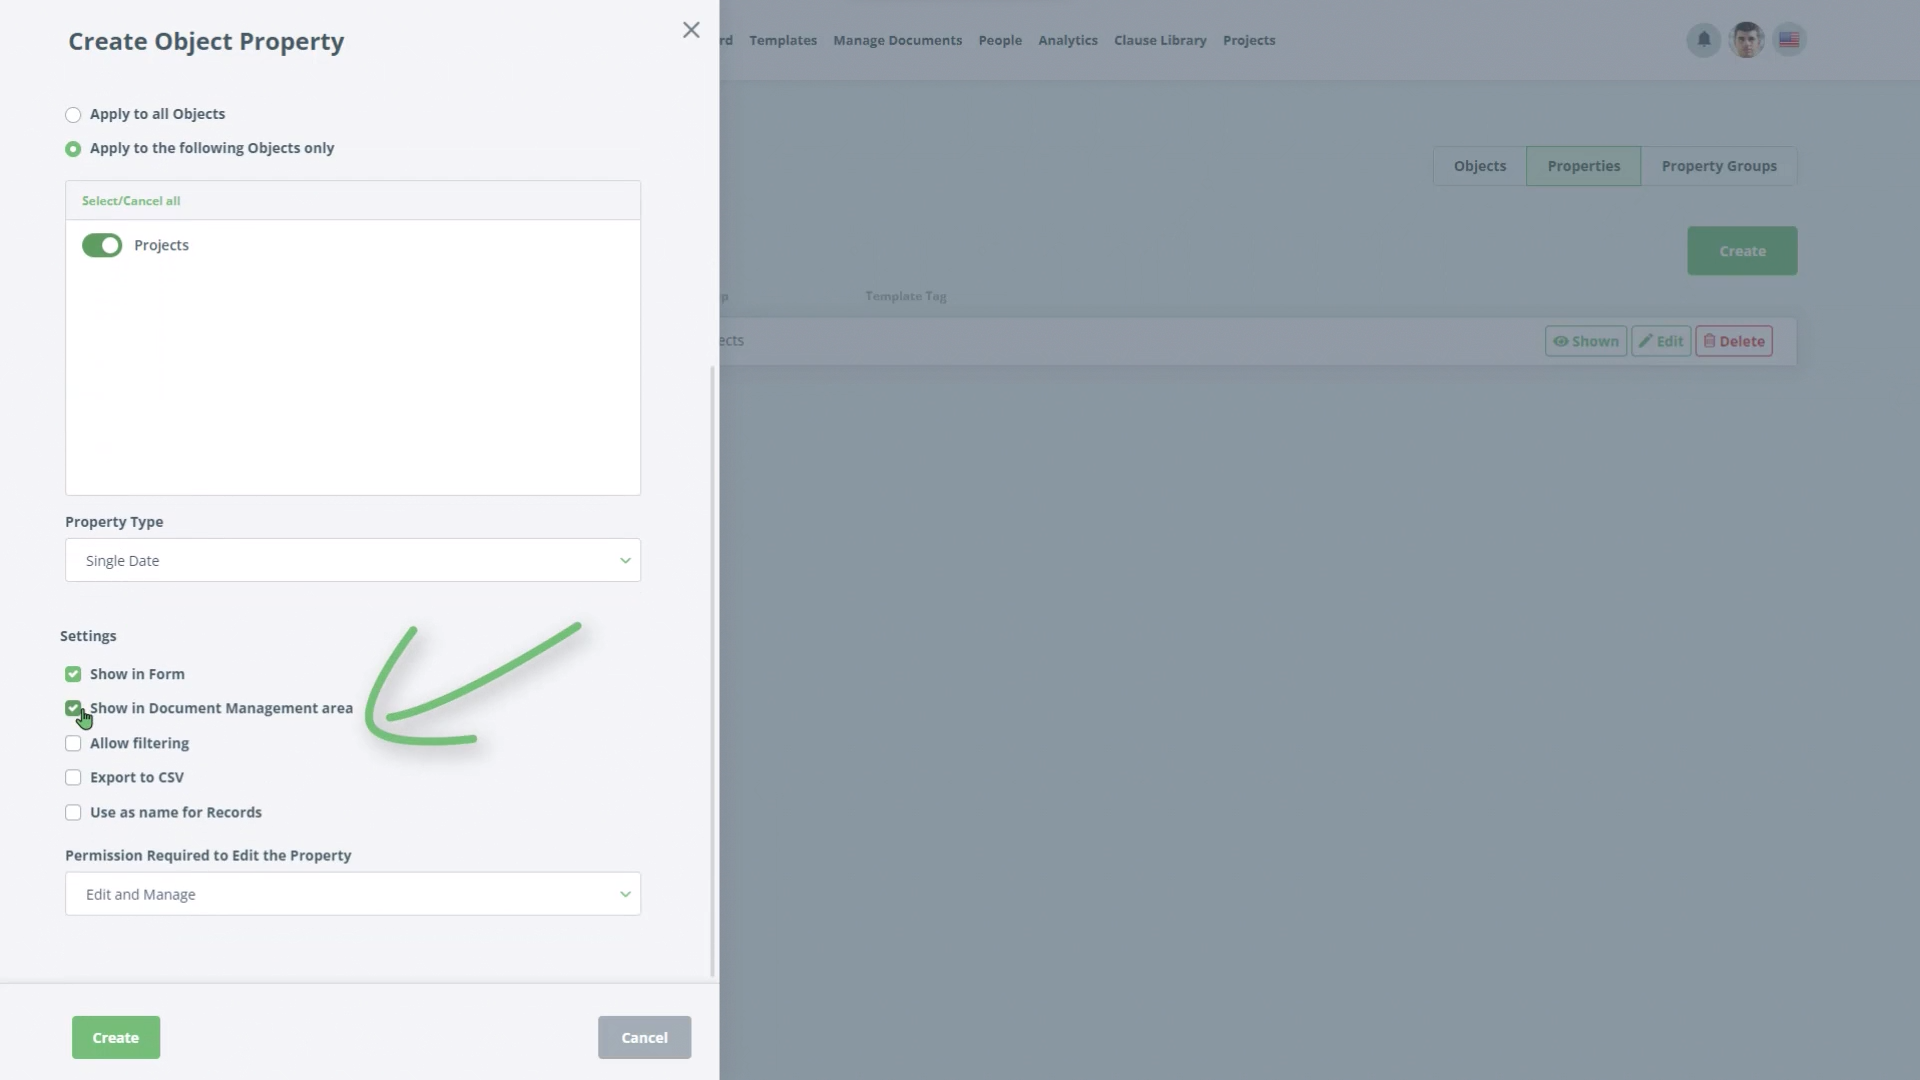
- Check the Checkbox “Show in Management area” (ensure this is checked for all the following properties, this decides if the property is visible or not).
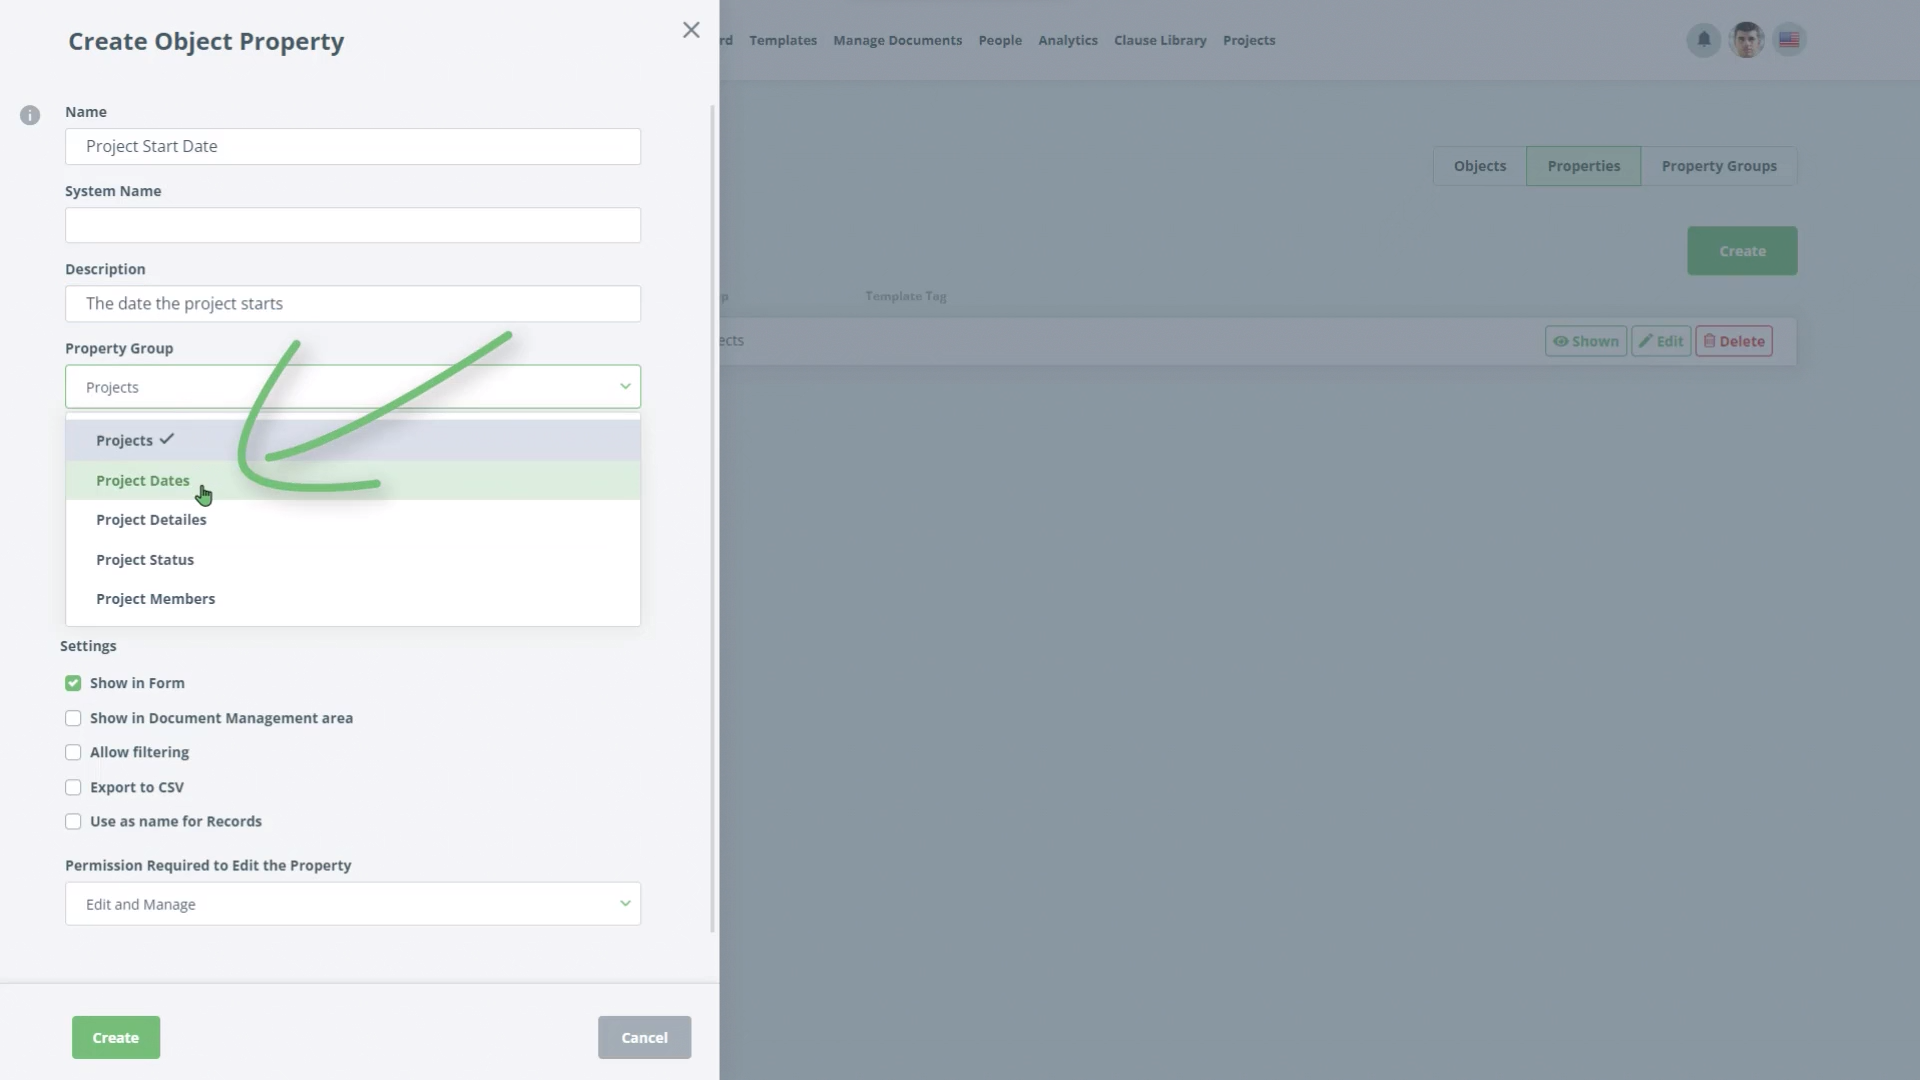
- Set the Property Group to be “Project Dates”.
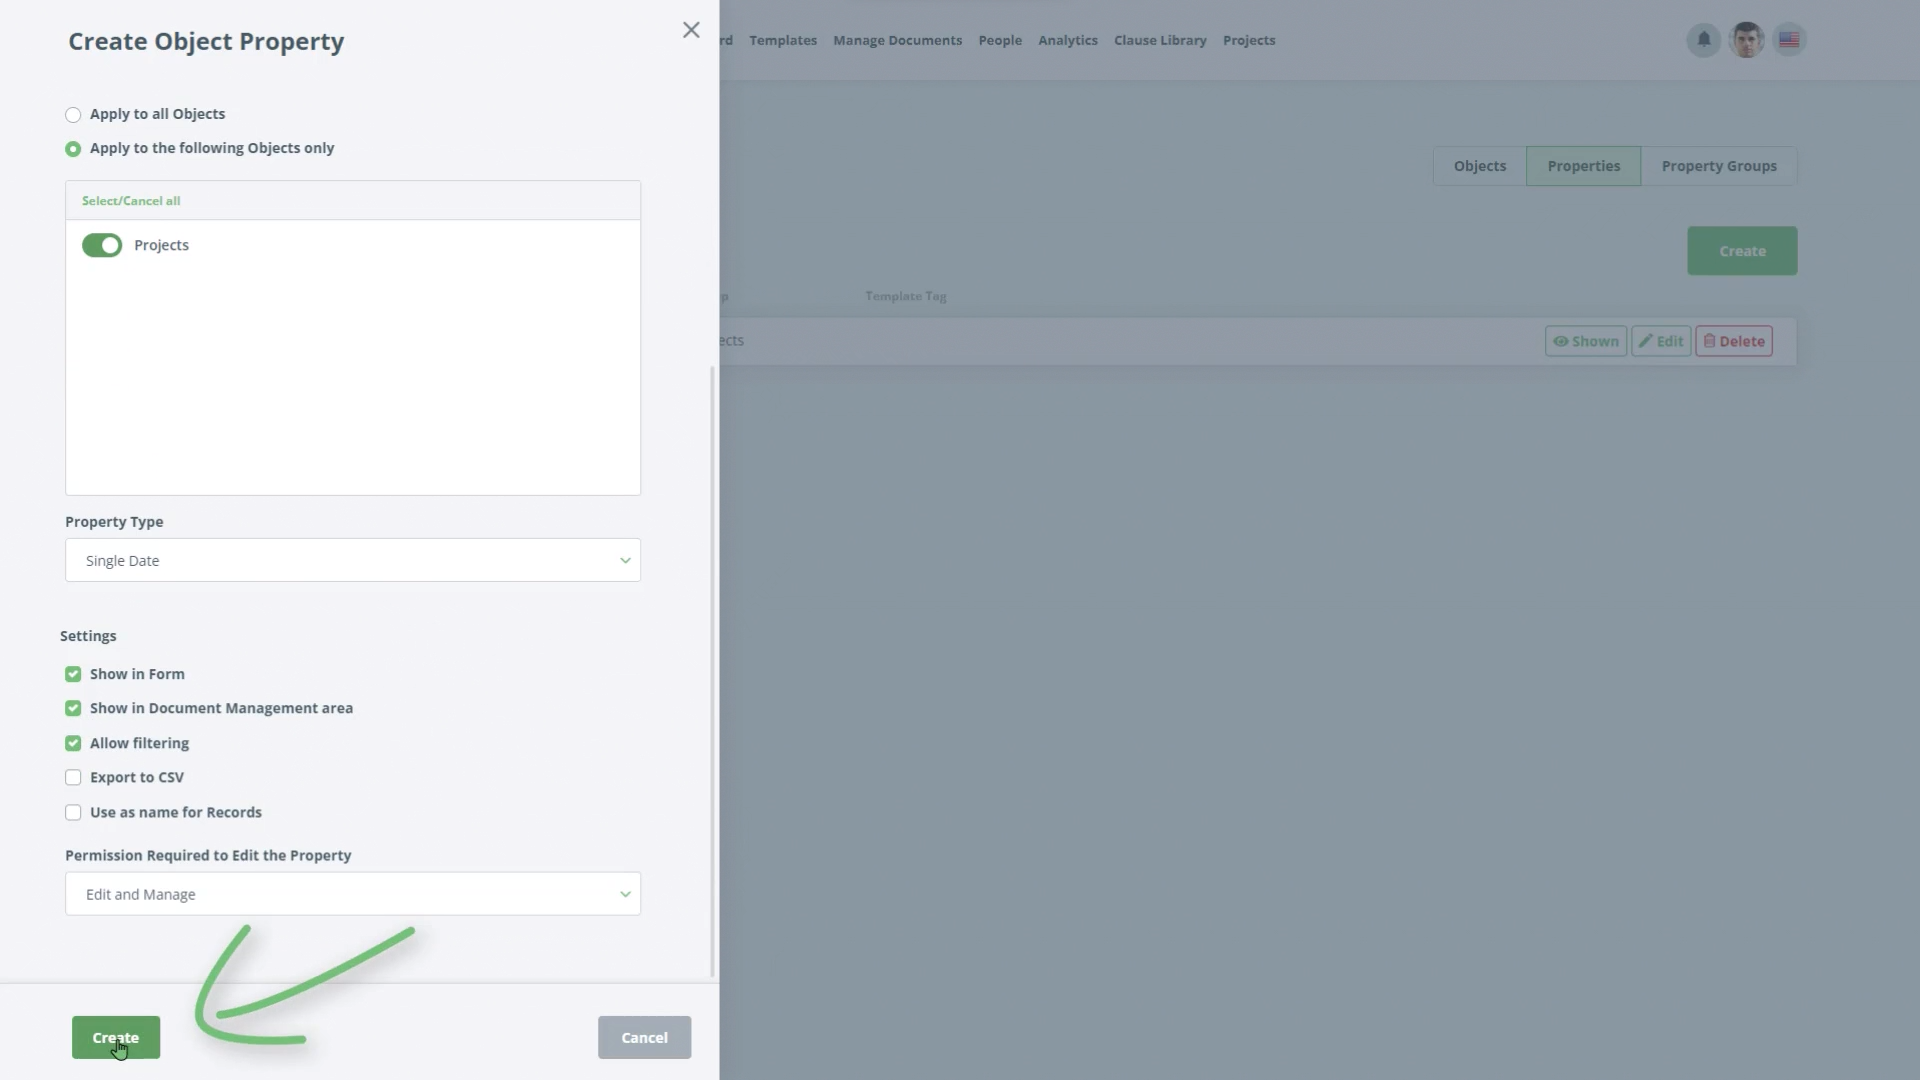
- Click Save.
- Create additional properties “Project End Date” and “Project Go Live” in the same way.
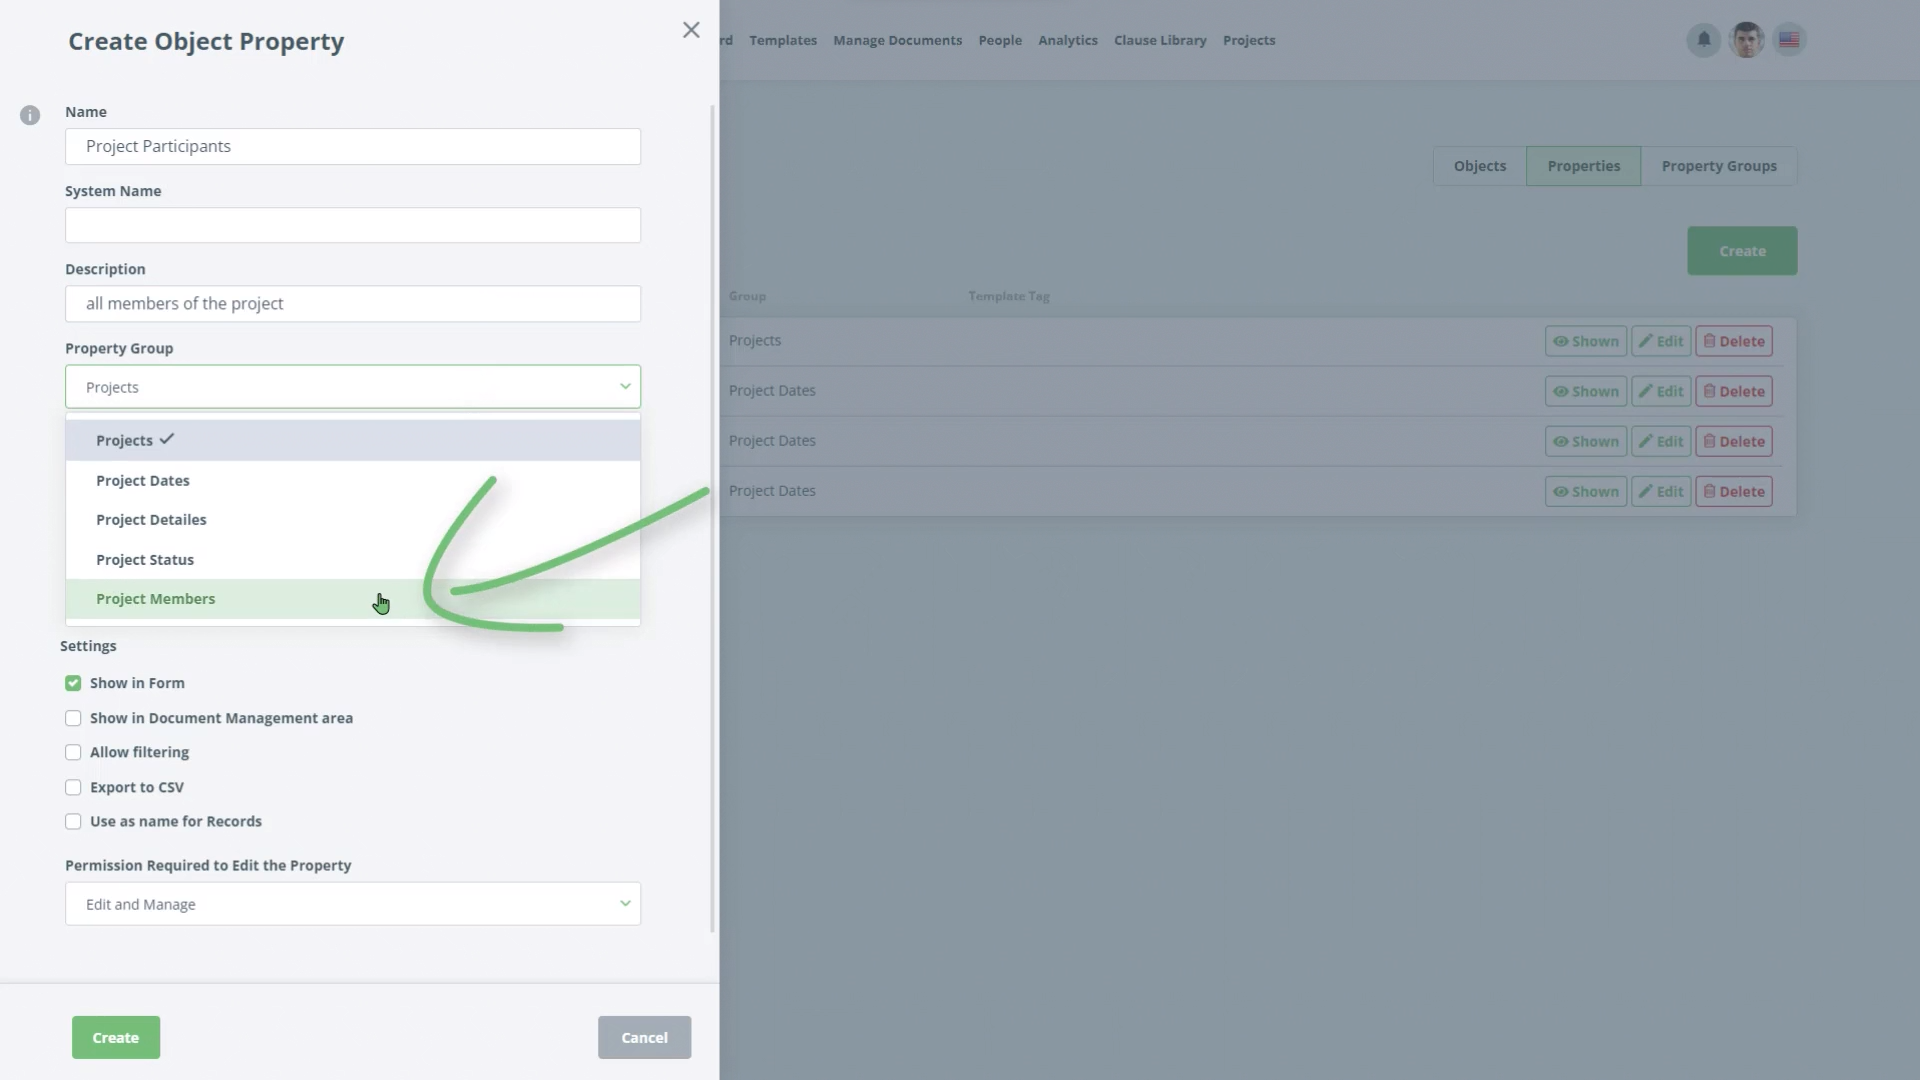
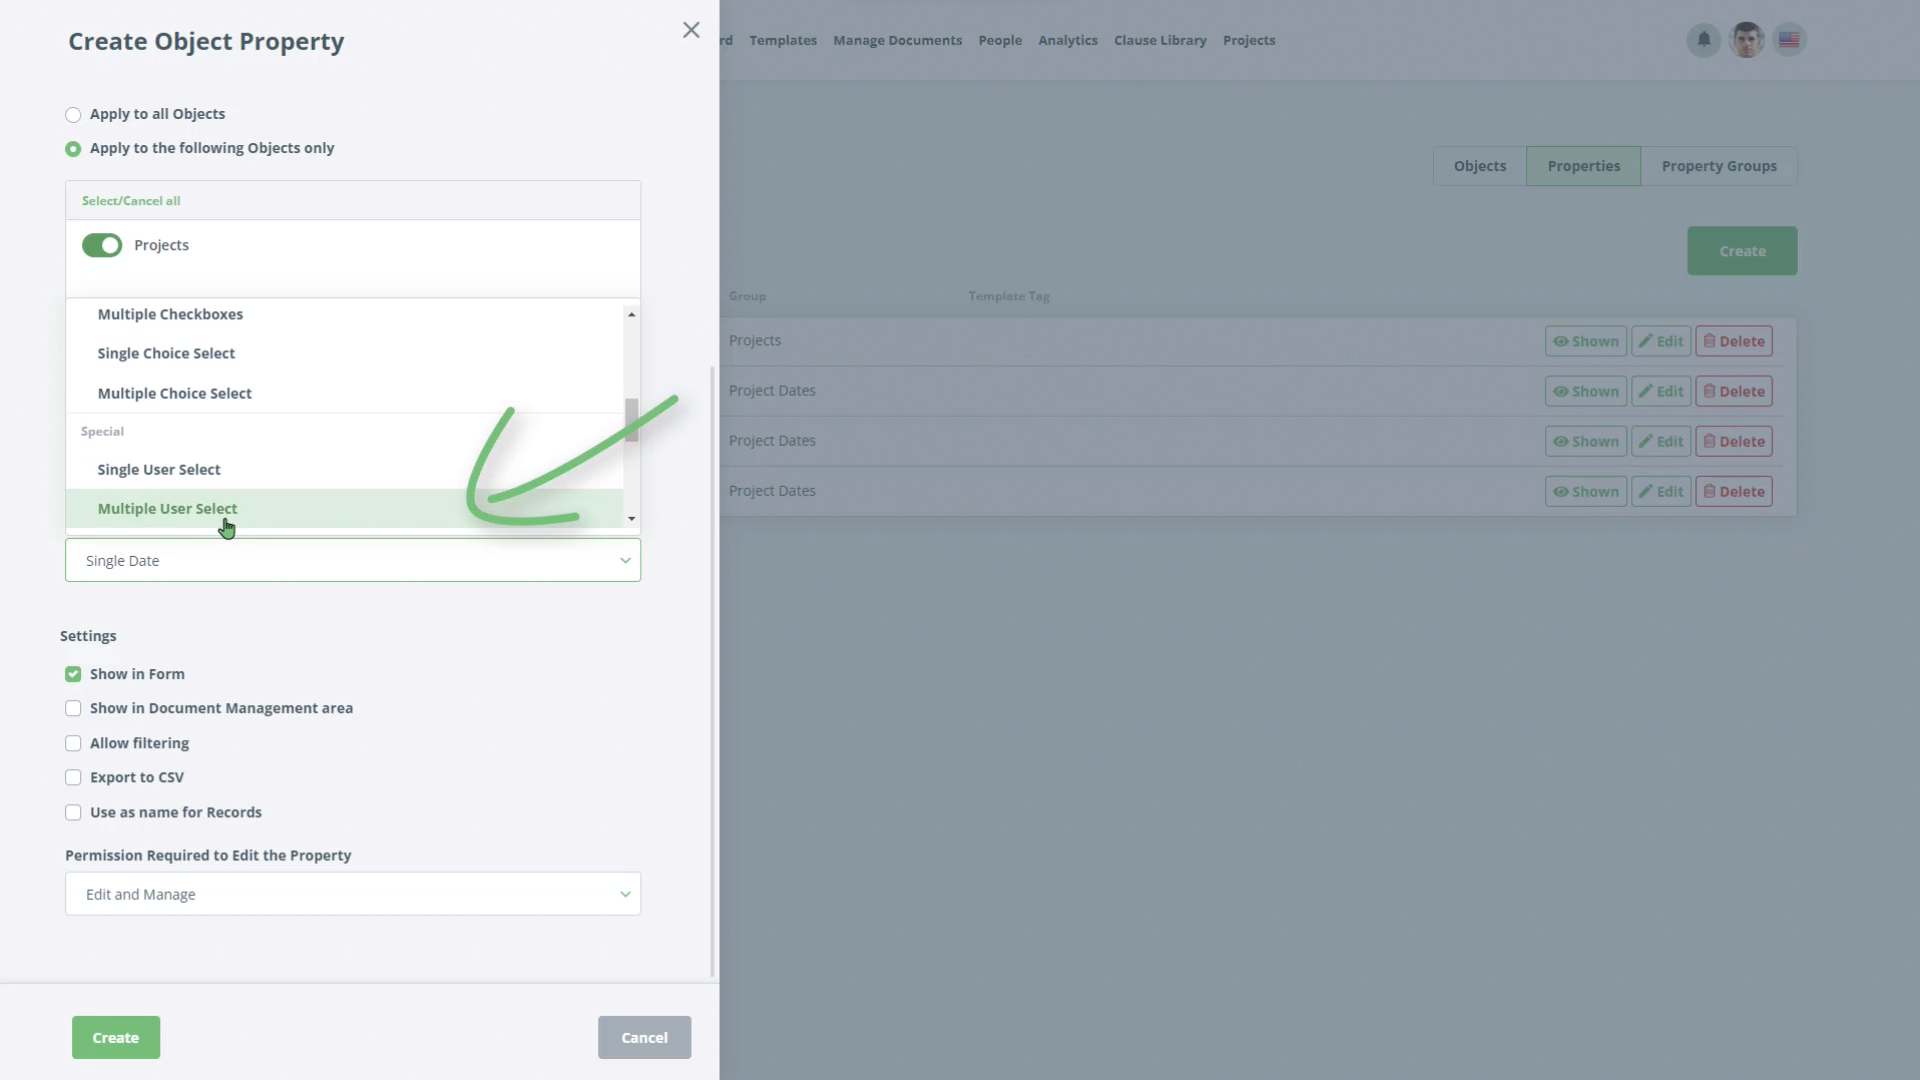
- Create a property “Project Participants” the same way as previous properties, but this time set the Property Type as “Multiple User Select” and the Property Group as “Project Members”.
- Create a Property “Project Manager” the same as above.
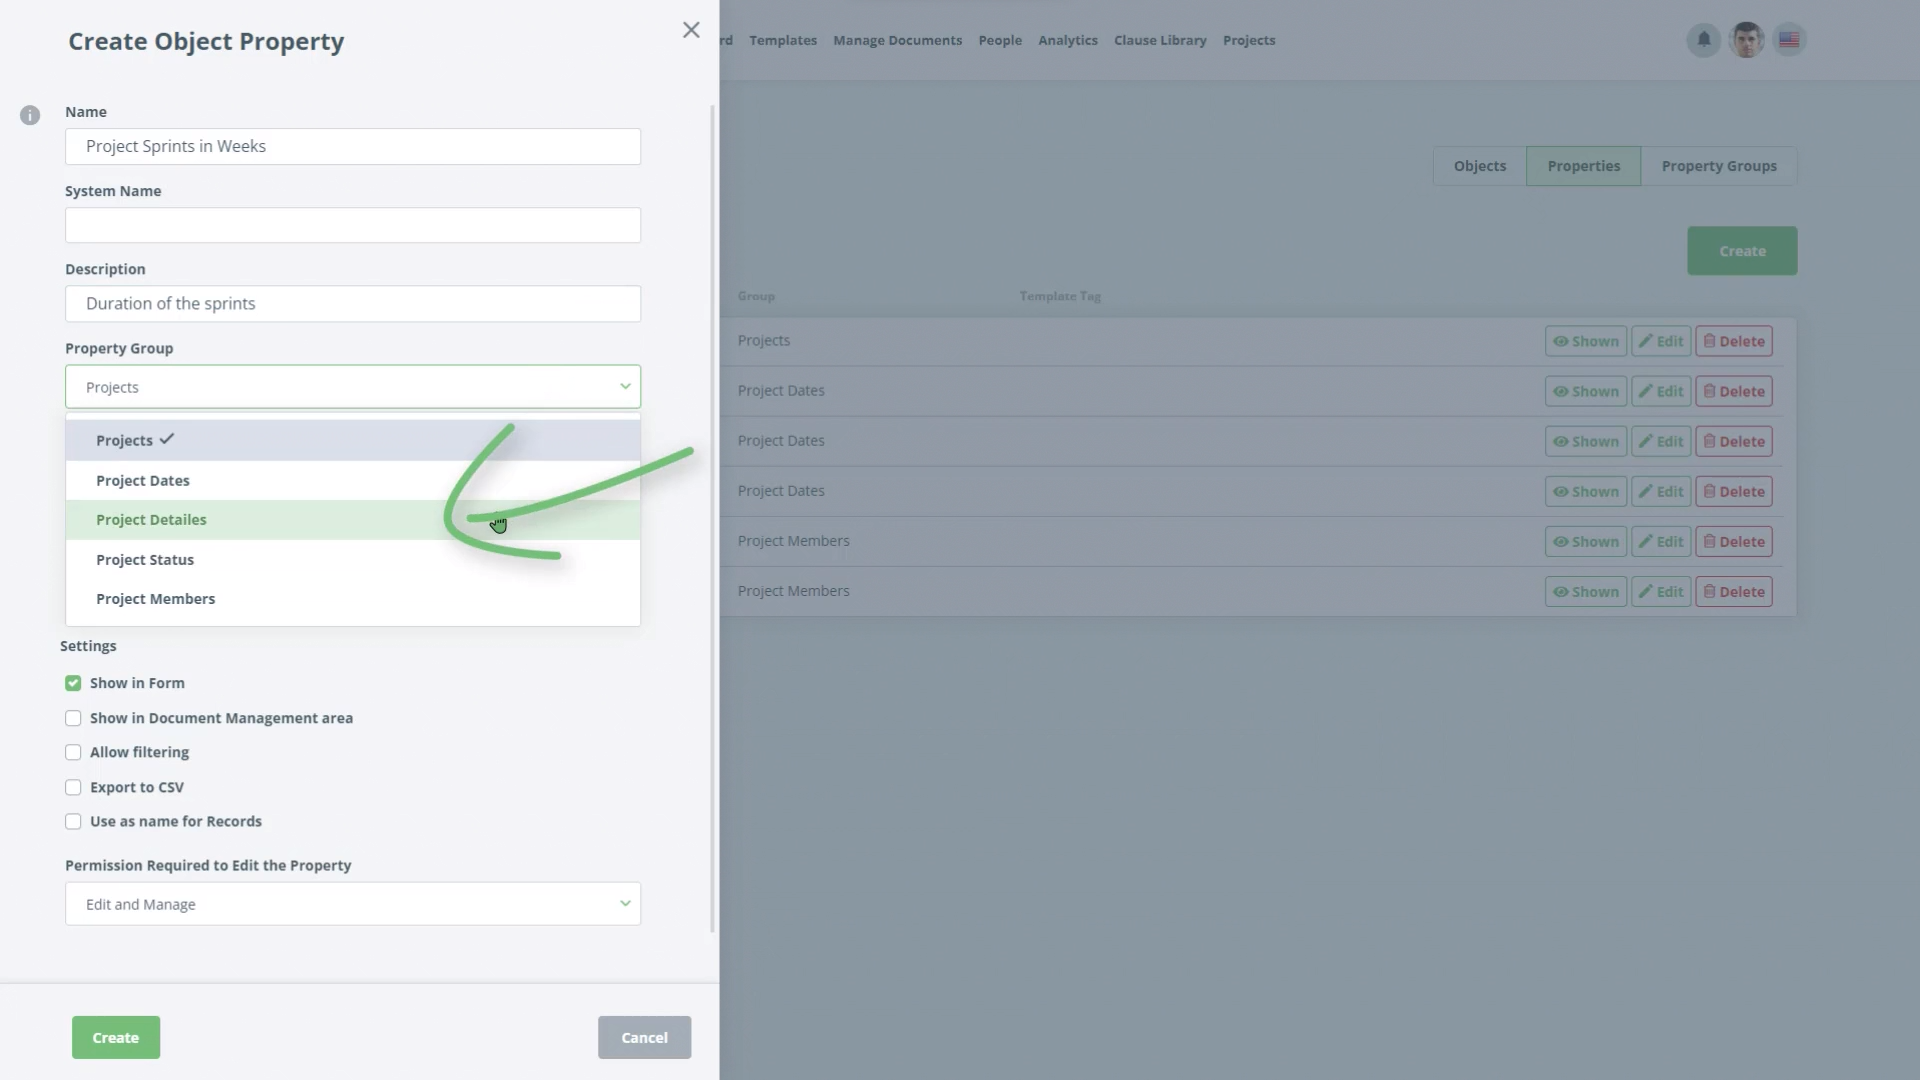
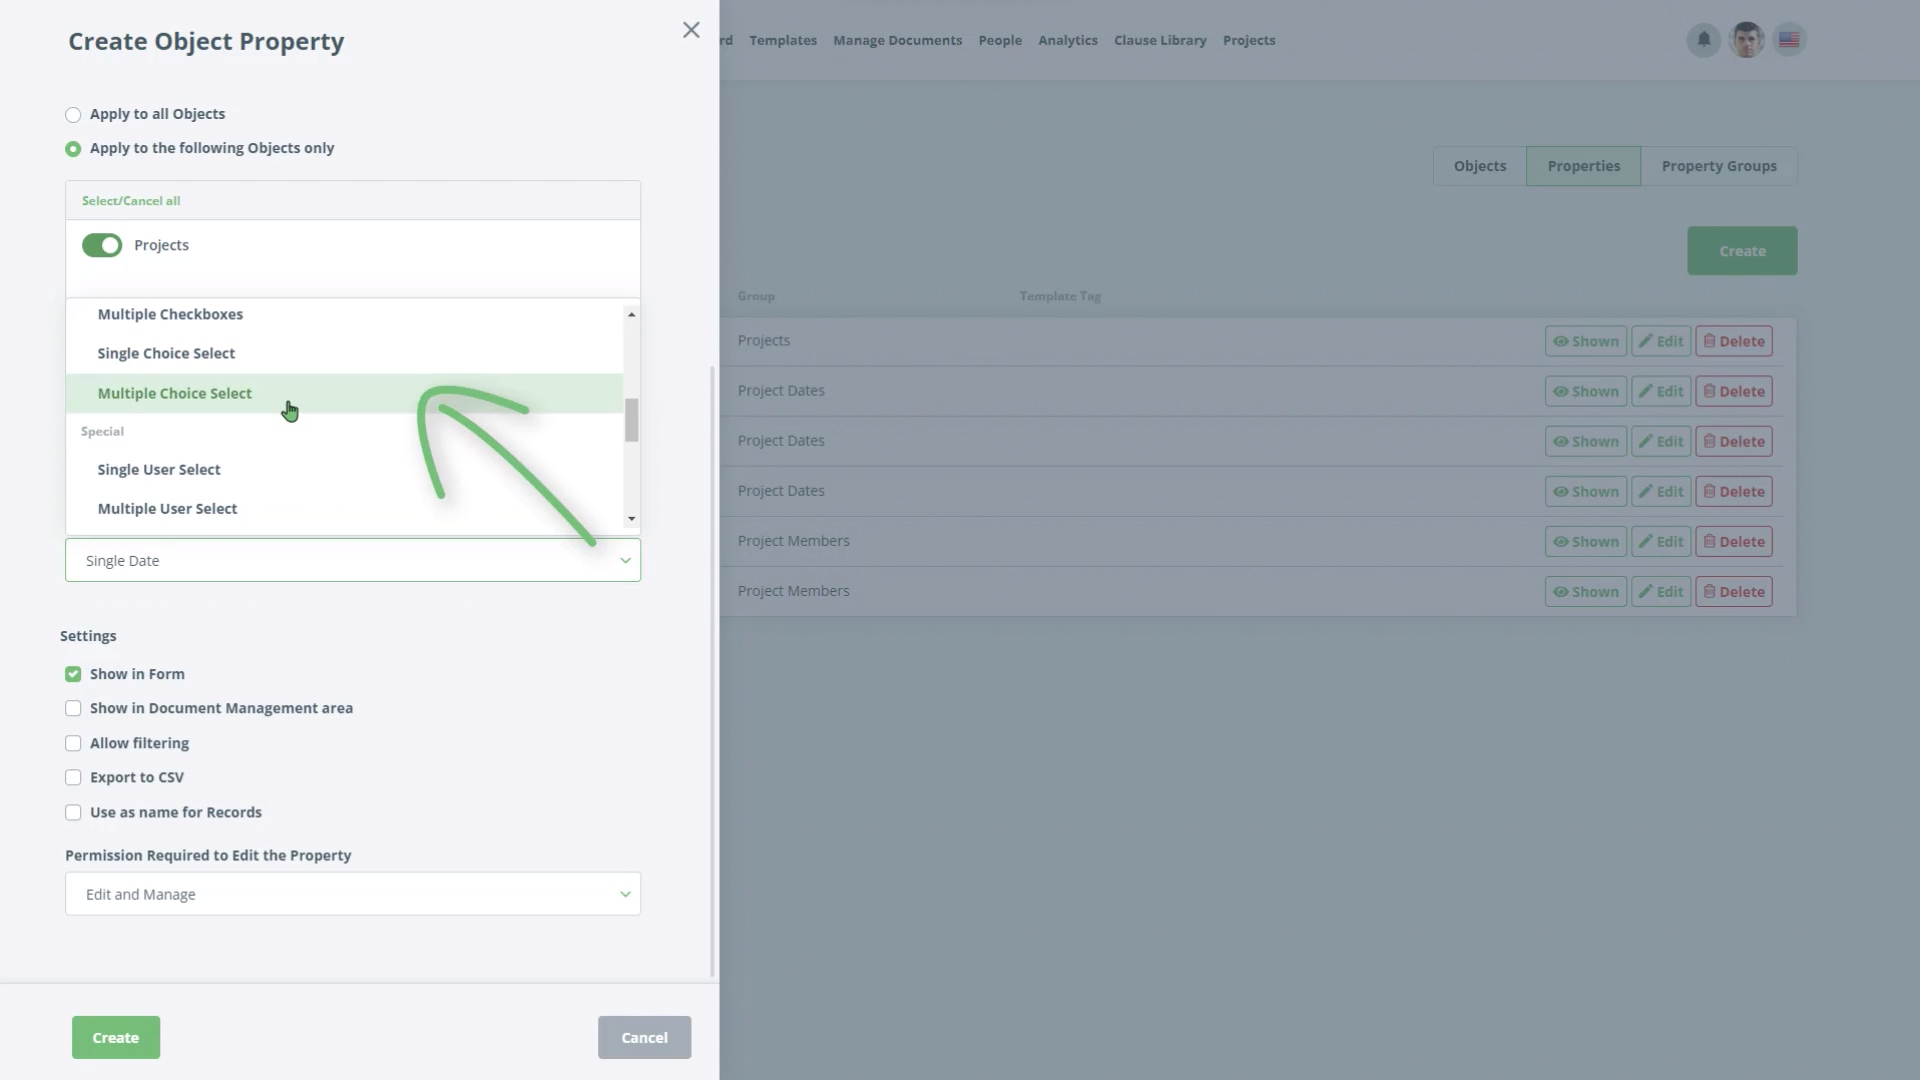
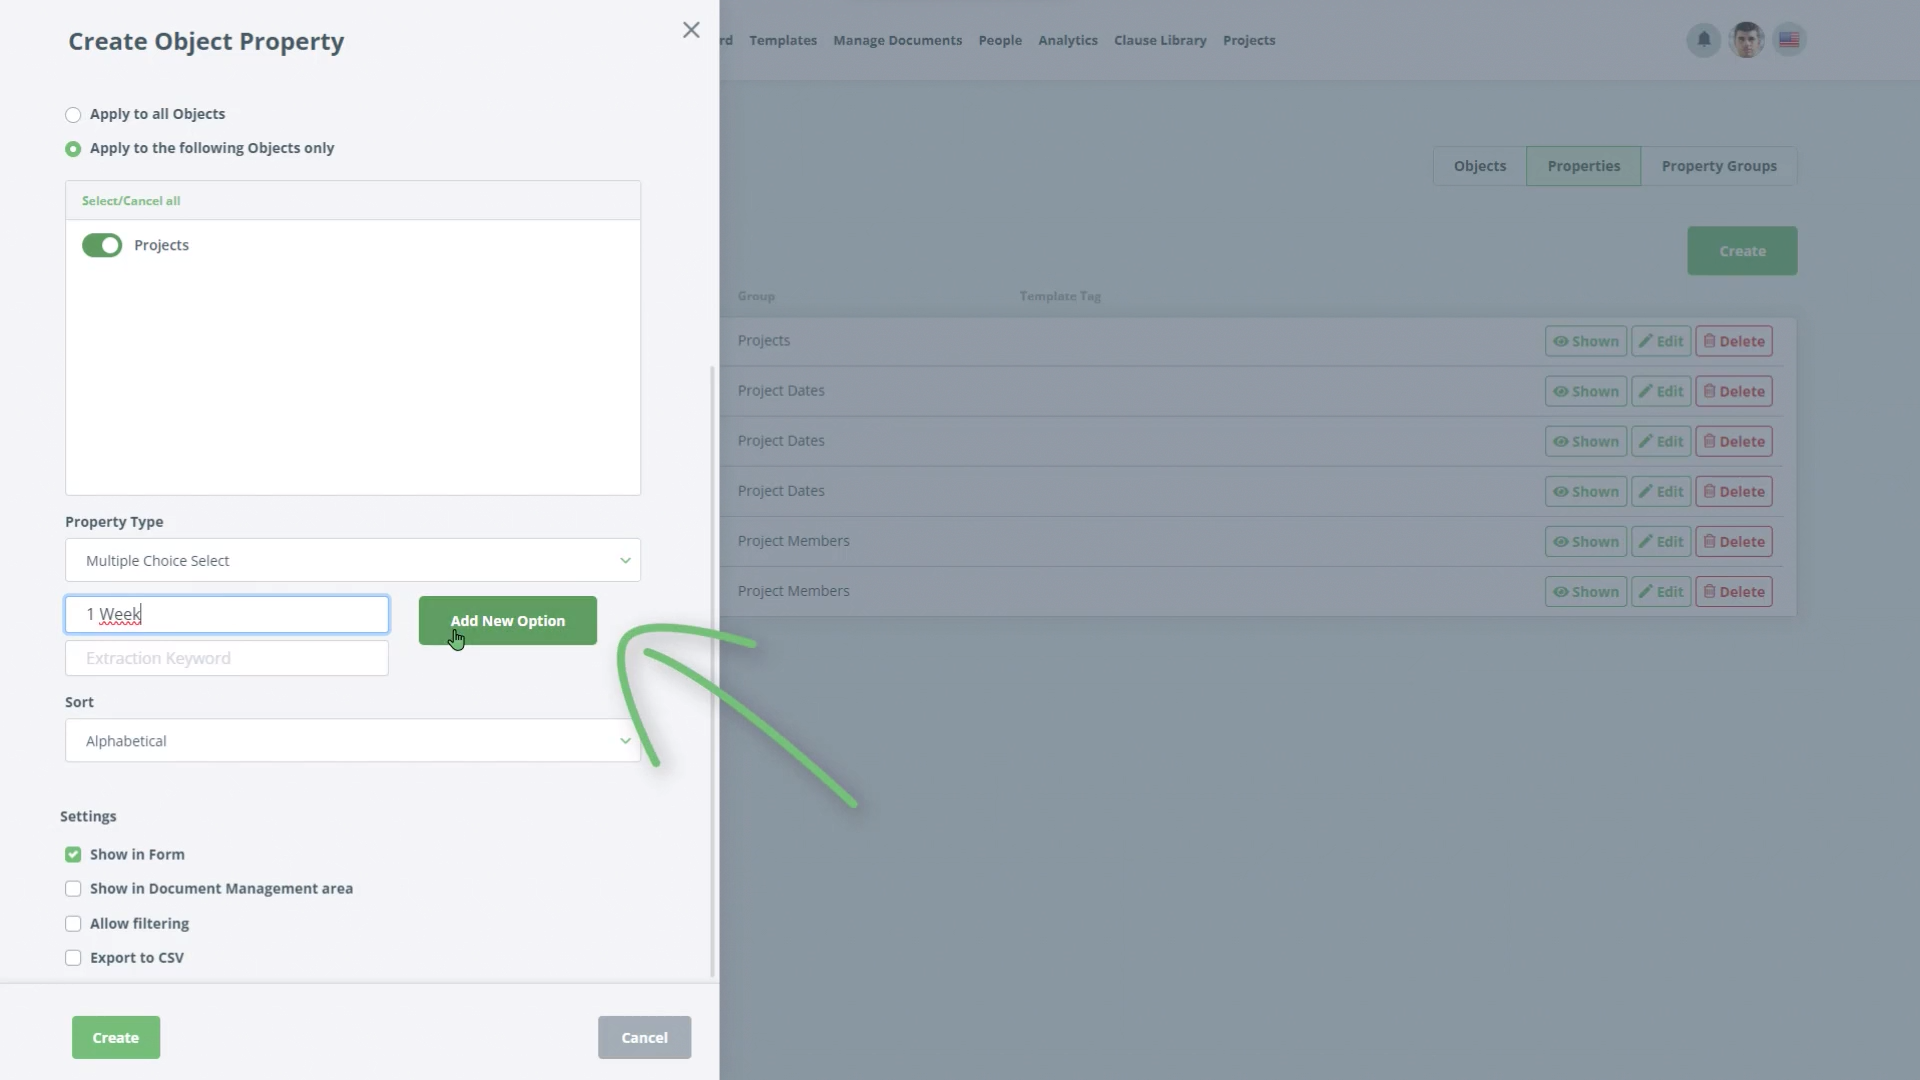
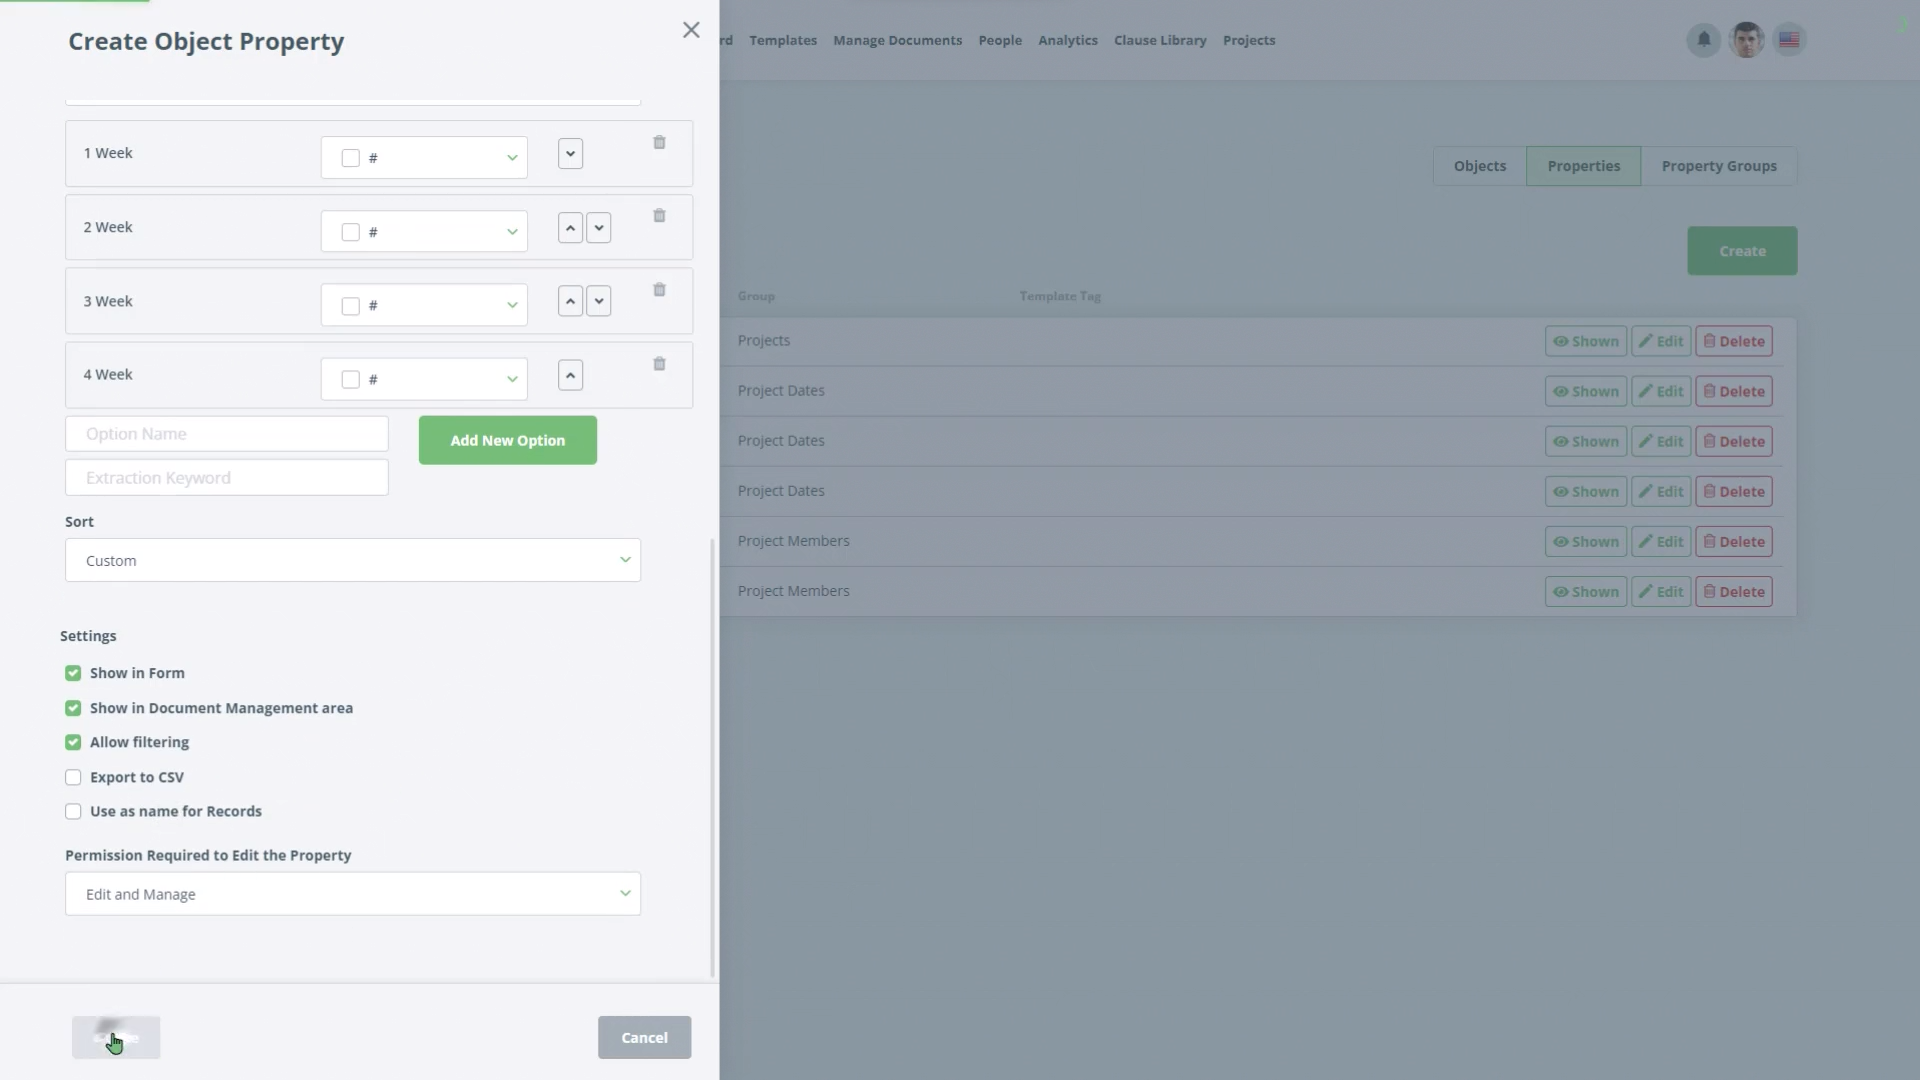
- Create a property “Project Sprints in Weeks” the same way as previous properties, This time, set the Property Group as “Project Details”. Use Property Type “Multiple Choice Select” and fill in the field “Option Name” as “1 Week”, Click Add New Option. fill in the field “Option Name” as “2 Week”. Repeat for values “3 Week” and “4 Week”. Finally, Check the Checkbox “Allow filtering”.
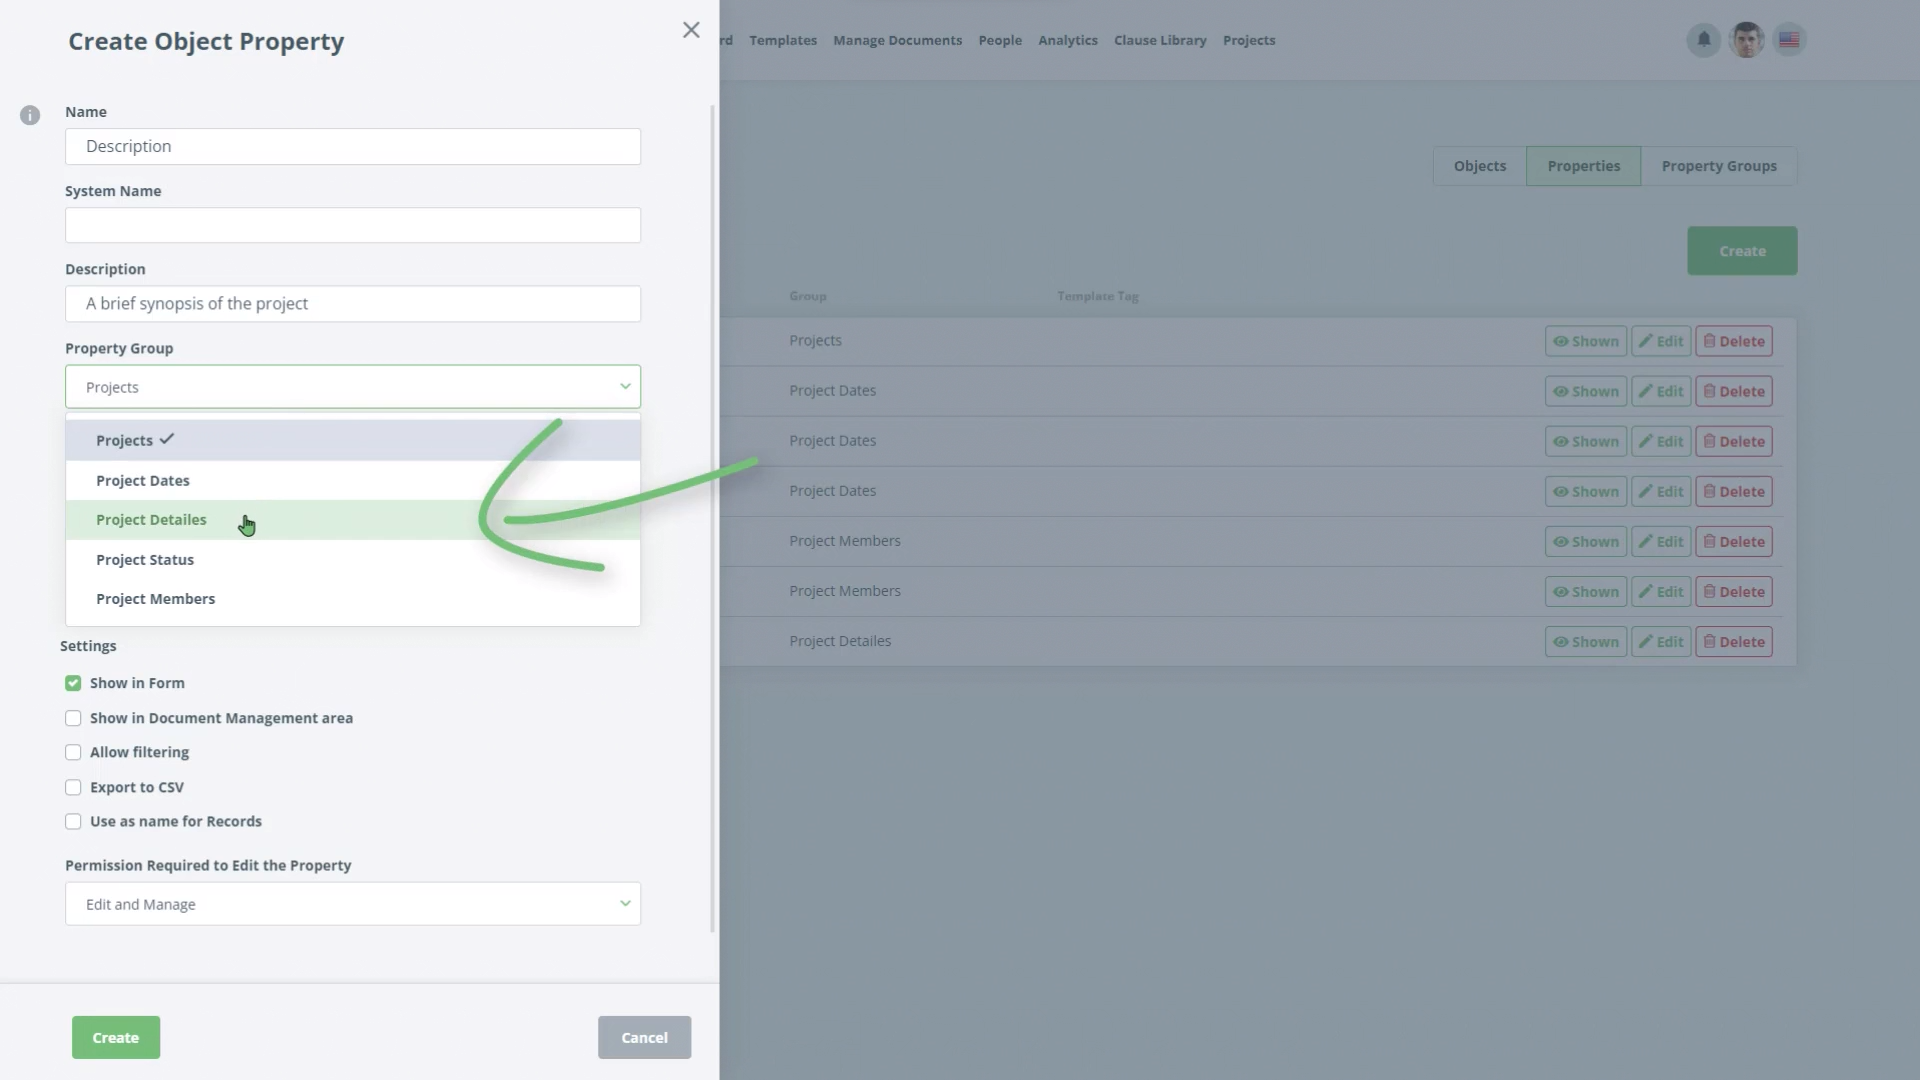
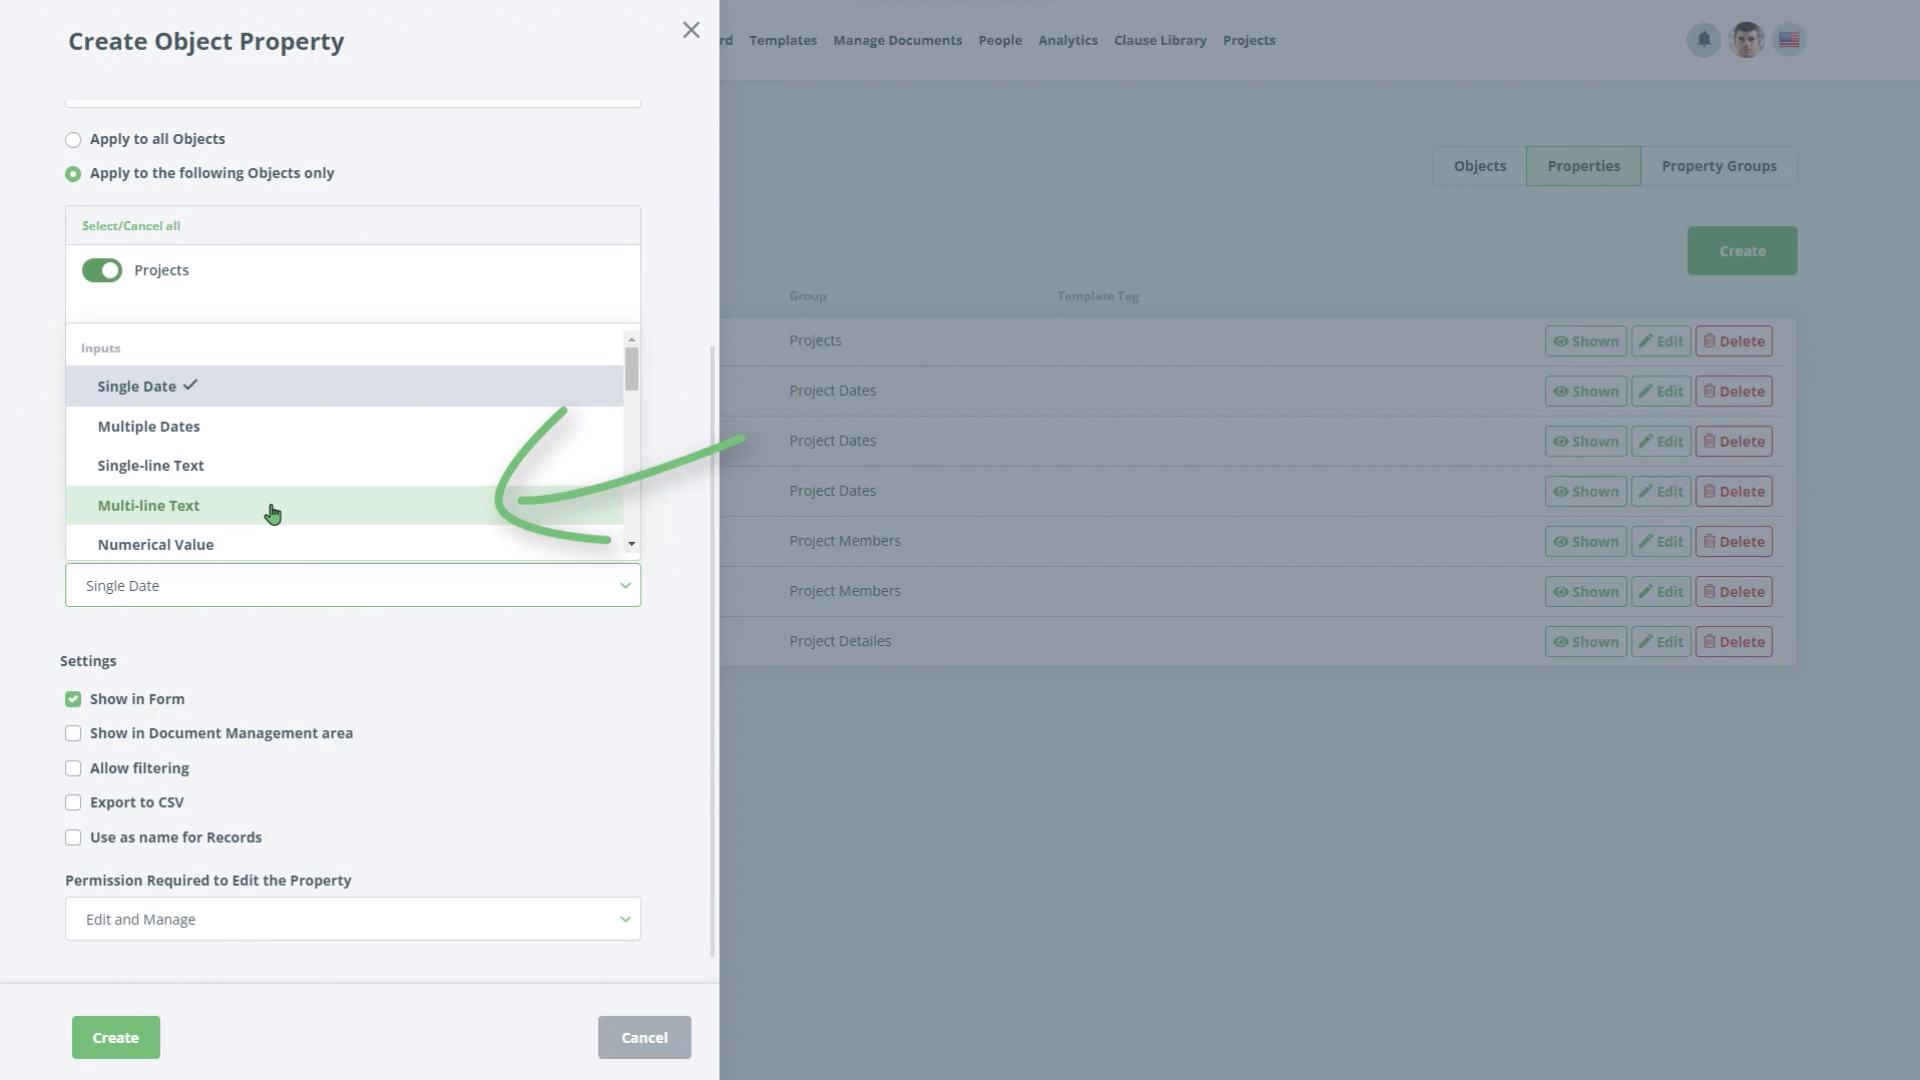
- Create a new Property called “Description”. Change the Property Type to be “Multi Line Text” and set the Property Group to be “Project Details”.
- Create a new Property, “Project RAG Status”. Create the same way as the previous Multiple Choice select, only this time select Property Group “Project Status” and choose a different colour for the following options. Option 1 “Red” use the colour picker next to the option name and choose a red colour. Option 2 will be “Amber”, choose an orange colour. Option 3 will be “Green”. Choose a green colour. Choose the Sort as “Custom”.
- Next, create a new Property called “Active Project”. Change the Property Type to be “Single Checkbox” with the Label “Active Project?” Set the Property Group to be “Project Status”.
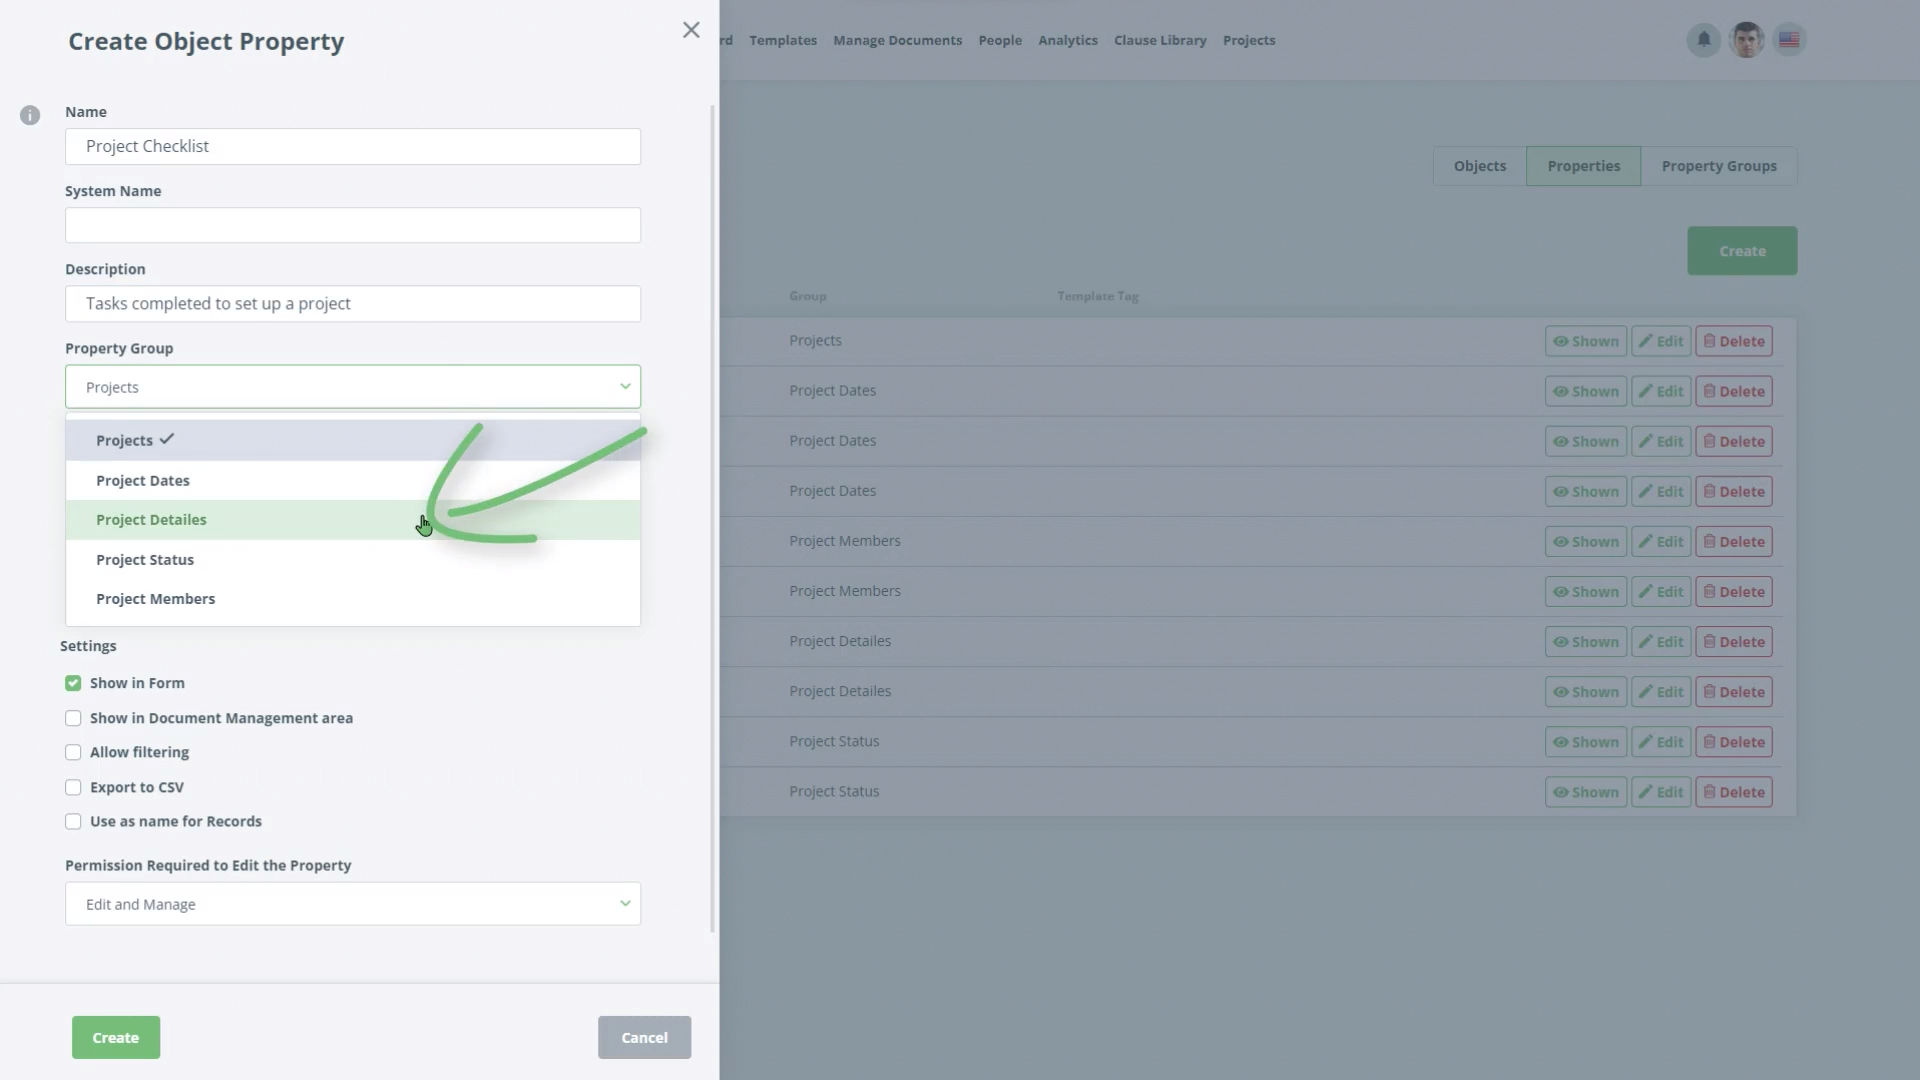
- For the final Property, give the name “Project CheckList” and the Property Group “Project Details”. The Property Type should be set to “Multiple Checkbox”. Add the following options to for the checkboxes:
- Assumptions Document Created
- Budget Assigned
- Contingency in Place (Budget)
- Contingency in Place (Time)
- Critical Path Exists
- Infrastructure Procured (If required)
- Key Risks Identified
- Resource Allocated
- Sponsored
Step-by-Step Guide
Step 1: Click the "Create"
Click the Create button to add a new property.
Add “Project Start Date” to the Name field. Leave the Property Type as “Single Date”
Check the Checkbox “Show in Management area” (ensure this is checked for all the following properties, this decides if the property is visible or not.)
Set the Property Group to be “Project Dates”
Click Save.
Create additional properties “Project End Date” and “Project Go Live” in the same way.
Step 2: Create a property “Project Participants”
Create a property “Project Participants” the same way as previous properties, but this time set the Property Type as “Multiple User Select” and the Property Group as “Project Members”
Create a Property “Project Manager” the same as above.
Step 3: Create a property “Project Sprints in Weeks”
Create a property “Project Sprints in Weeks” the same way as previous properties.
This time, set the Property Group as “Project Details”. Use Property Type “Multiple Choice Select” and fill in the field “Option Name” as “1 Week.”
Click Add New Option. fill in the field “Option Name” as “2 Week”. Repeat for values “3 Week” and “4 Week”.
Check the Checkbox “Allow filtering.”
Create a new Property called “Description”. Change the Property Type to be “Multi Line Text” and set the Property Group to be “Project Details.”
Step 4: Create a new Property
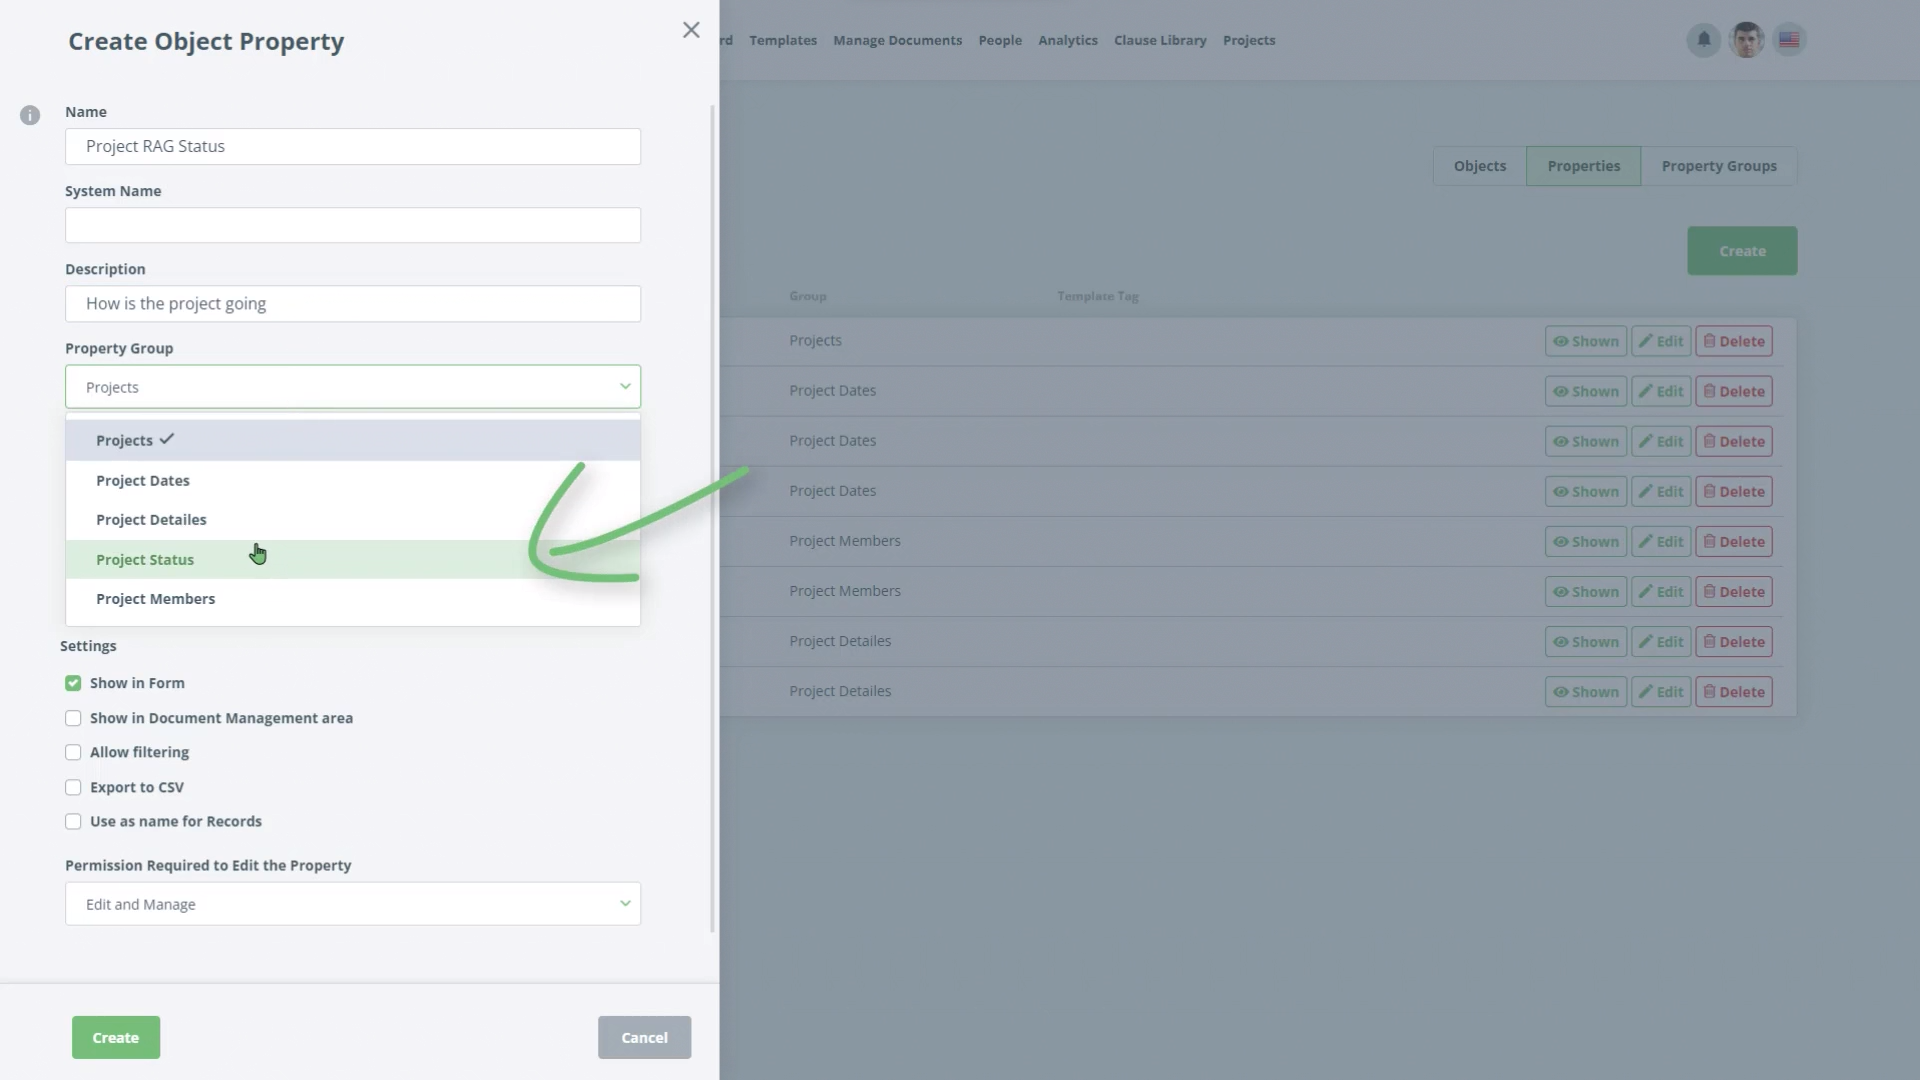
Create a new Property, “Project RAG Status”.
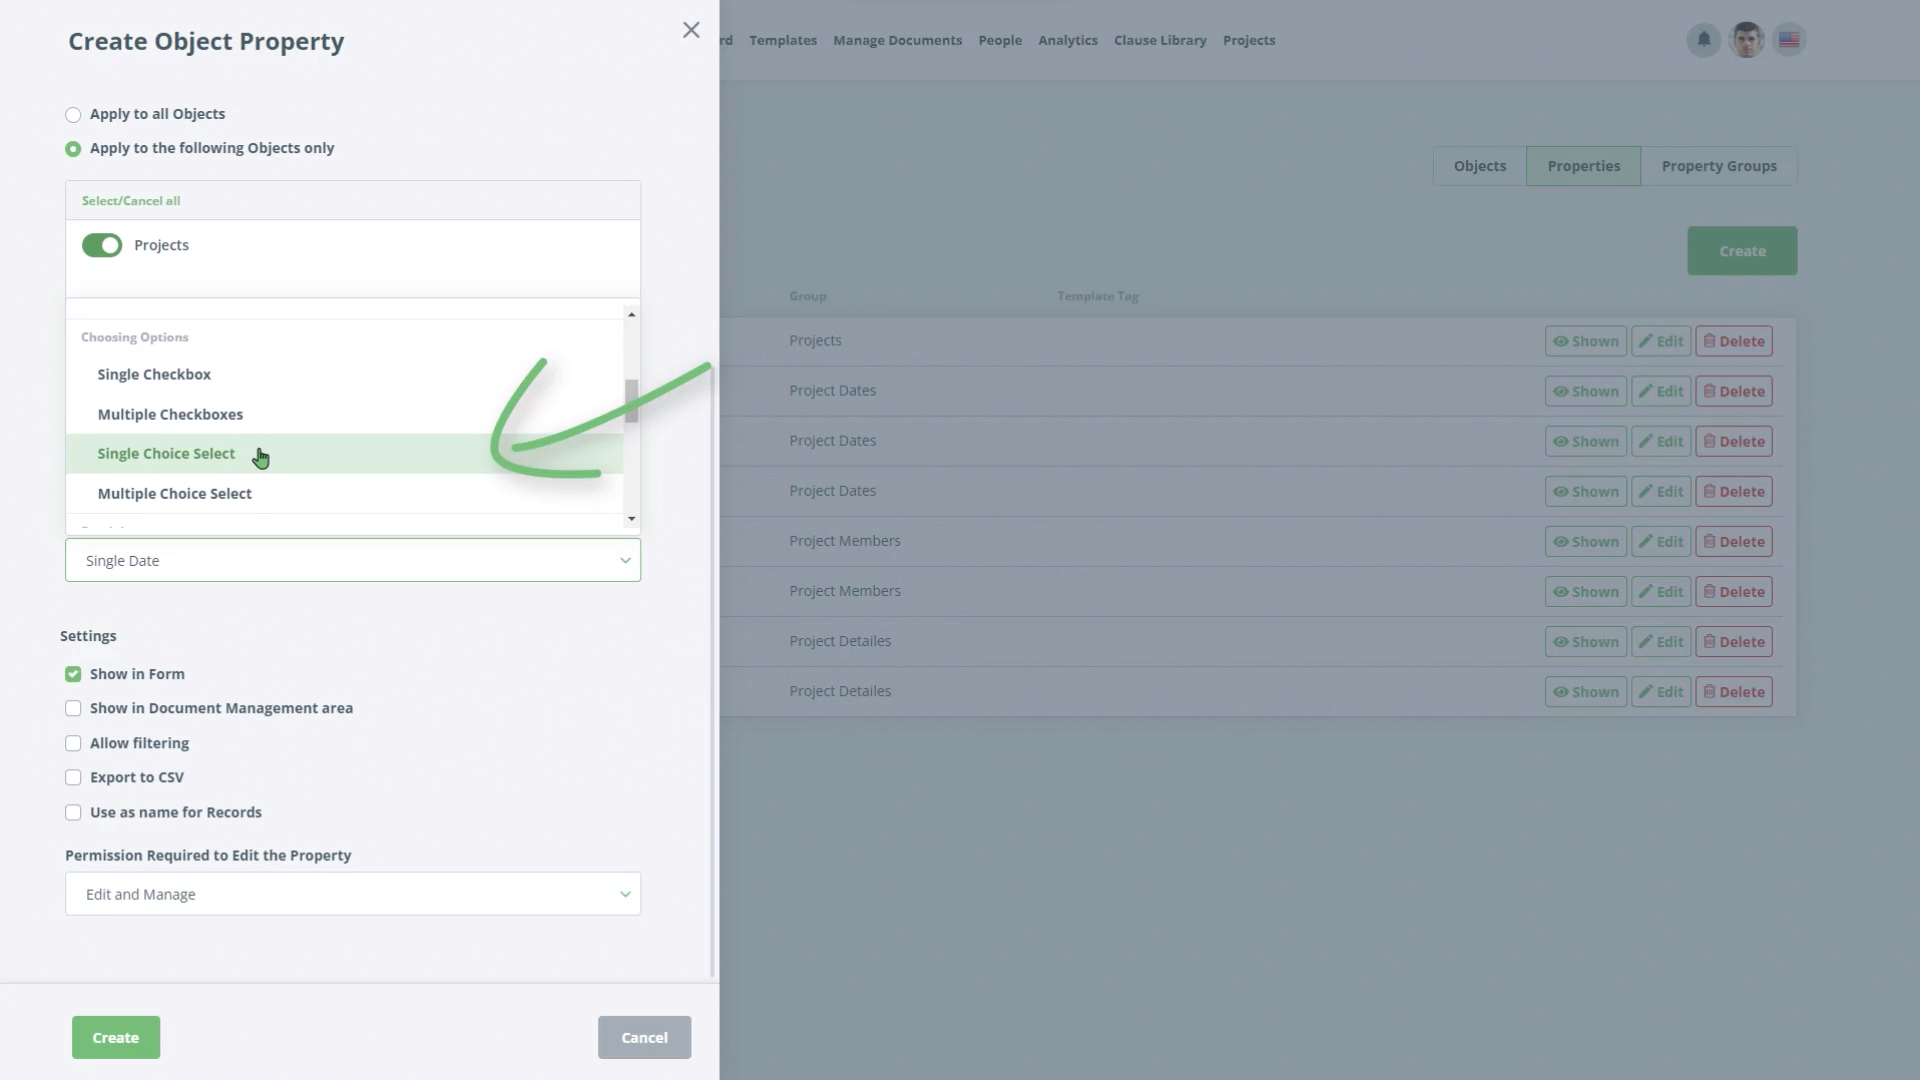
Create the same way as the previous Multiple Choice select, only this time select Property Group “Project Status” and choose a different colour for the following options.
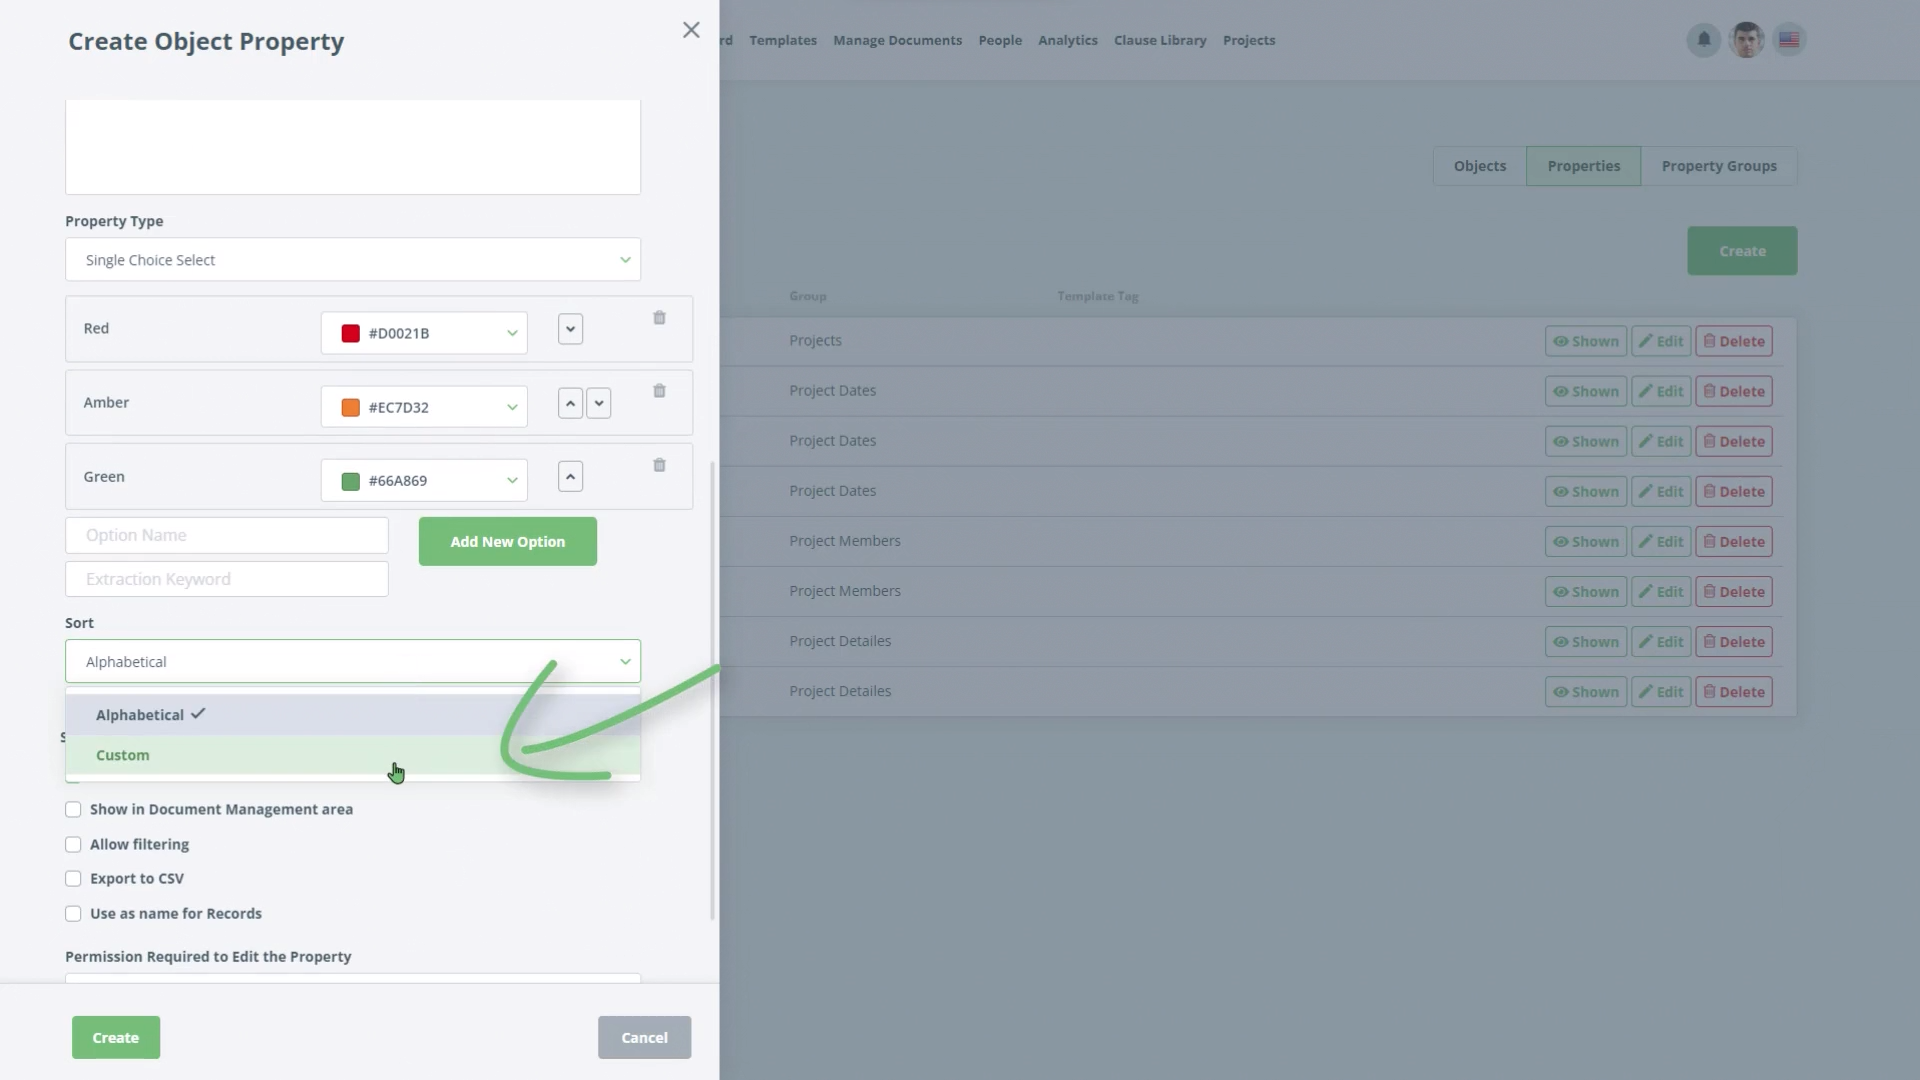
Option 1 “Red” use the colour picker next to the option name and choose a red colour.
Option 2 will be “Amber”, choose an orange colour.
Option 3 will be “Green”. Choose a green colour.
Choose the Sort as “Custom.”
Step 5: Create a new Property
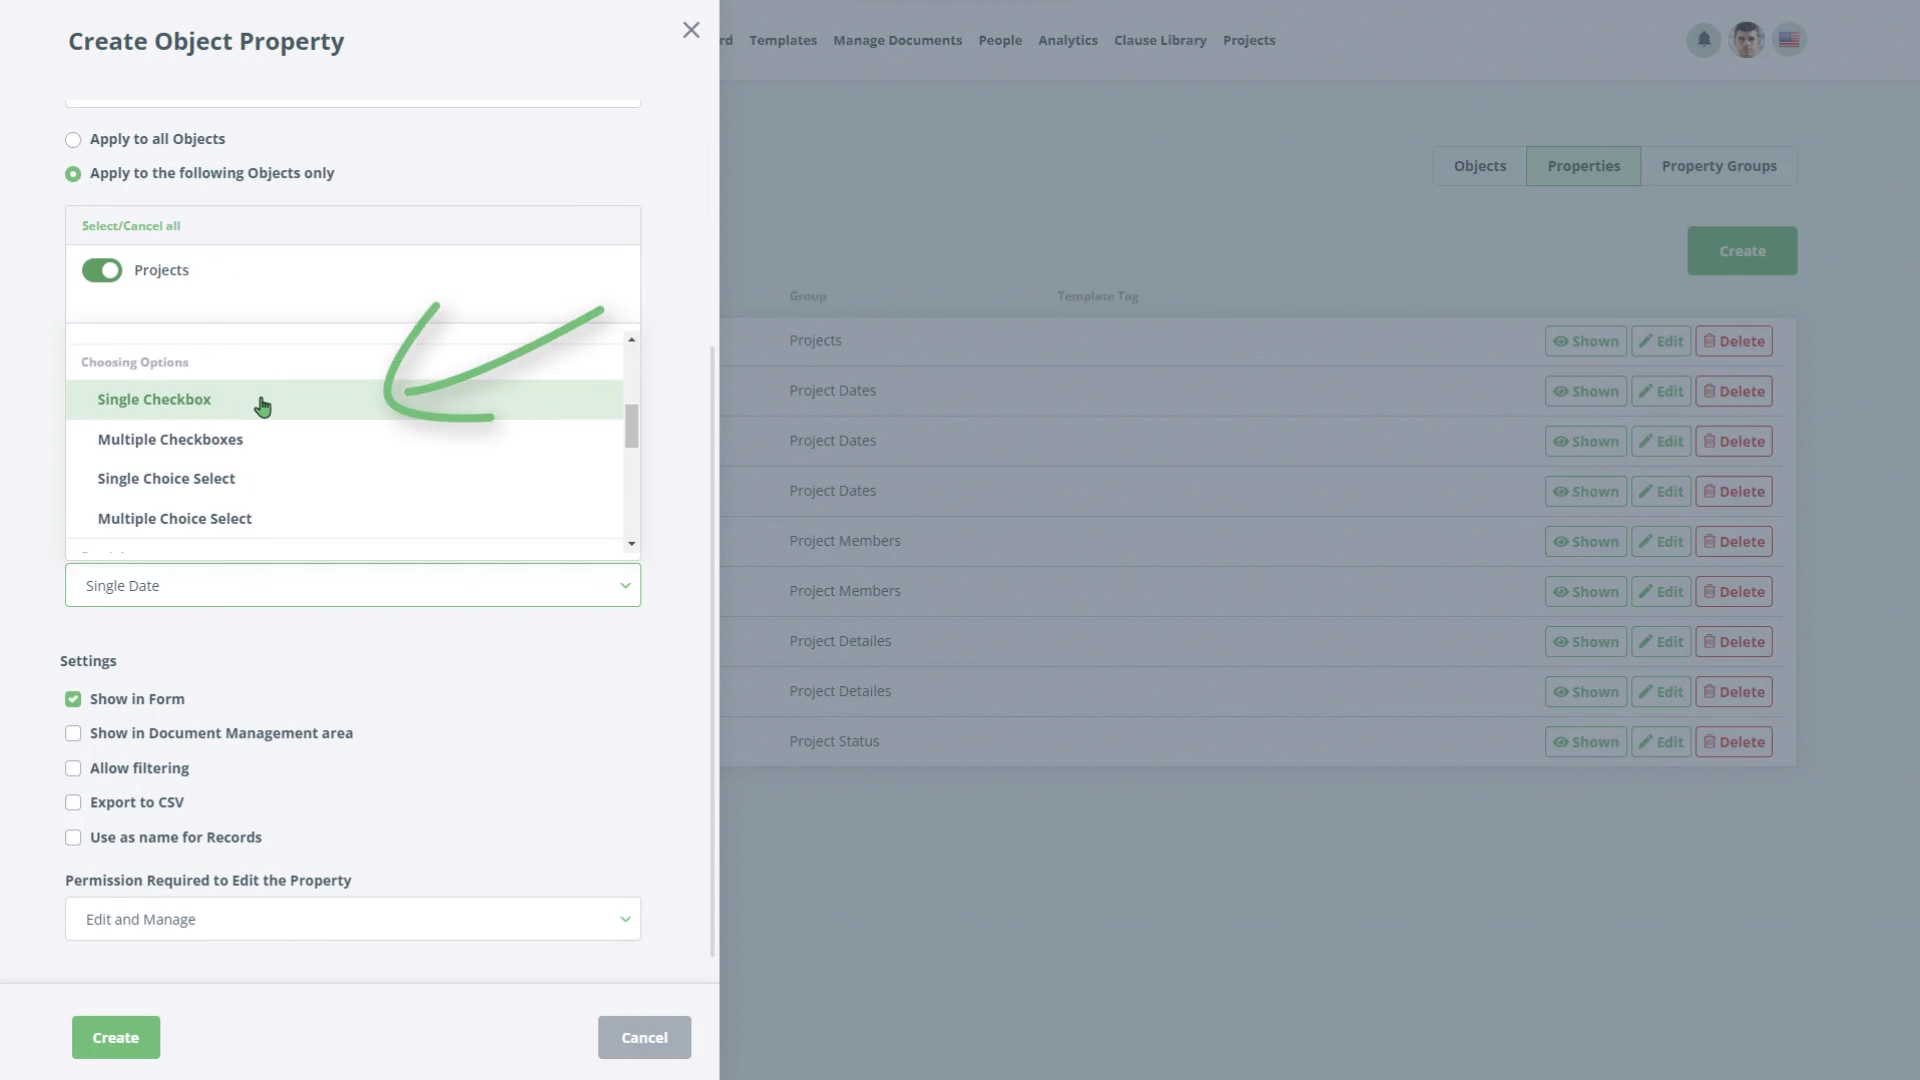
Next, create a new Property called “Active Project”.
Change the Property Type to be “Single Checkbox” with the Label “Active Project?” Set the Property Group to be “Project Status”
Step 6: Create a new Property
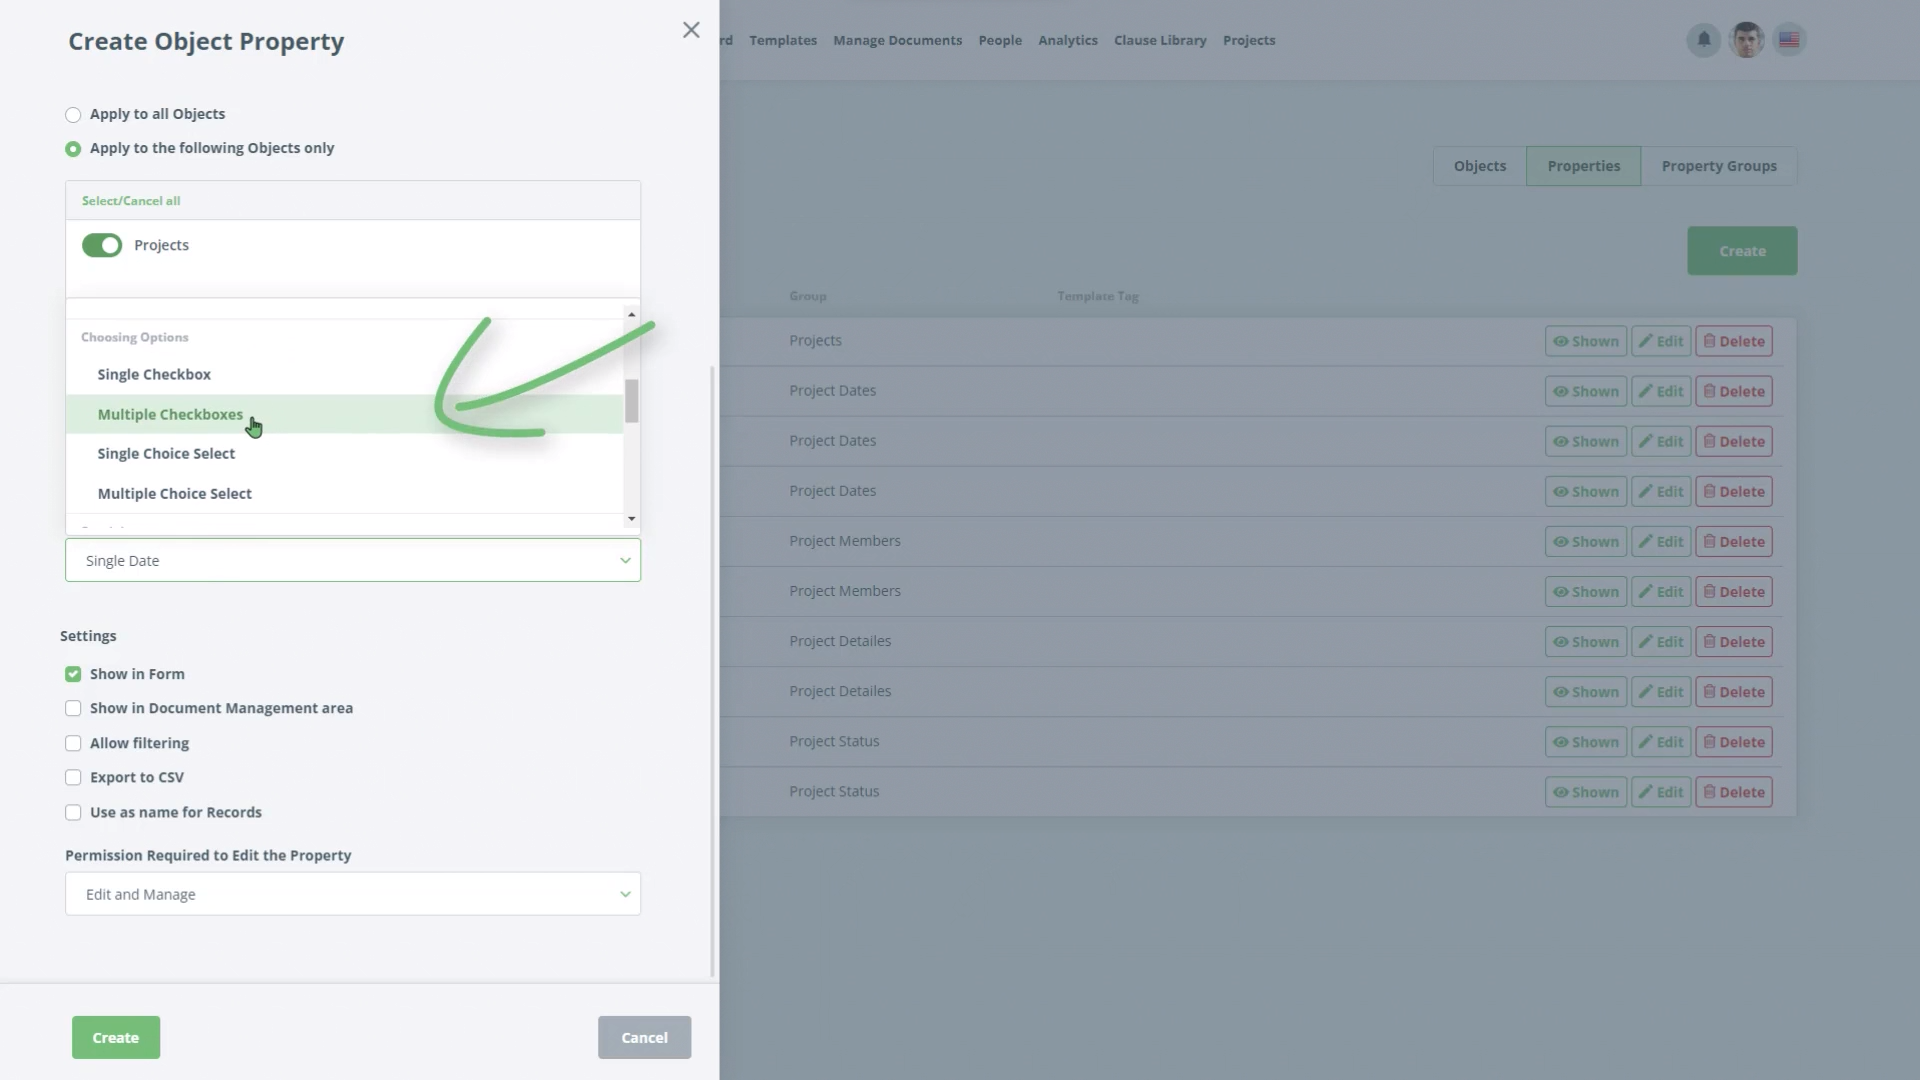
For the final Property, give the name “Project CheckList” and the Property Group “Project Details”. The Property Type should be set to “Multiple Checkbox”.
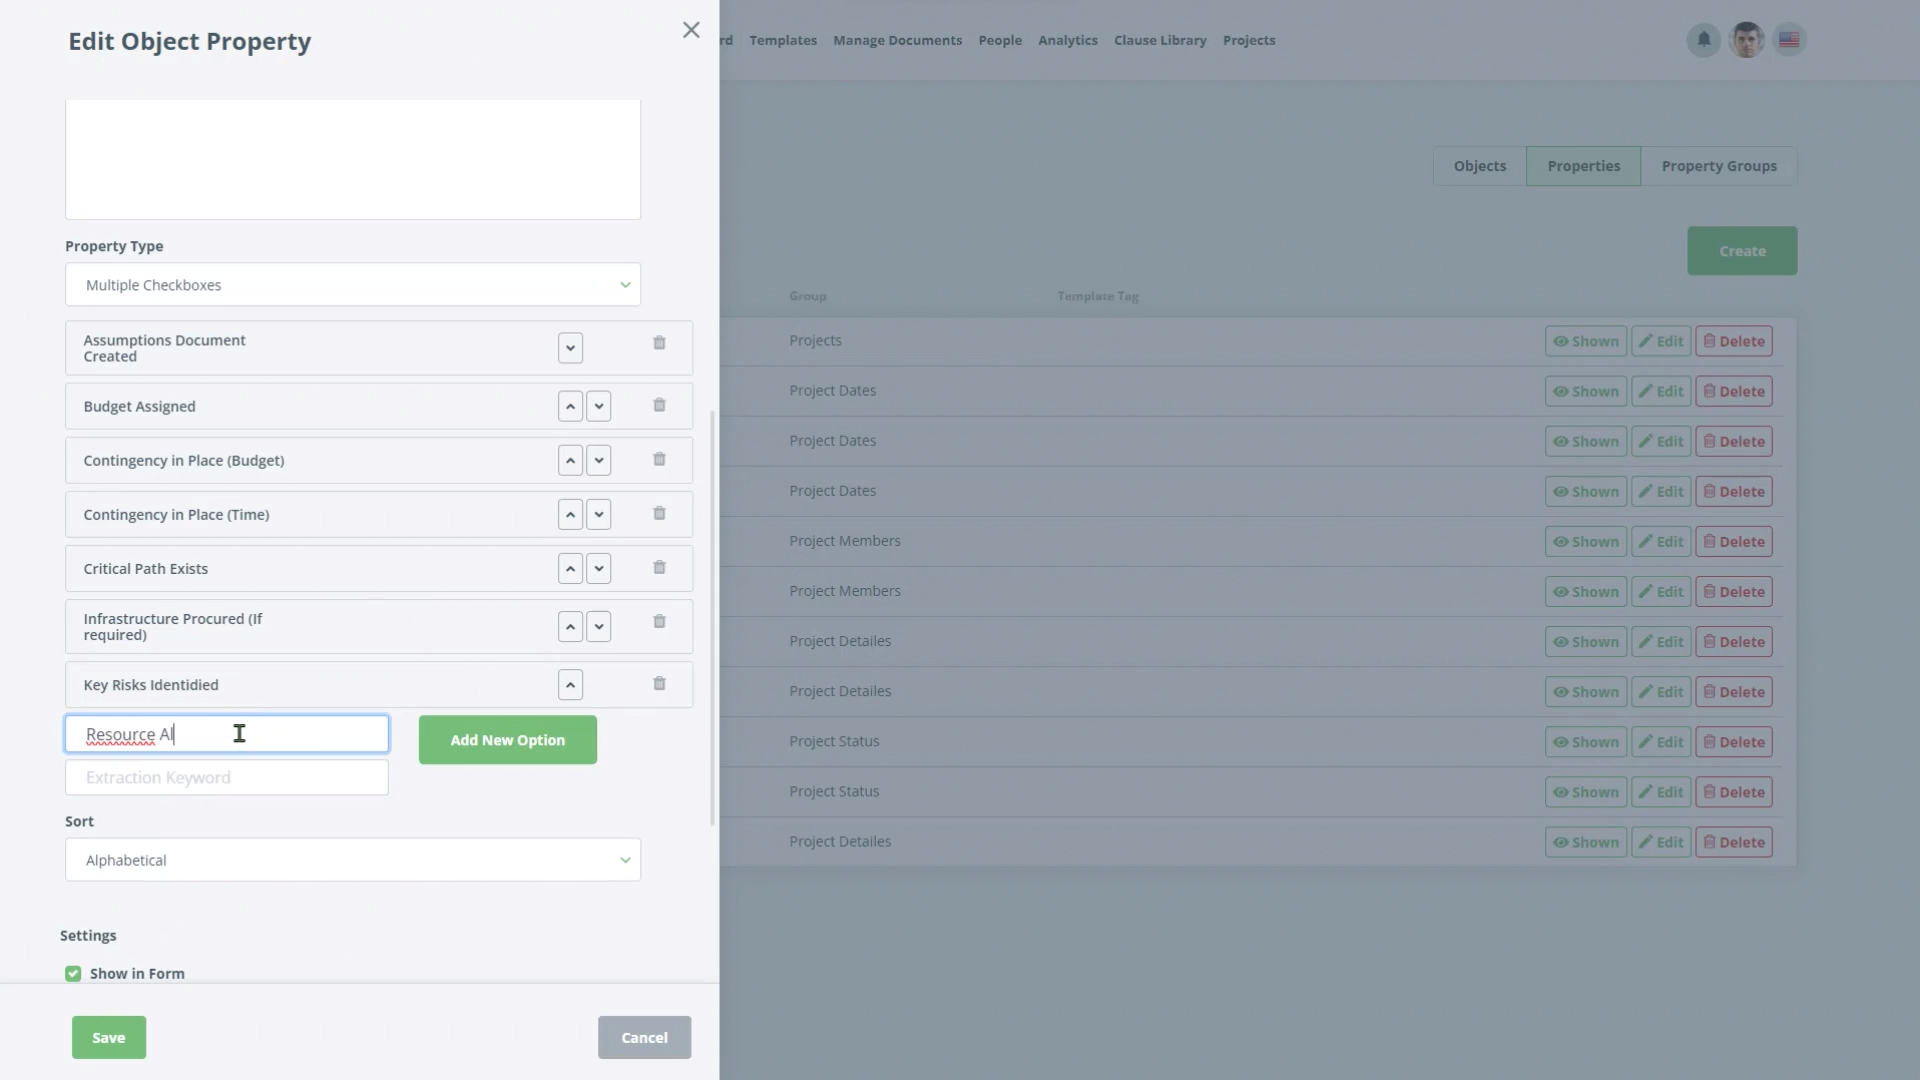
Add the following options to for the checkboxes:
- Assumptions Document Created
- Budget Assigned
- Contingency in Place (Budget)
- Contingency in Place (Time)
- Critical Path Exists
- Infrastructure Procured (If required)
- Key Risks Identified
- Resource Allocated
- Sponsored