Build Project Management Application
Create and use Objects and connect them with your Templates.
Task 5 Create a Workflow
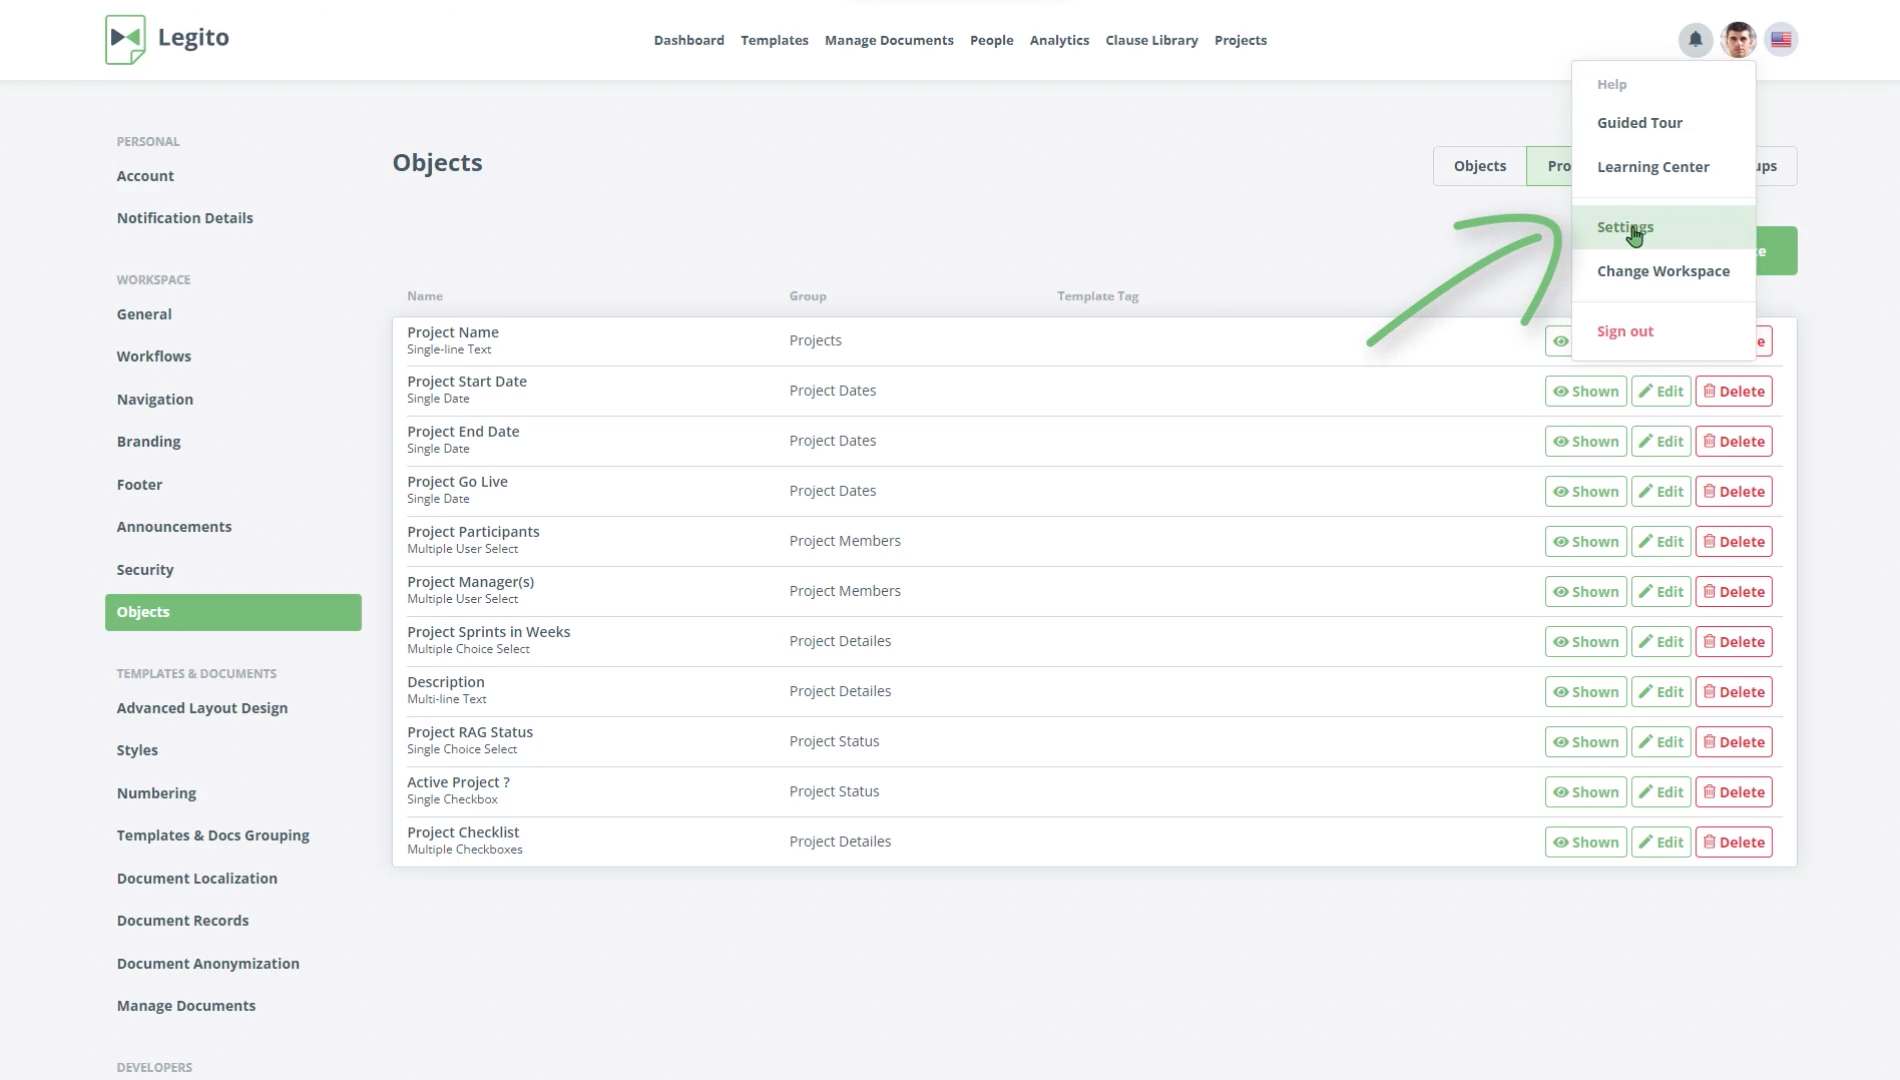
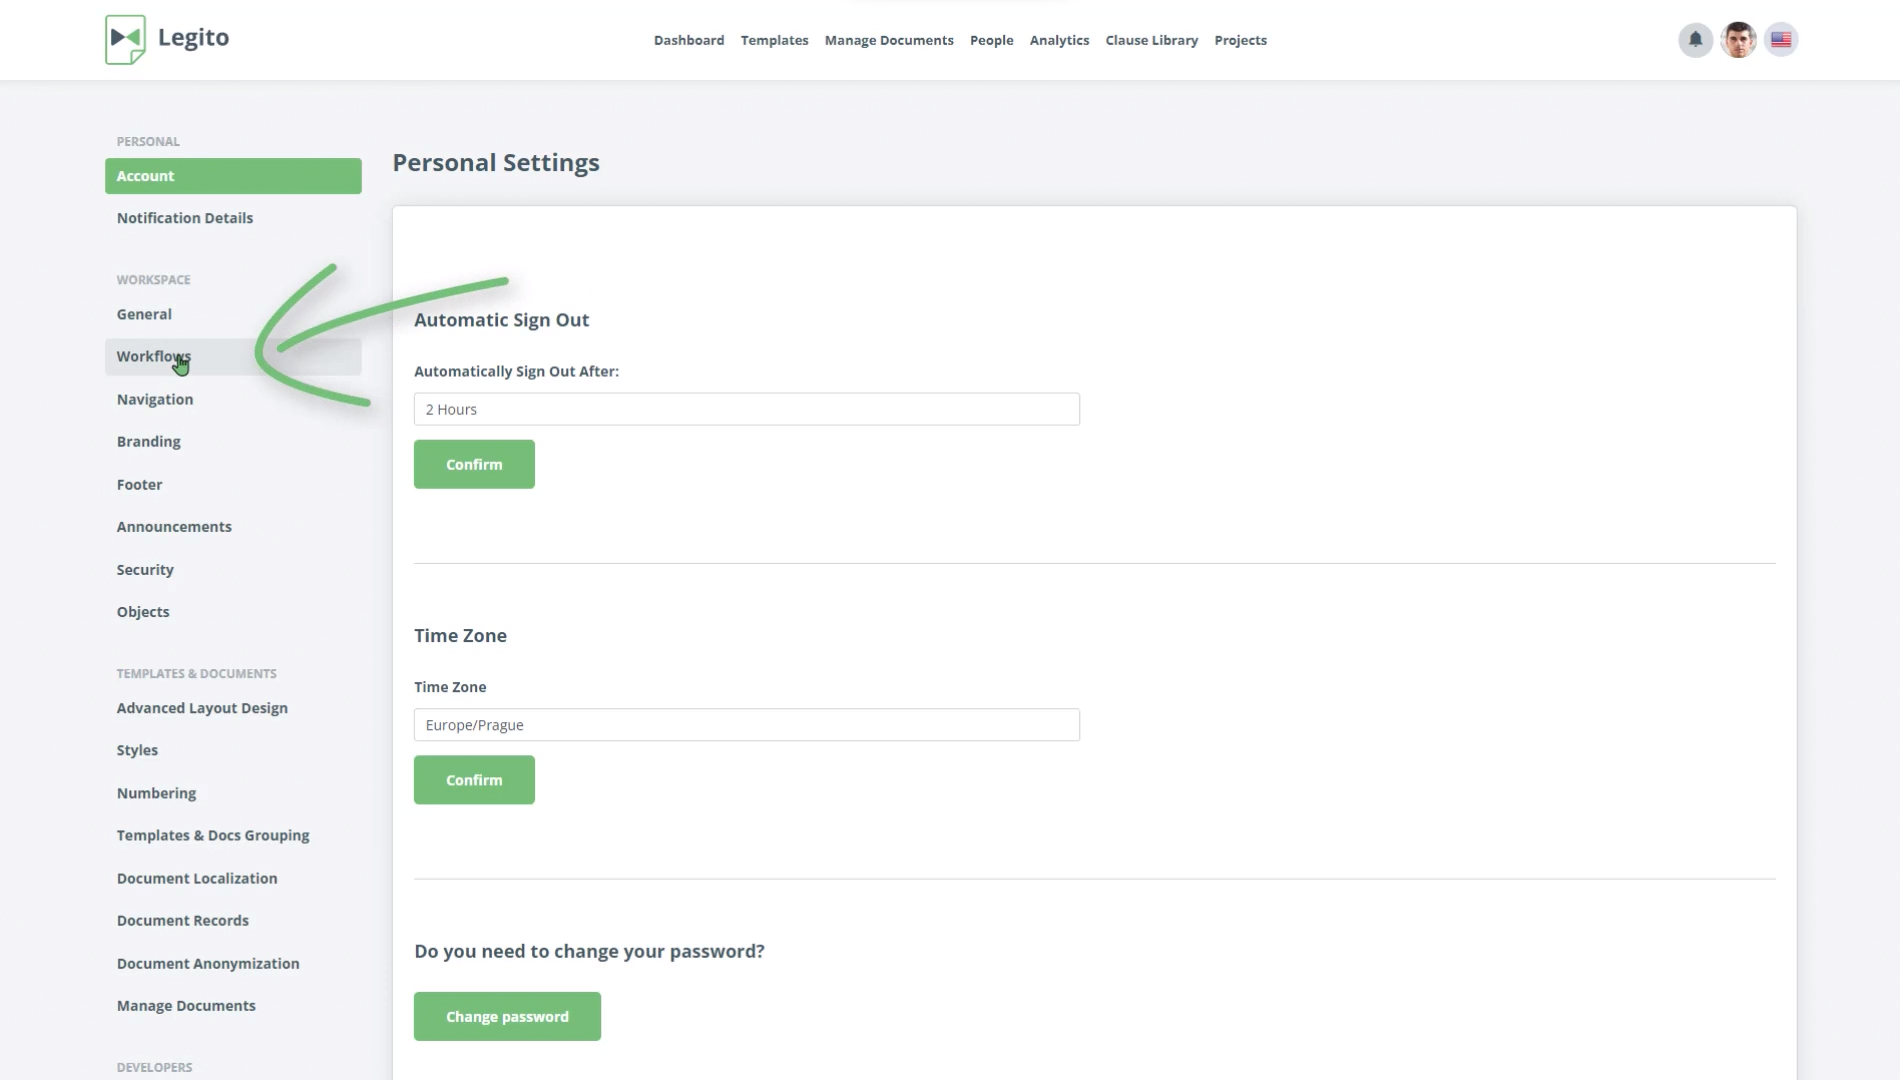
- Go to Settings – Click the icon with your initials on the right-hand side of the top menu on any main landing page, and choose “Settings” from the dropdown.
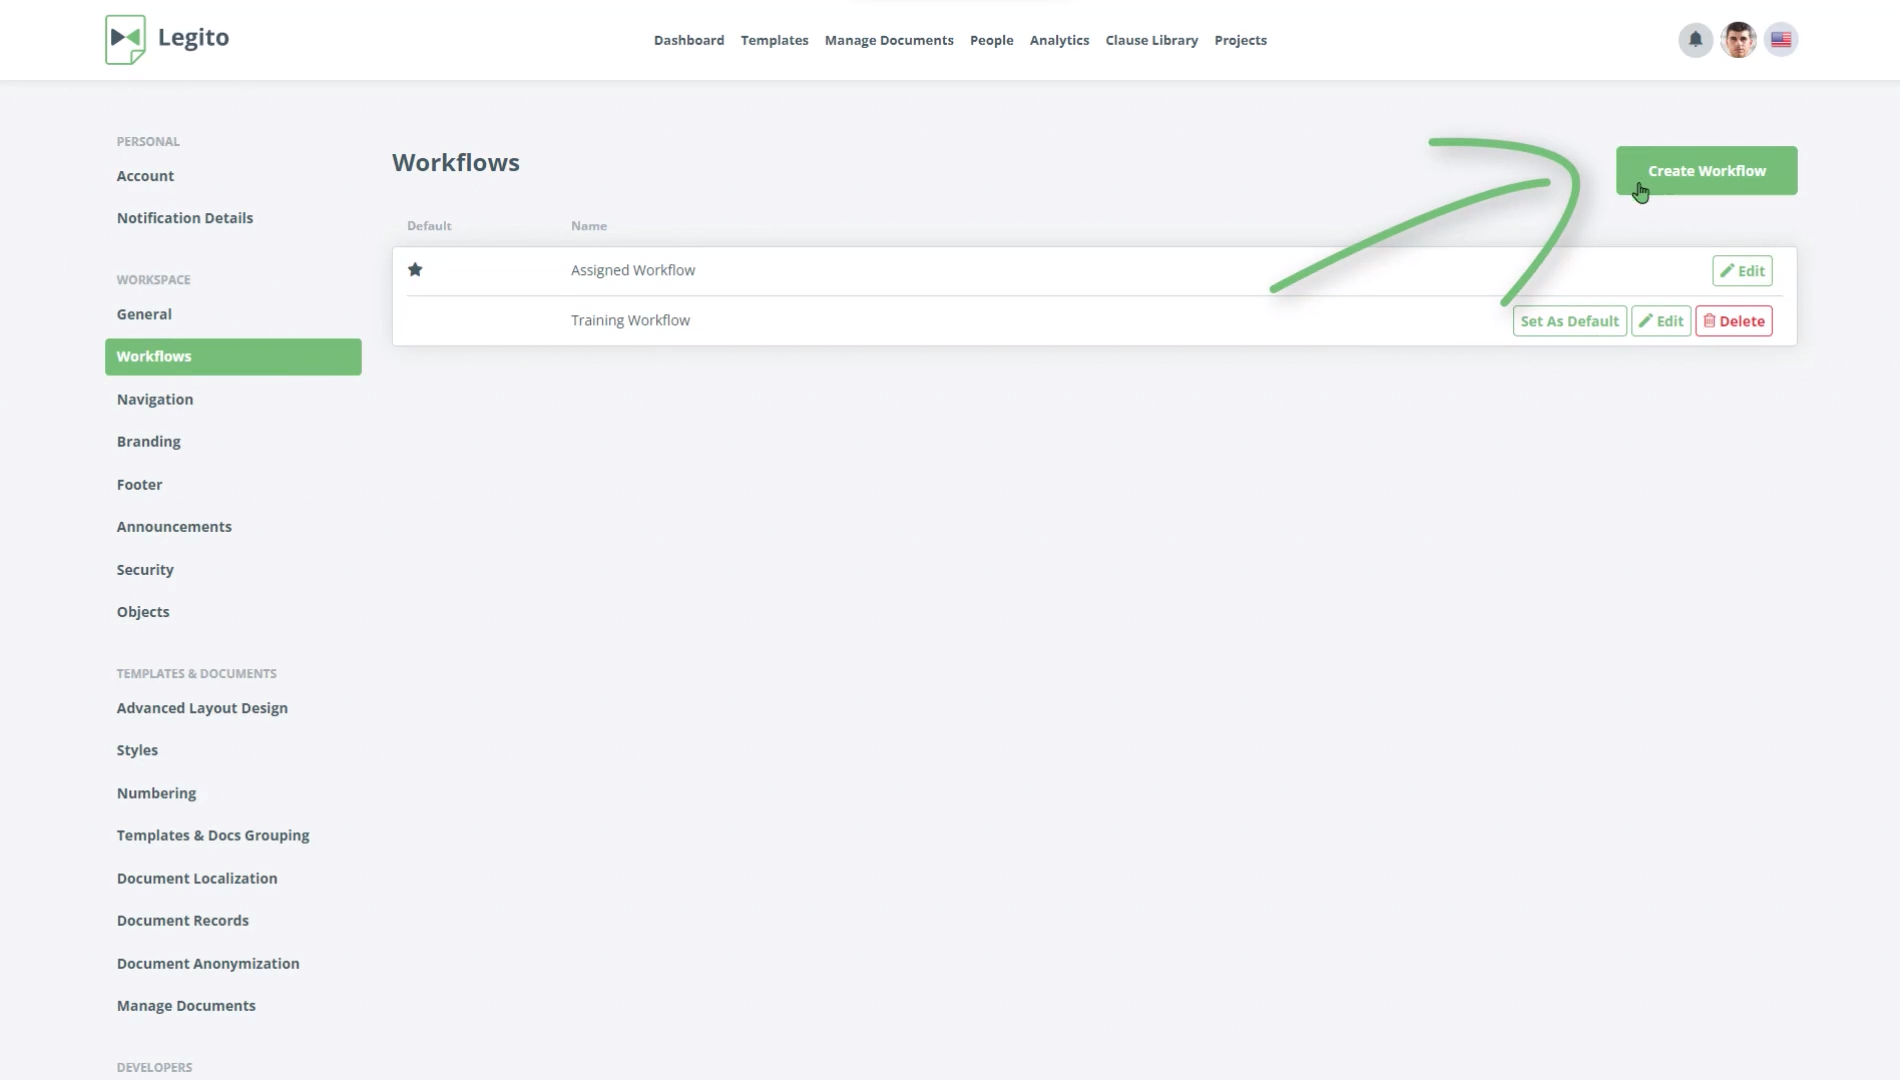
- Choose “Workflows” from the left-hand Column. Click the green Create Record button in the top right-hand corner of your screen.
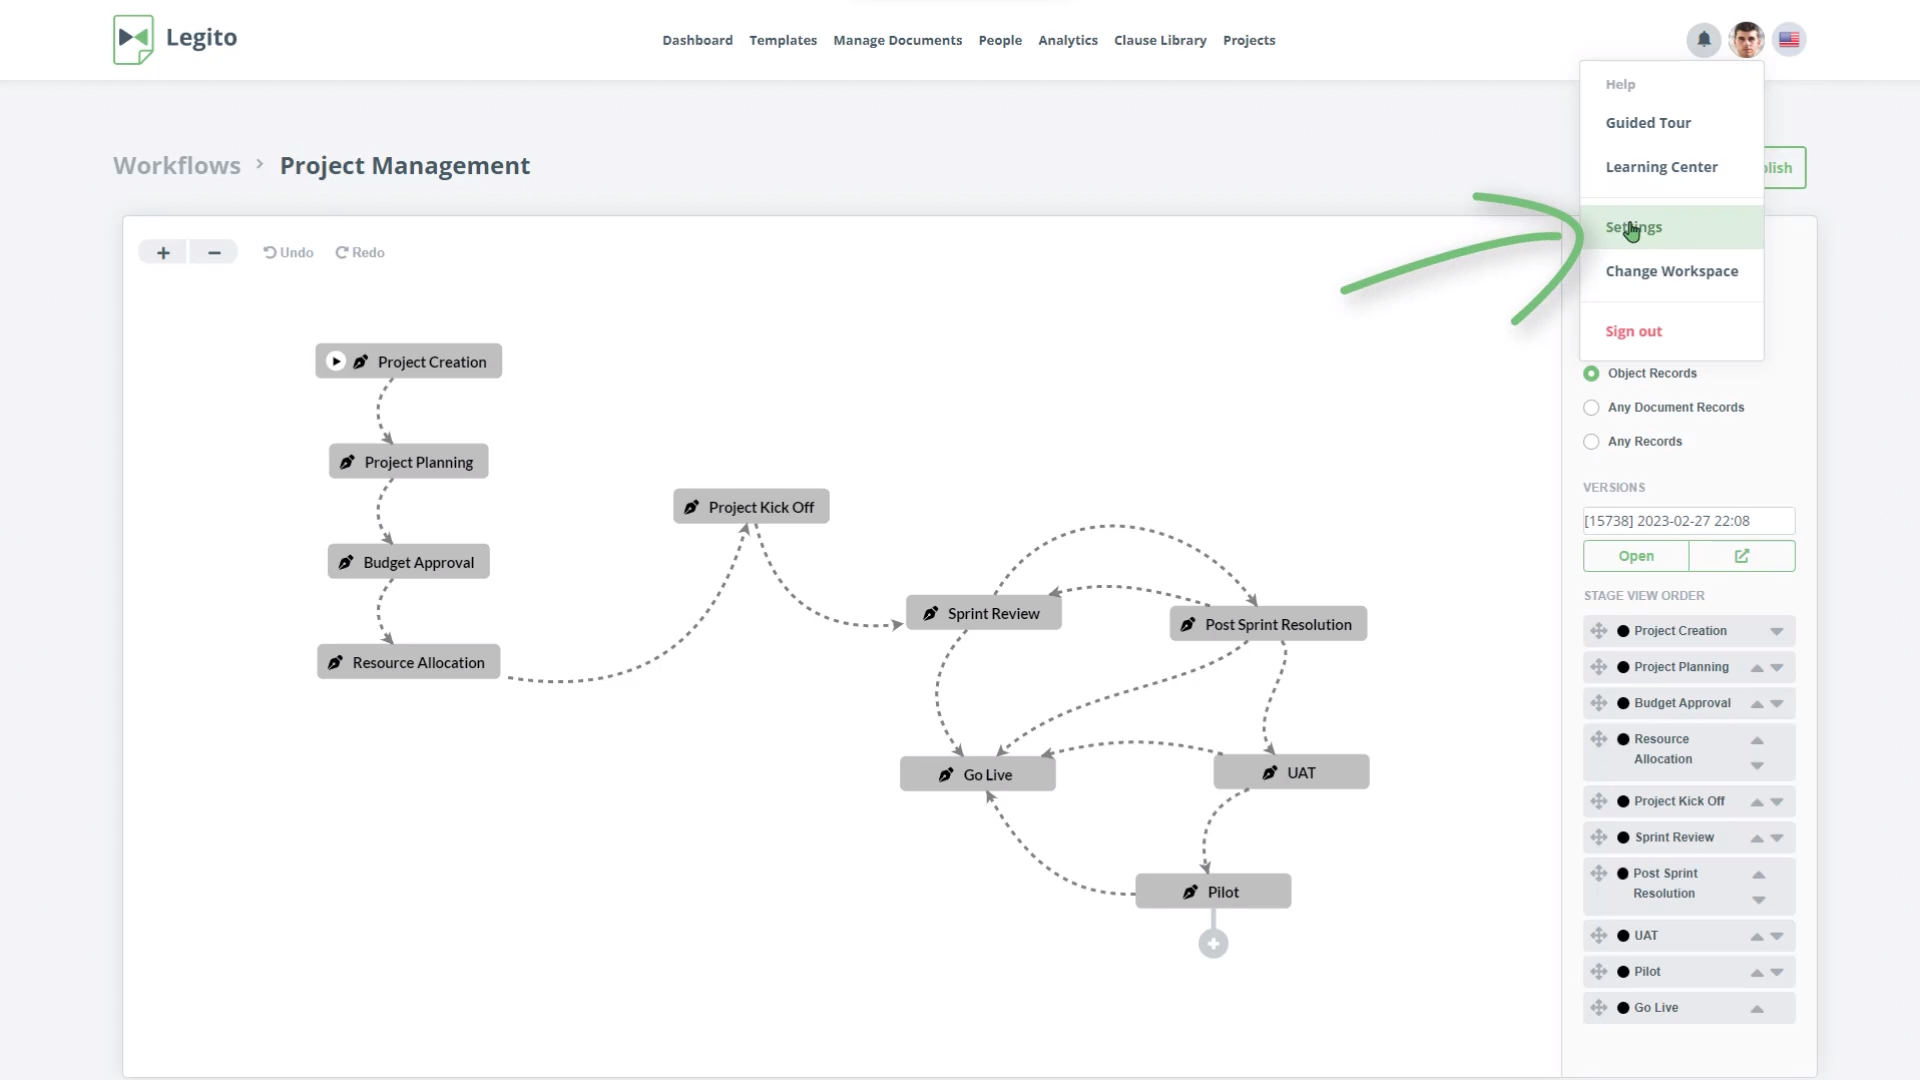
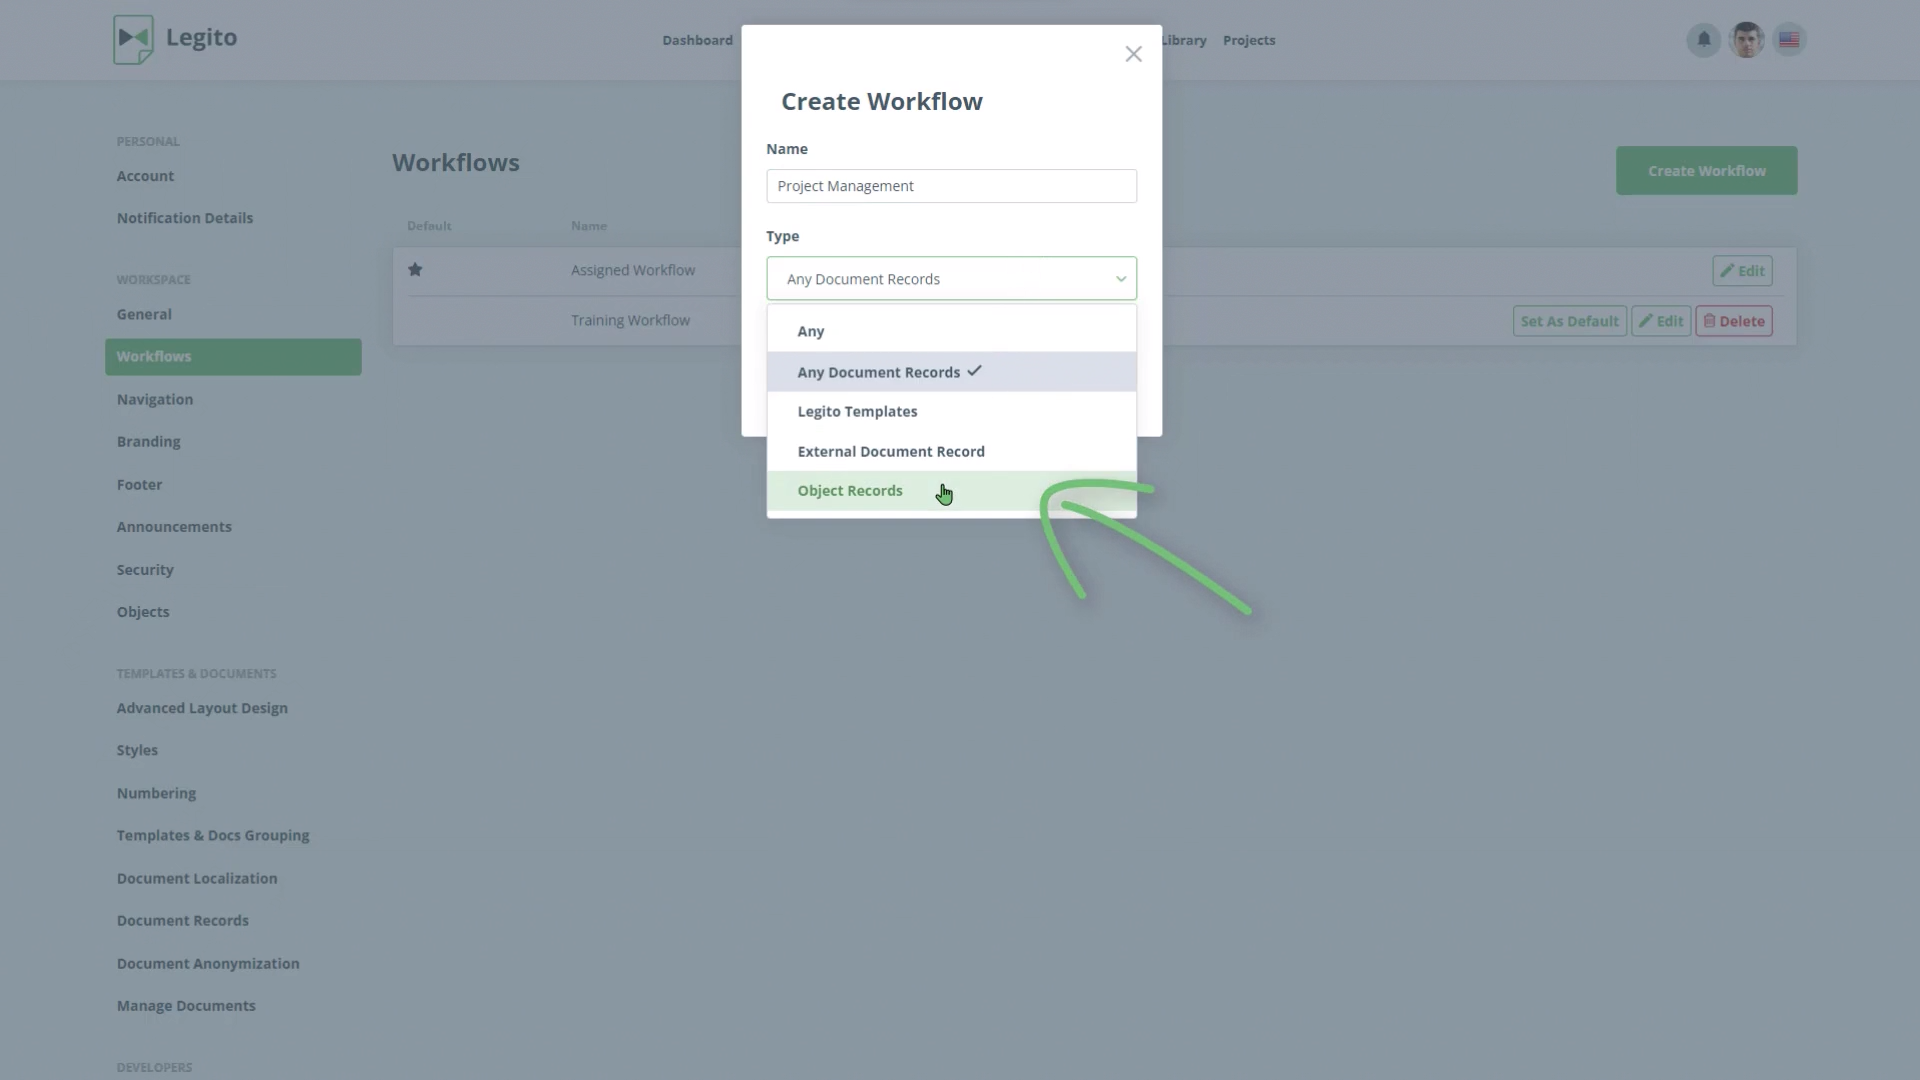
- Give the Workflow the name “Project Management” and select Type to be “Object Records”.
- Add some workflow steps as described in the Workflow onboarding tasks, and click Publish.
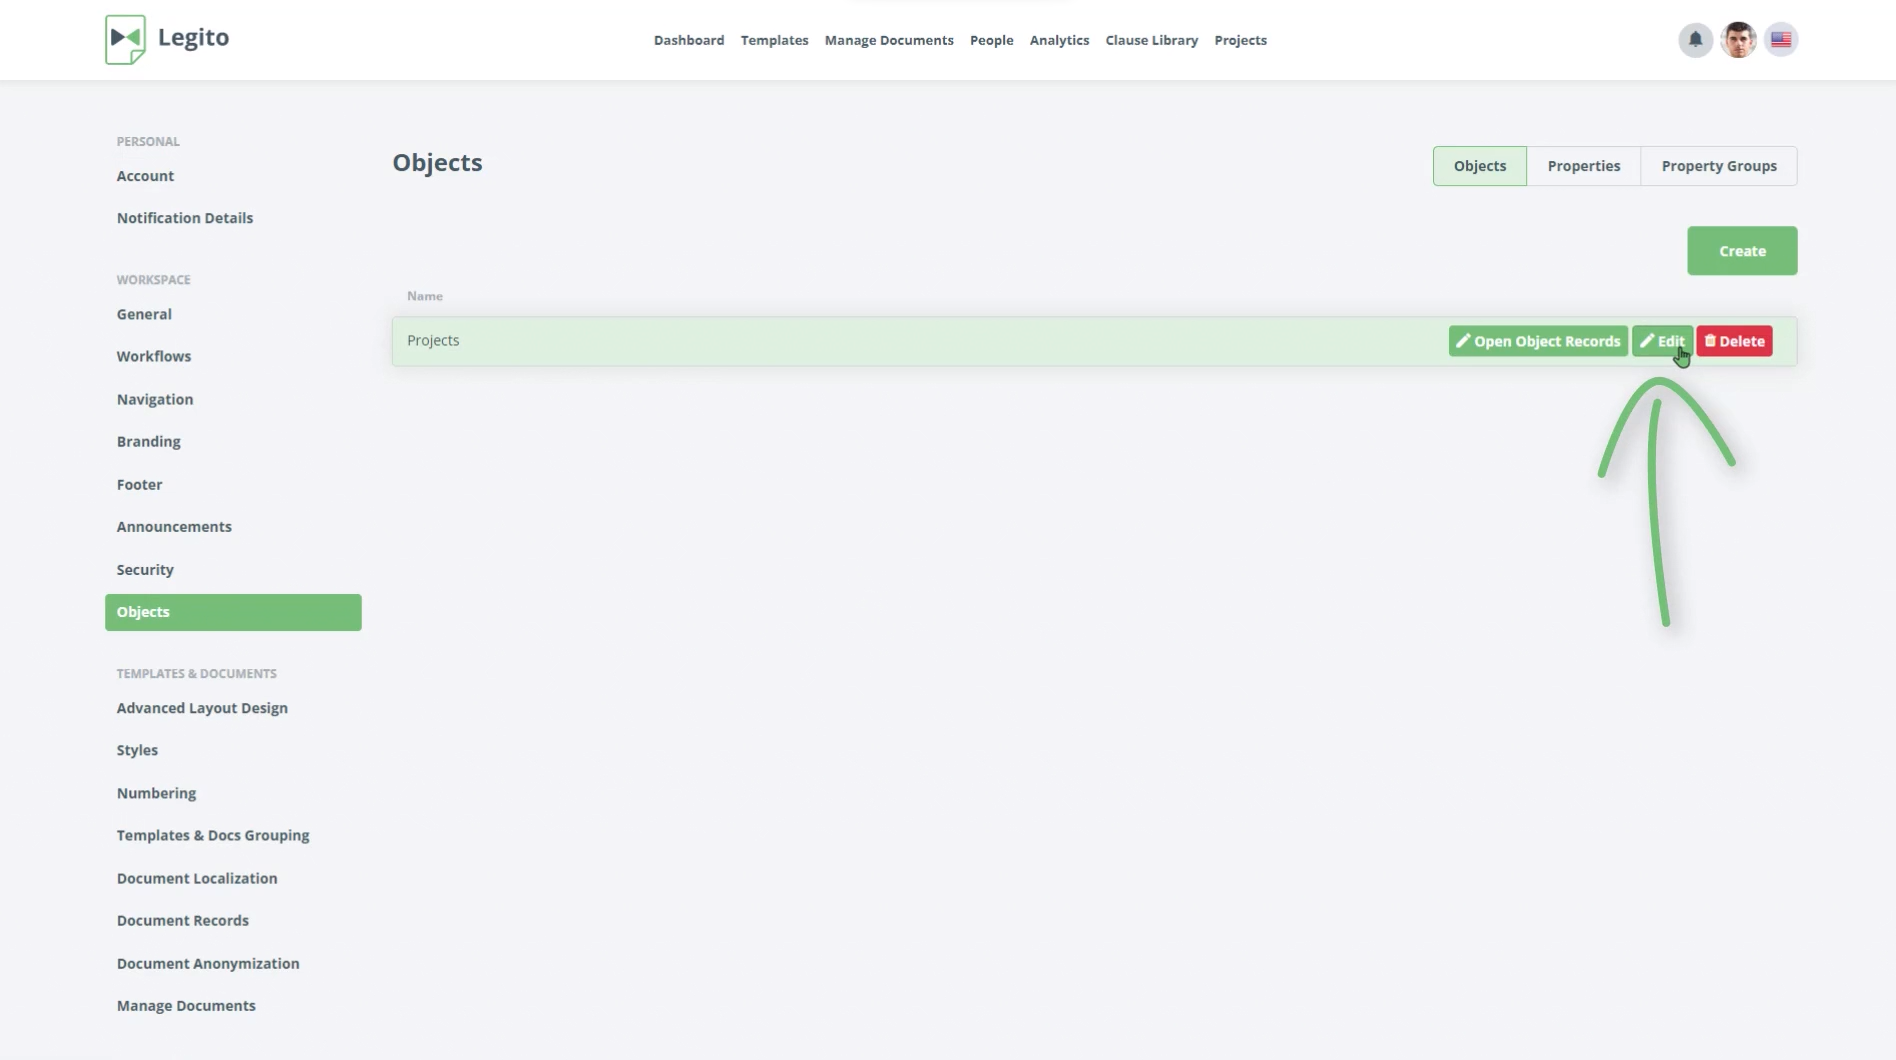
- Go to Settings and click on Objects.
- Click Edit, next to the Projects object.
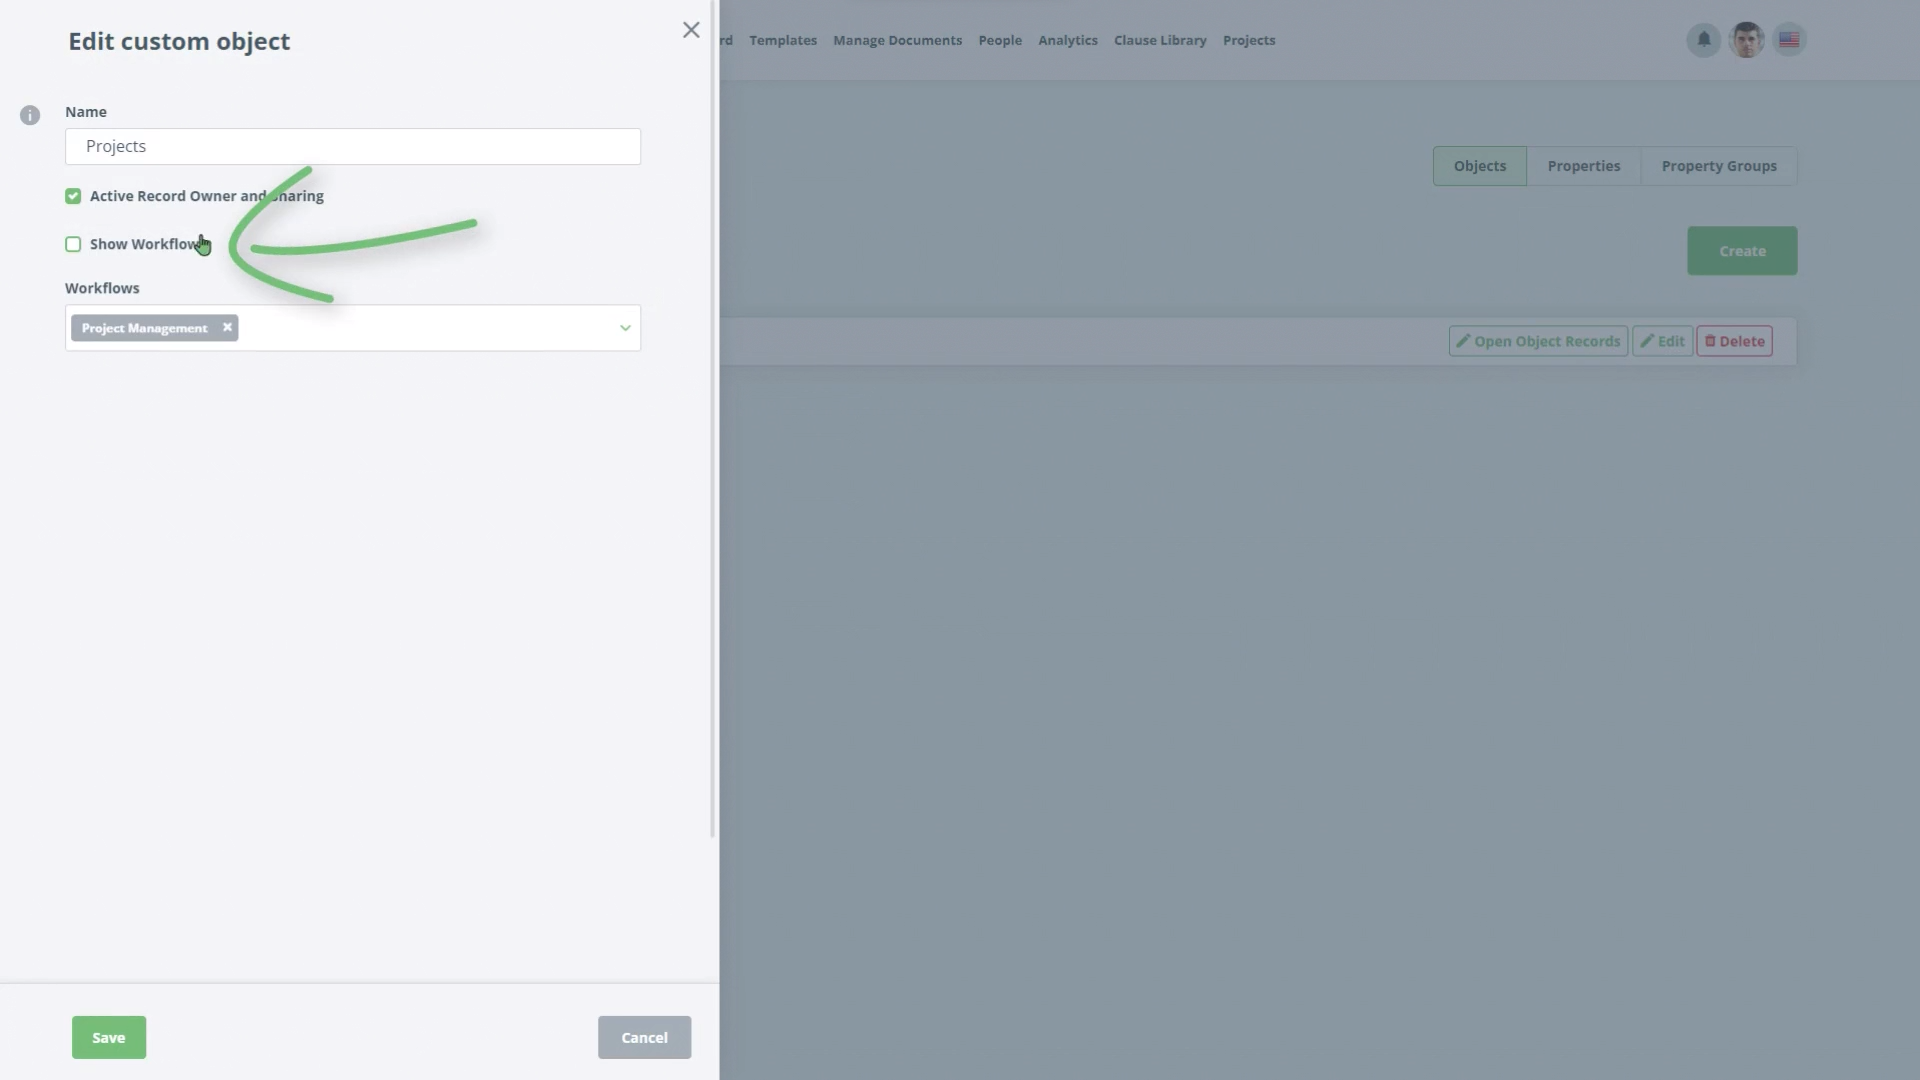
- Click Show Workflow. If there are no other workflows for objects, the Project Management workflow will already be populated in the Workflows select box. If you have other workflows available, select the Project Management workflow. Click Save.
Step-by-Step Guide
Step 1: Go to "Settings"
Go to “Settings” – Click the icon with your initials on the right-hand side of the top menu on any main landing page, and choose “Settings” from the dropdown
Choose “Workflows” from the left-hand Column. Click the green Create button in the top right-hand corner of your screen.
Give the Workflow the name “Project Management” and select Type to be “Object Records”
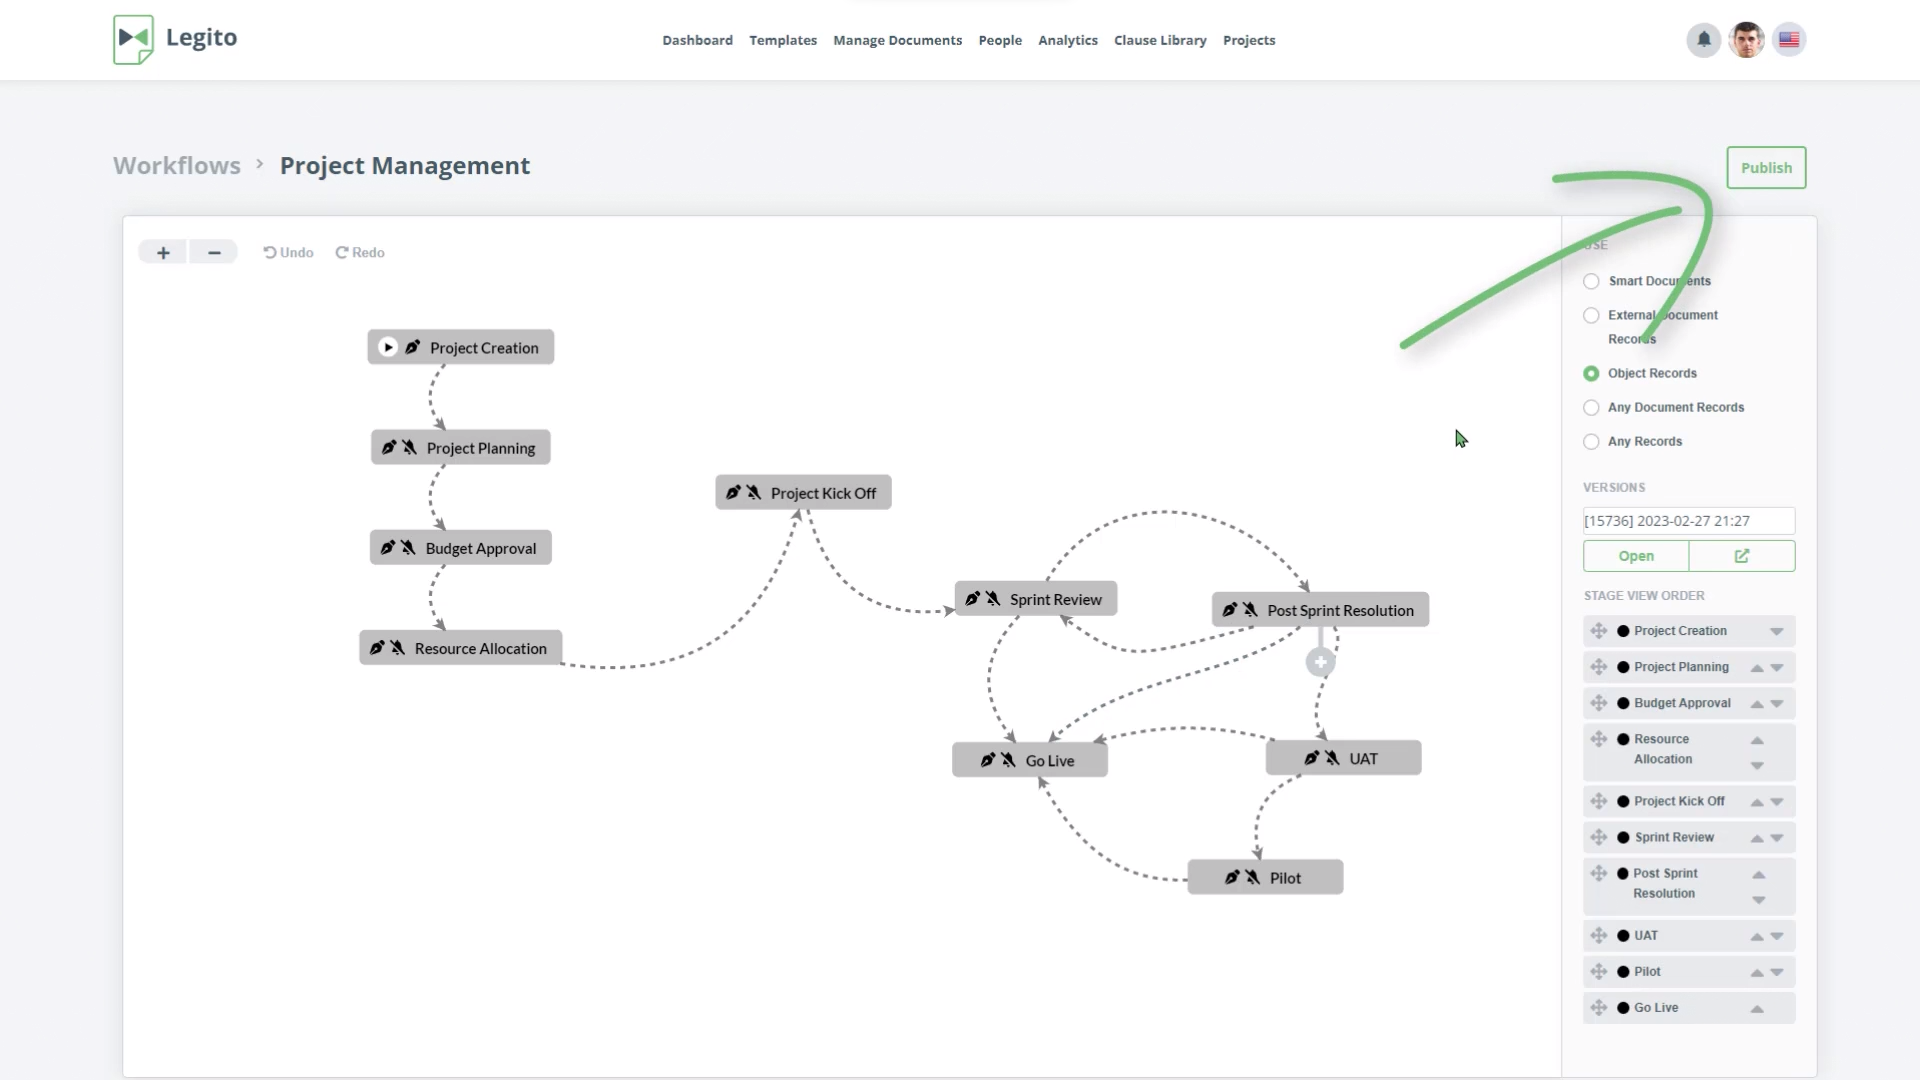
Step 2: Add some workflow steps
Add some workflow steps as described in the Workflow onboarding tasks, and click Publish
Go to Settings and click on Objects.
Click Edit, next to the Projects object.
Click Show Workflow. If there are no other workflows for objects, the Project Management workflow will already be populated in the Workflows select box. If you have other workflows available, select the Project Management workflow. Click Save.