Document Drafting Automation Basics
Feel the magical moment when your first automated clause starts working, and you realize how much Legito can do for you.
 25 min | 13 Tasks
Task 9 Link to Clause
Now, let’s work on using Link Elements.
Links generally are used in two ways:
- As a reference to other Clauses in a template or among a group of templates in a Template Suite; or
- As a reference to text added by a user in another section of the Template (populating texts across documents).
In this task we will use the link as described in option a.
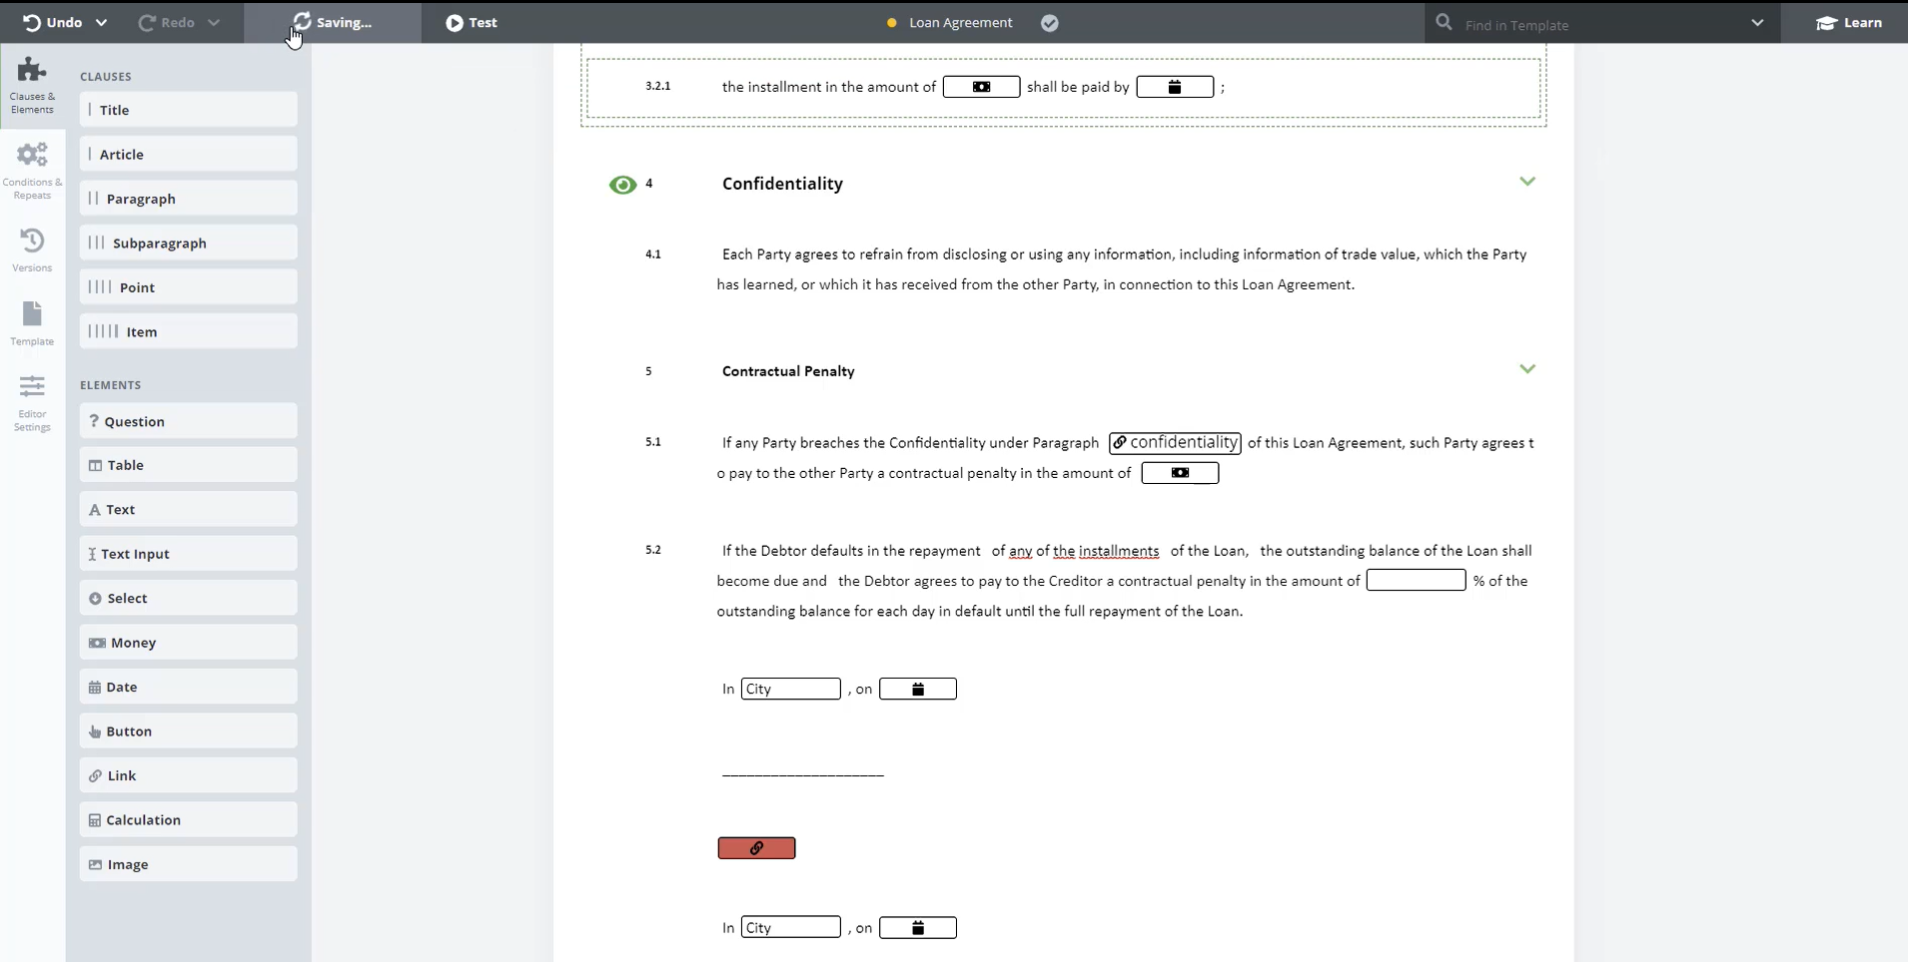
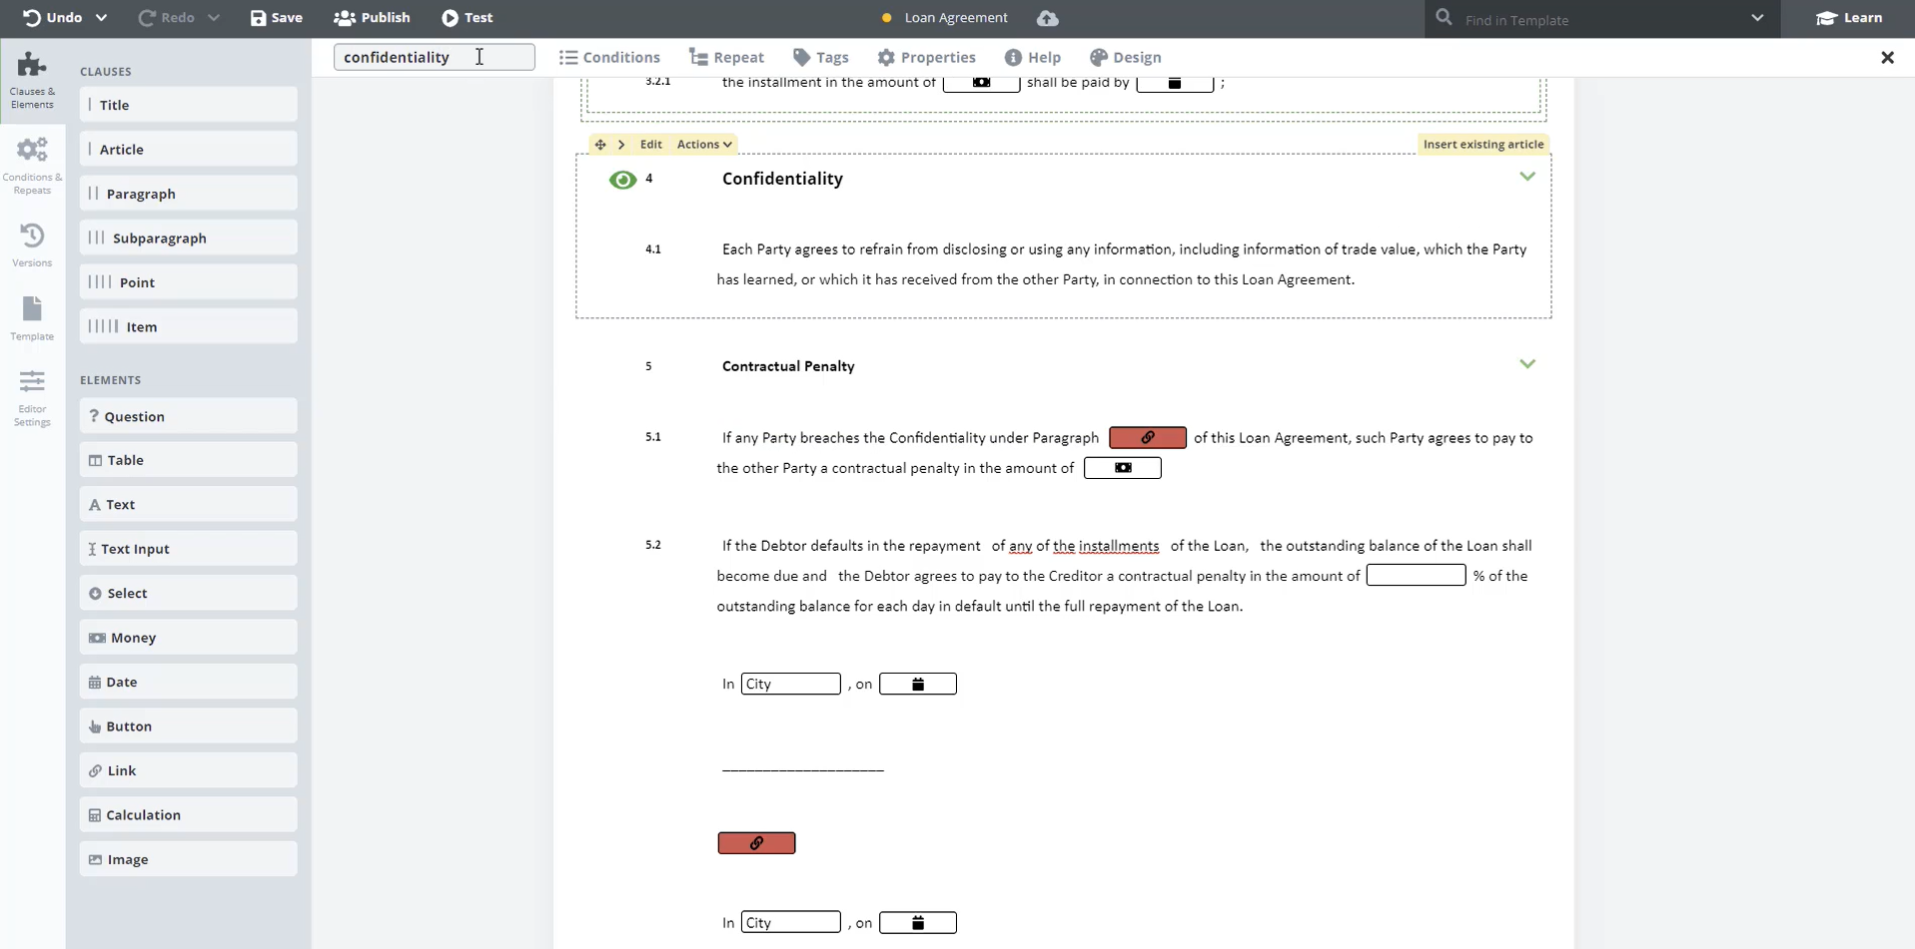
You will notice that paragraph 5.1 is missing some information. We are now going to add a Link Element. To insert an Element into the content of an existing Text Element, you can use the Split operation.
Step-by-Step Guide
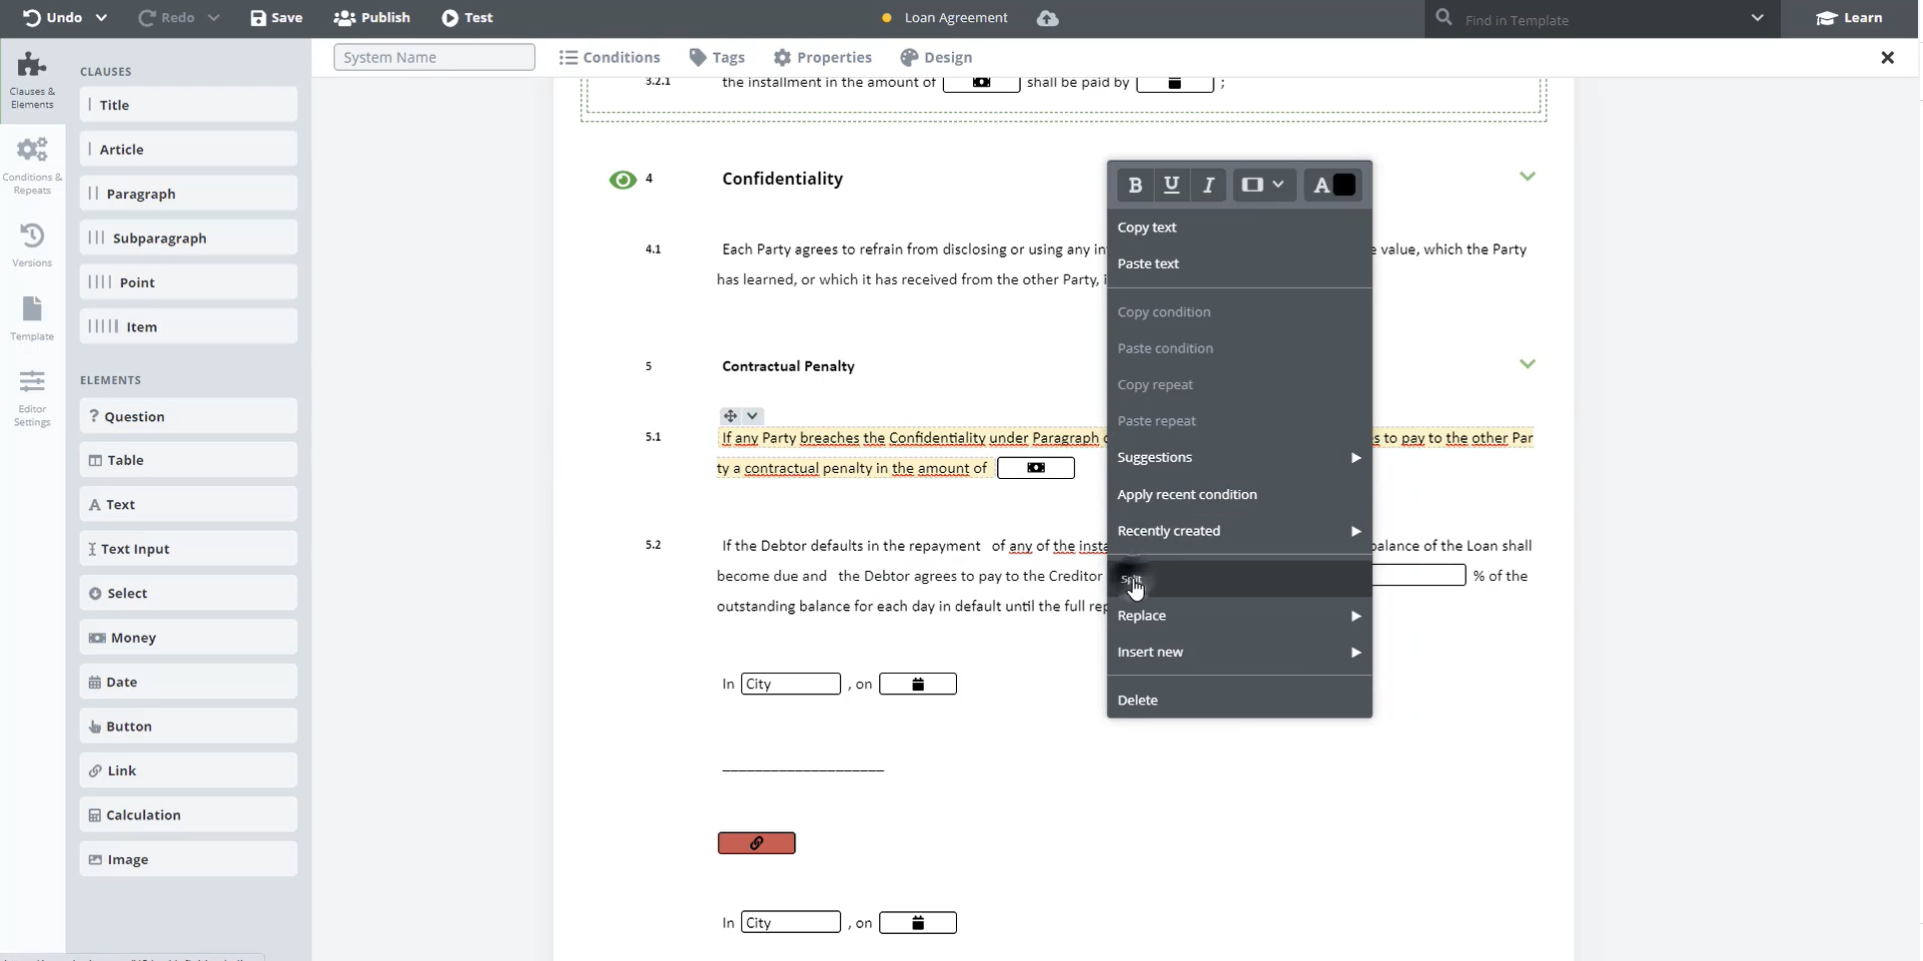
Step 1: Cut Text Element in two
Click on the area where you intend to insert the Link Element (After the word “Paragraph”).
Right-click and select Split. The Text Element has now been cut in two.
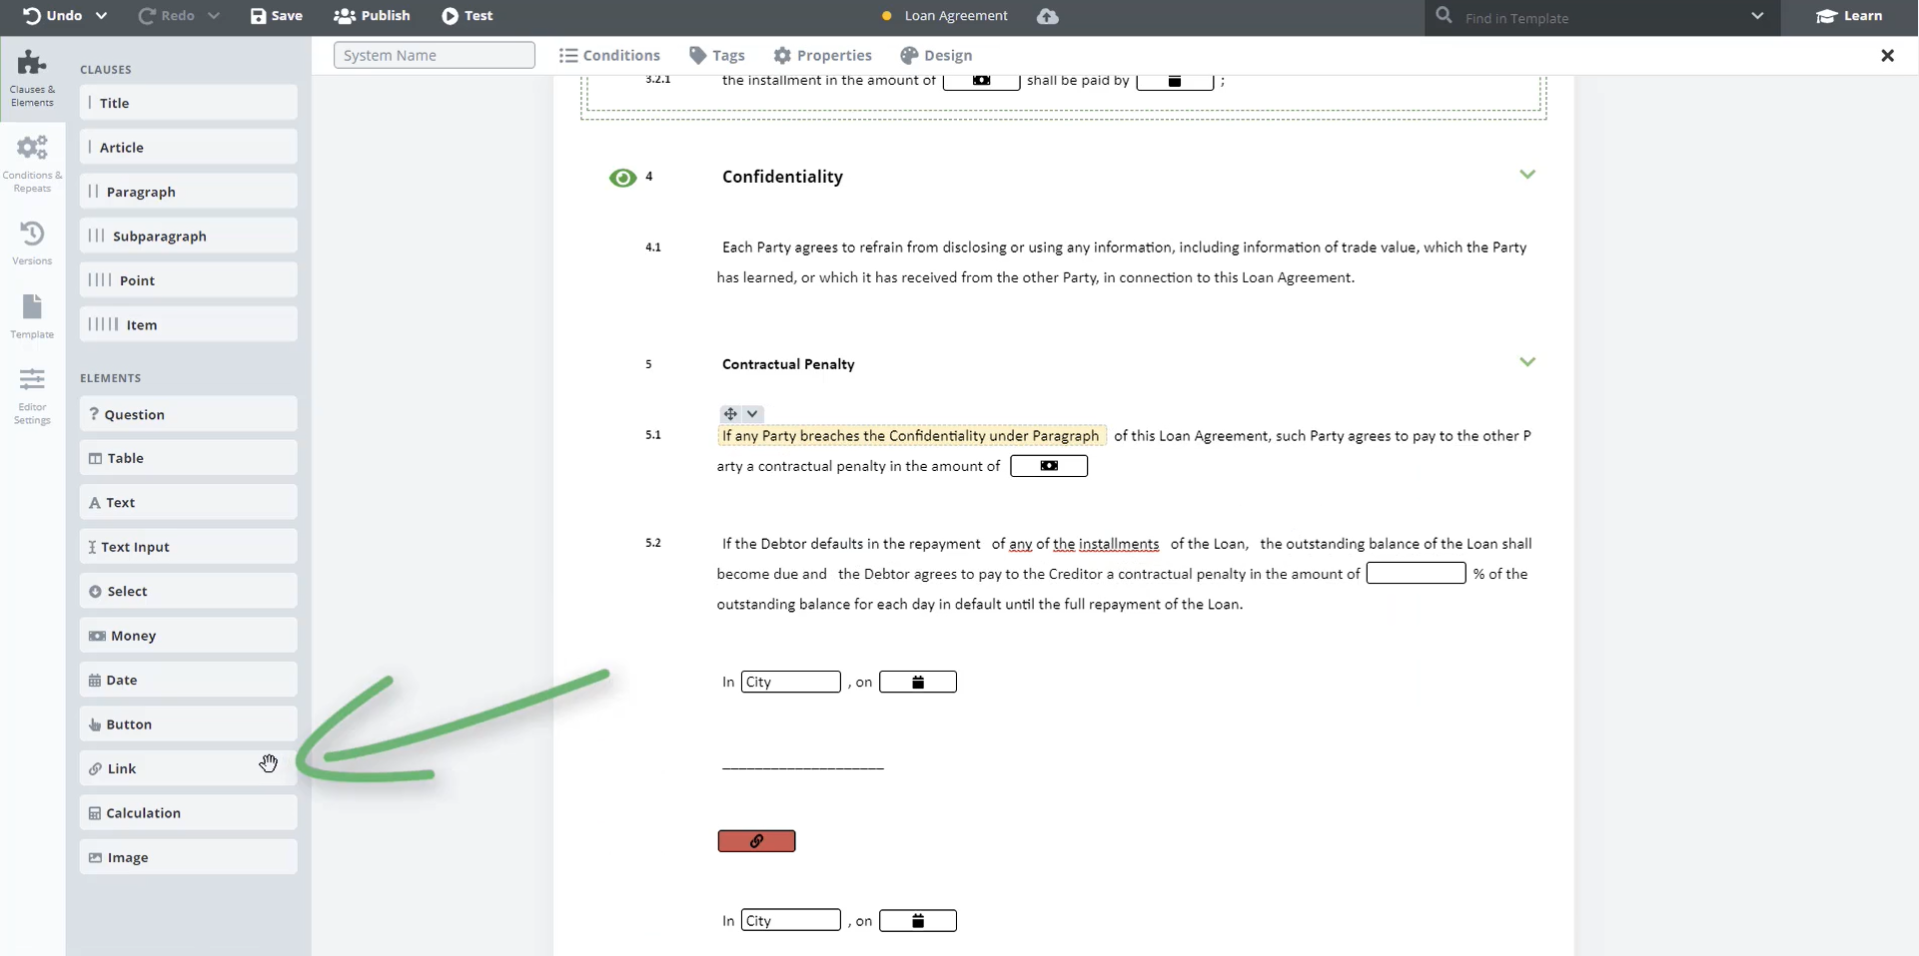
Step 2: Click and Drag the Link Element
Now Click and Drag the Link Element Widget from the left, placing it at the end of the highlighted text, after the word, “Paragraph”. Save your work.
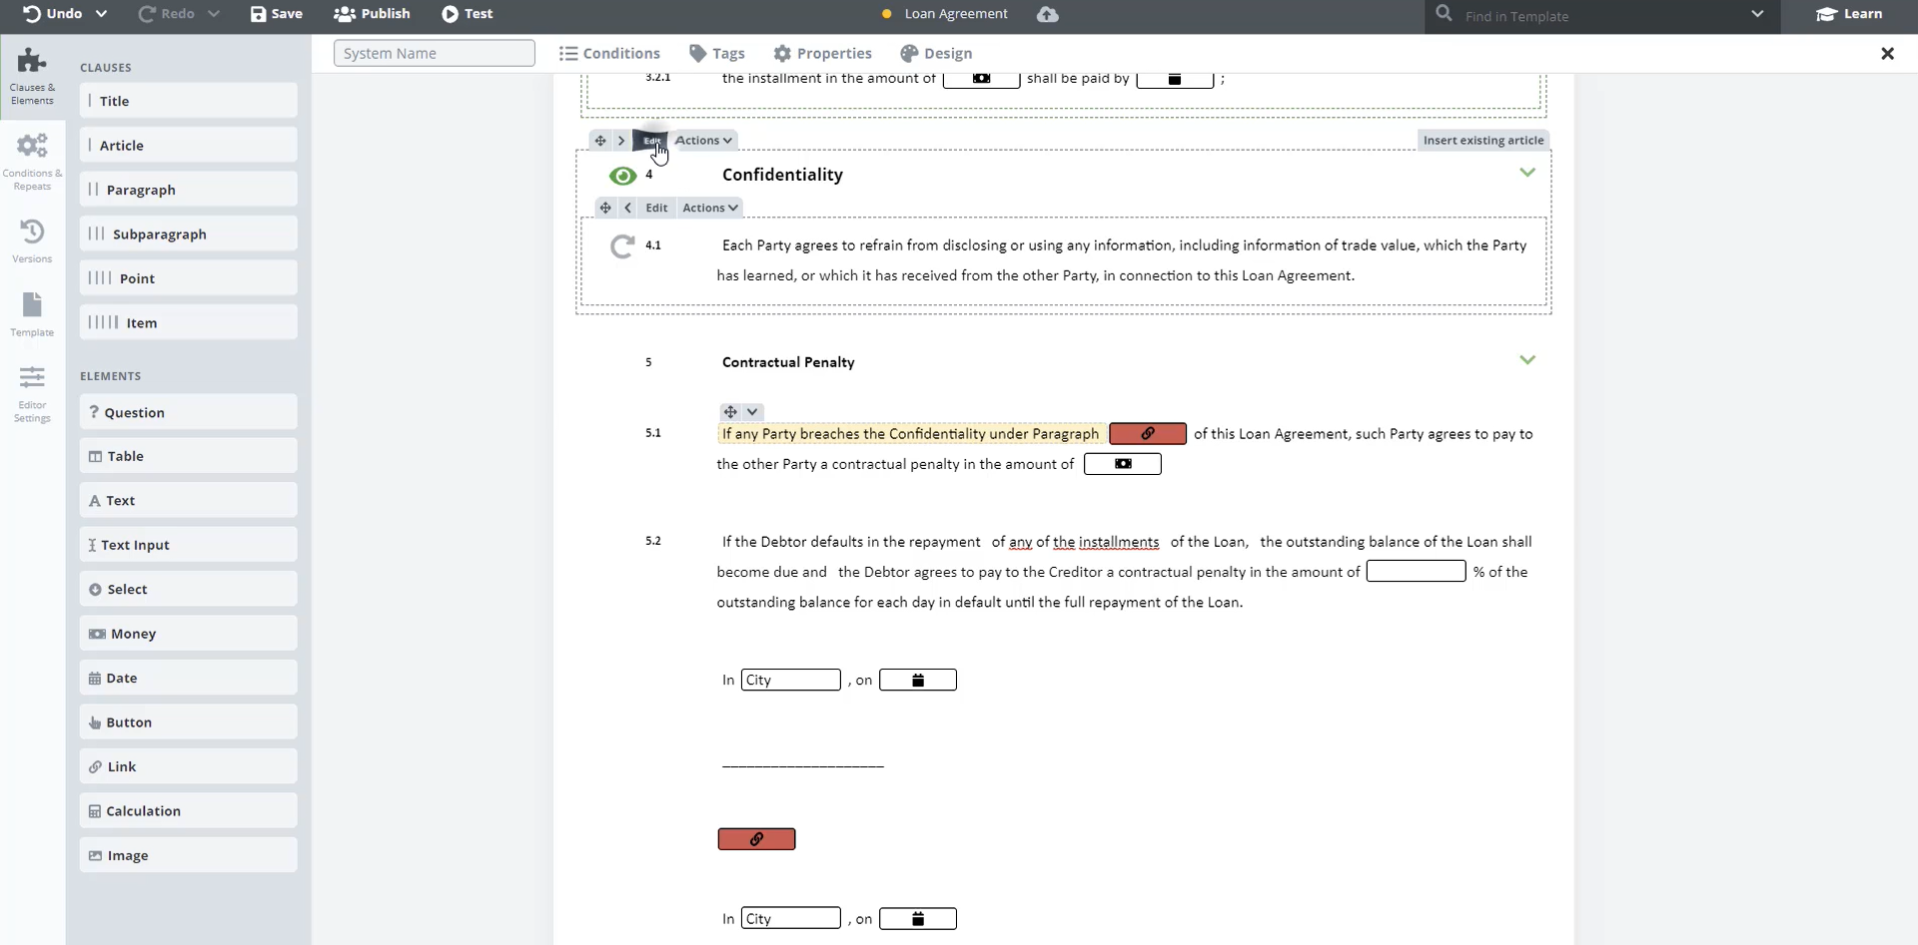
Step 3: Click the Edit button for Article 4
Click the Edit button for Article 4 (Confidentiality) and give it the System Name of Confidentiality.
Step 4: Find and select the suggestion
Click the Link Element and, to relate it to the correct Clause by finding and selecting the suggestion “Link to Clause in template Loan Agreement named Confidentiality”.
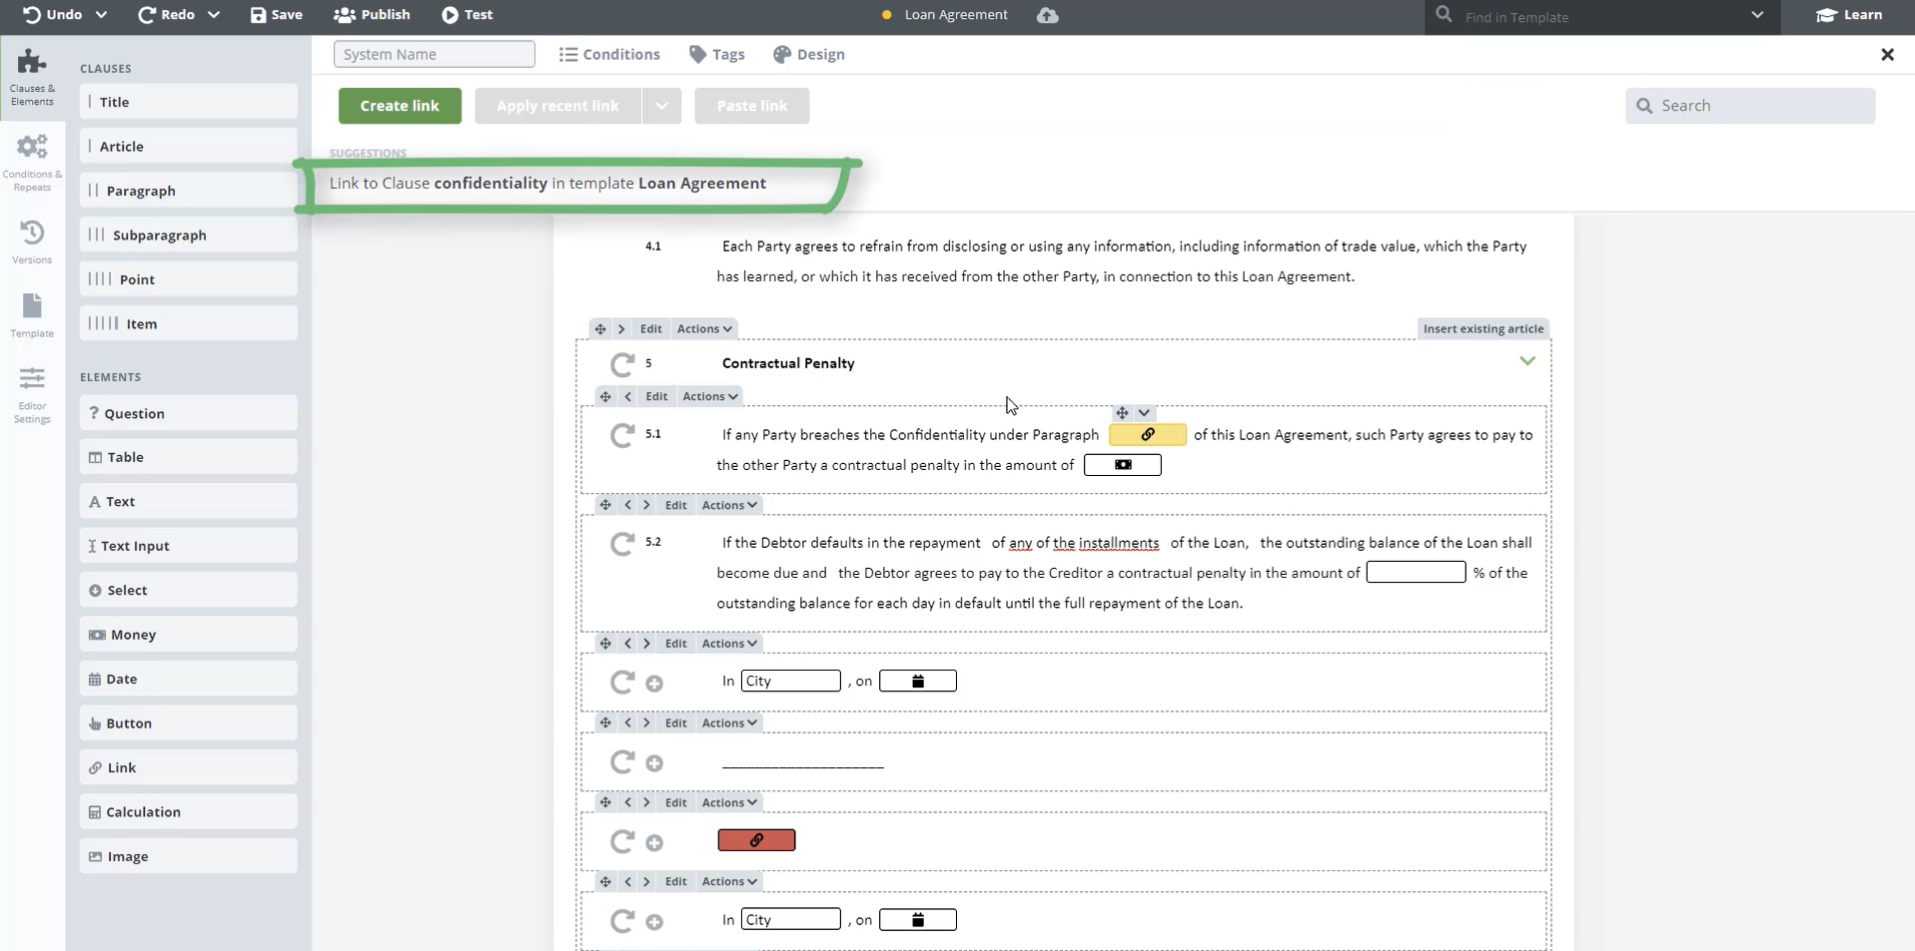
| Pro Tip: Links which are not set up correctly or that refer to unnumbered clauses will appear in red font. |
Step 5: Save and Test your Legito Template
Save your Legito Template and test the newly applied Link Element Using Test Mode. Does the link in clause 5.1 refer to the Article 4 (Confidentiality)?
If so, congratulations! You have just successfully set up your first link!