Document Formatting (beta)
Learn how to use Styles and Advanced Layout Design to create automated templates that define your brand with a professional and reliable look
 20 min | 6 Tasks
Task 2: Export to Word or PDF Using Advanced Layout Design
Now, we will use the Advance Design Layout feature to complement our Styles selections.
Before we get started, please download the following sample Word document with custom styles document:
![]() Training Document No. 4: Sample Advanced Layout Design Document
Training Document No. 4: Sample Advanced Layout Design Document
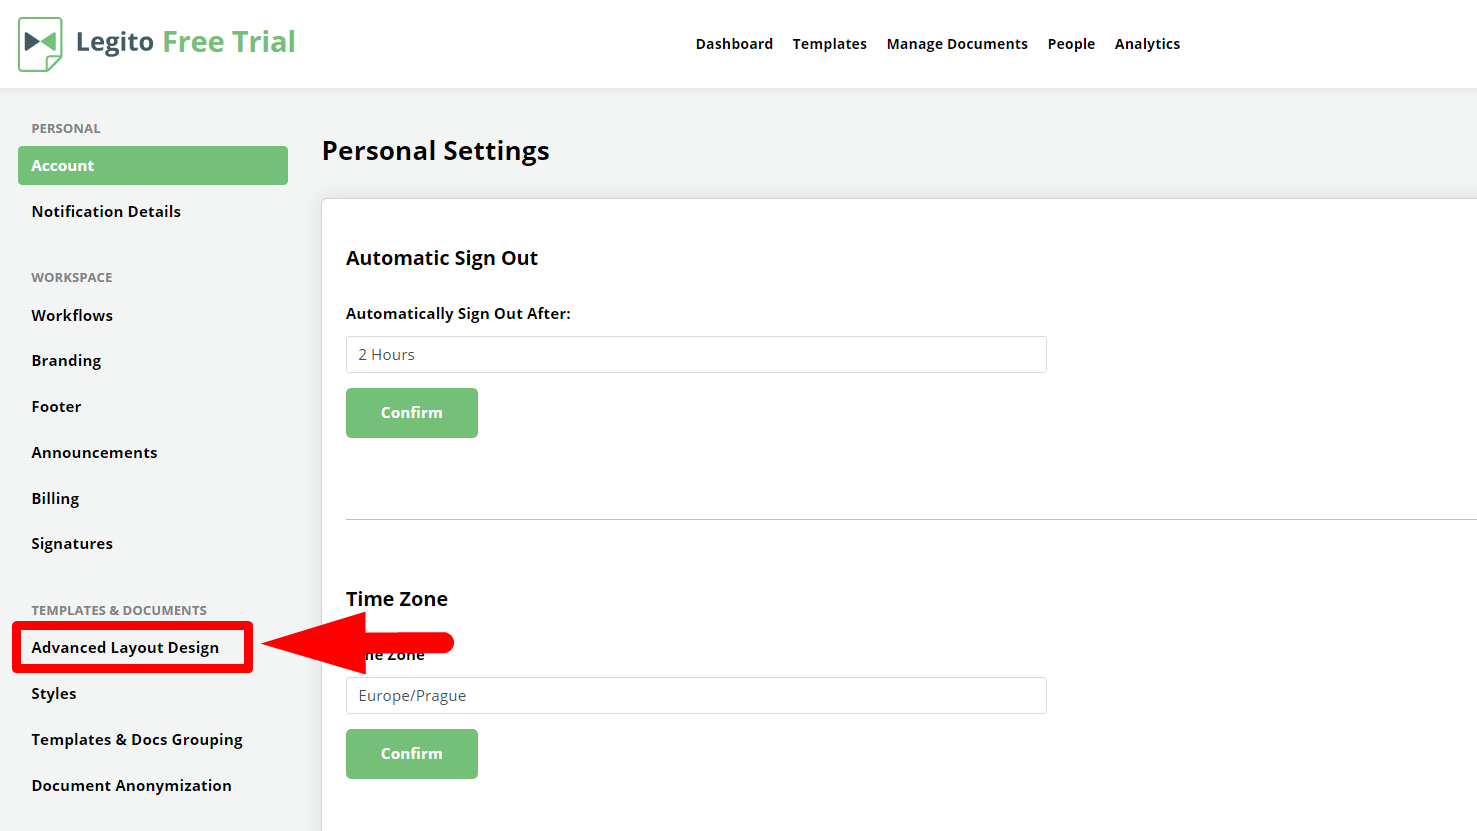
The Advance Layout Design settings are found above the Styles category under Settings. To get there, similar to the steps followed in the previous task, find the “My Account” dropdown on the left side of the top menu on any main page.
- Choose “Settings”.
- Choose “Advance Layout Design” from the left column of the following page under the Templates and Documents category.
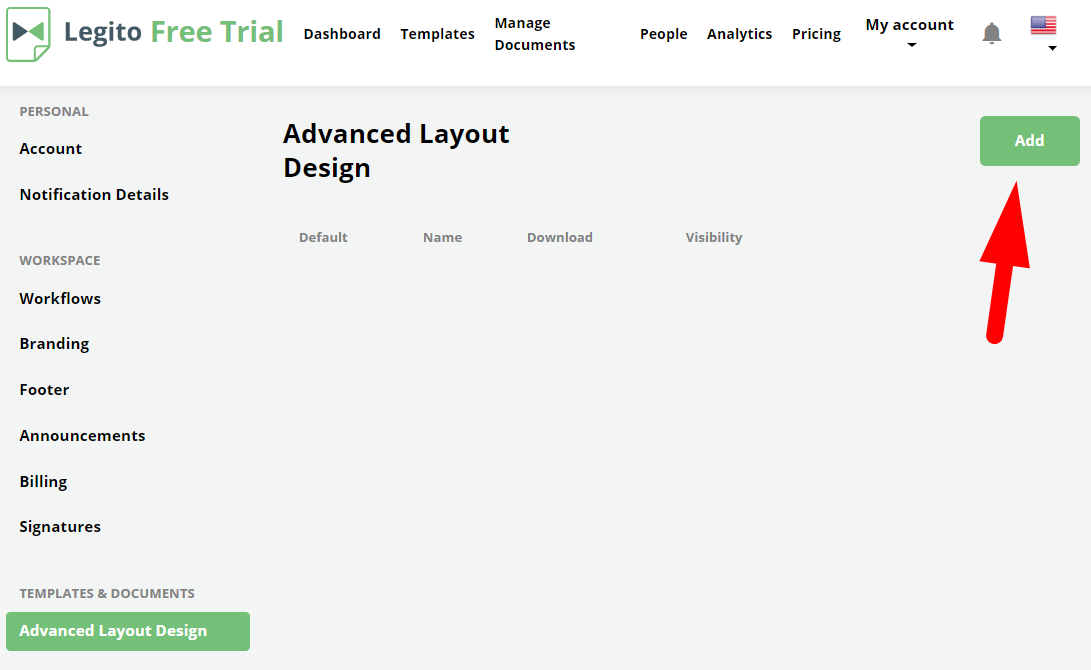
Click the “Add button” in the upper right corner.
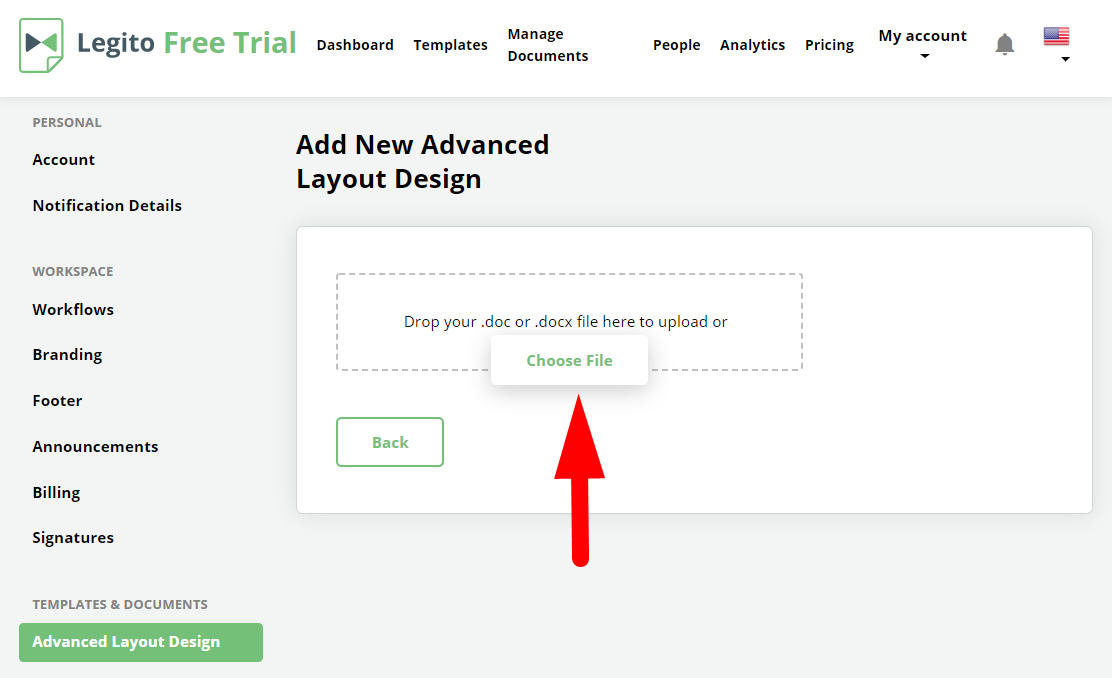
You will see window prompting you to upload a document. Go ahead and upload the Advanced Loan Agreement Layout Sample document that you just modified.
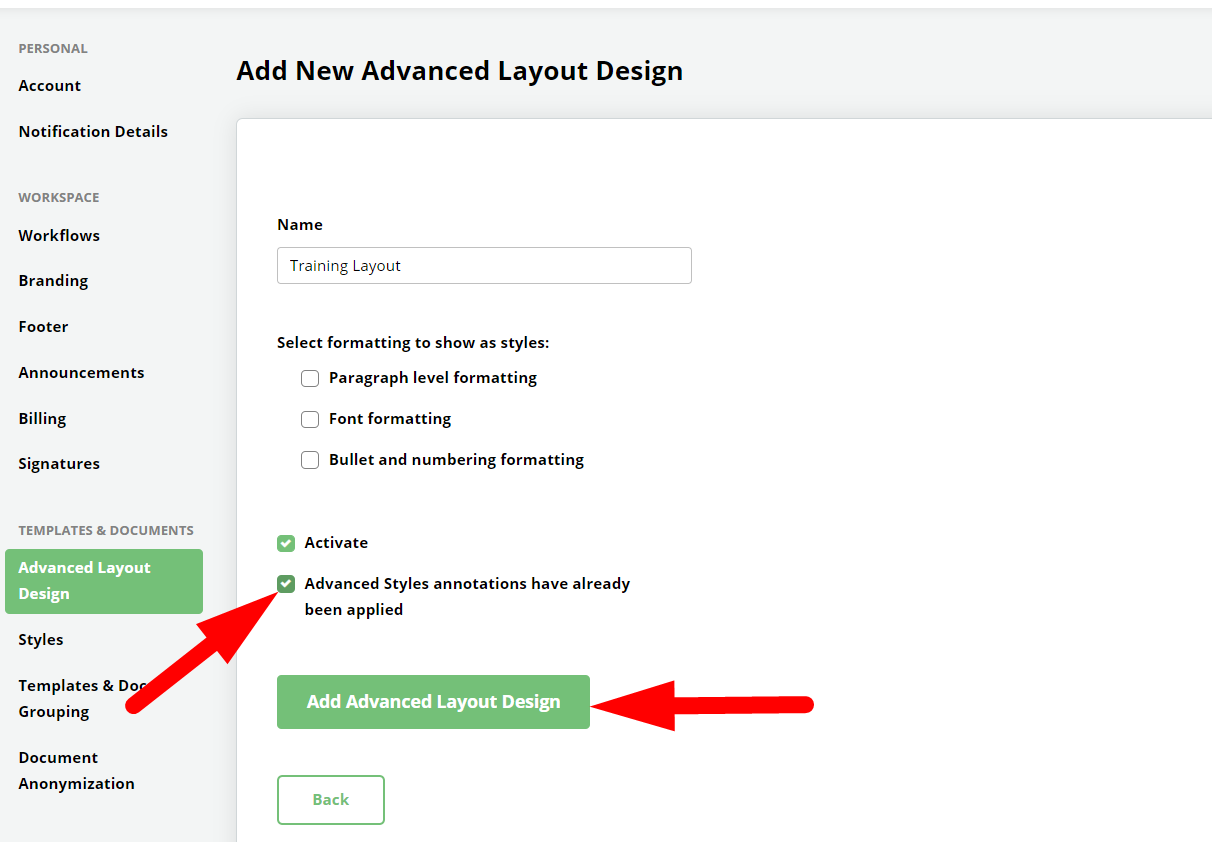
Name this Advance Layout Design “Training Layout”. The Word document has already been annotated to make things easier for you, so now all that is left to do is tick checkbox next to “Advanced Styles annotations have already been applied”, and confirm the upload.
The configurations are now ready to be applied to the Loan agreement upon export. For more information about how to create and modify Advance Design Layout Templates, see the related KnowledgeBase article.
Now return to your Dashboard and go to the Loan Agreement Template Suite.
Click the Create button to open the Loan Agreement automated template in Document Editor. Scroll down and click Download.
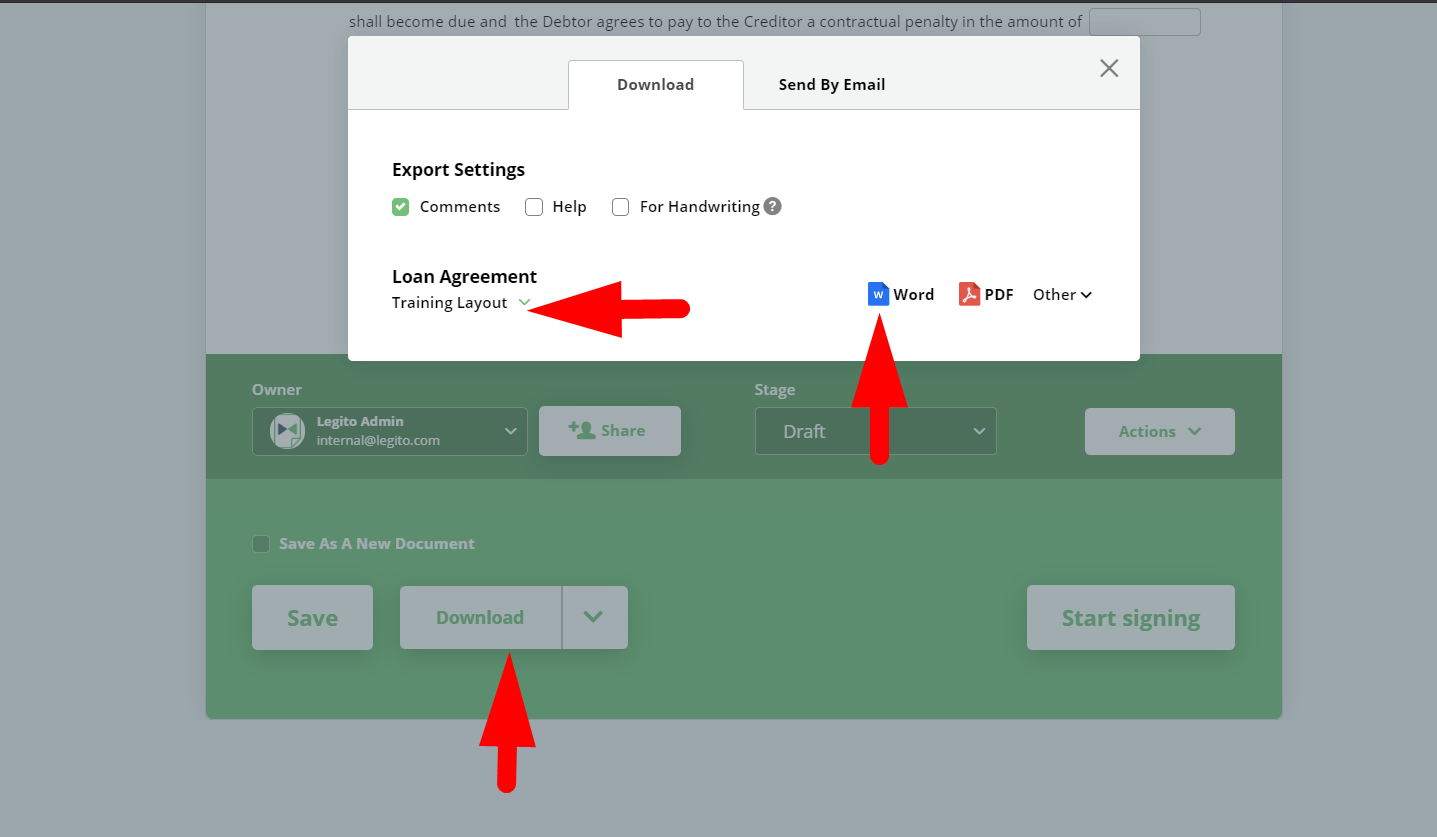
You will now see that among your export / download settings, is the option to select an Advance Design Layout. Select the Advanced Loan Agreement Layout Sample and click the Word icon.
After the download completes, open the downloaded Word file, and you will see the document with your firm’s logo and contact information in the header, and formatting styles other than Legito’s default styles setting.