Search Knowledge Base by Keyword
Batch Generation
On occasion, it may be necessary to simultaneously generate multiple versions of the same document, each document however, populated with different information.
For instance, an HR department may need to send privacy notices to all the employees of a department, or a company may need to send a Confirmation of Receipt Notice to multiple clients. The most efficient way to do this would be to use the Batch Generation from Sheets Function.  In the examples above, first, the user can download all employee / client data to a spreadsheet.
Clicking the Batch Generation Tab in Document Editor, a field for uploading a file will become visible. Using drag and drop, or clicking the “Choose File” button, upload the spreadsheet containing the data. 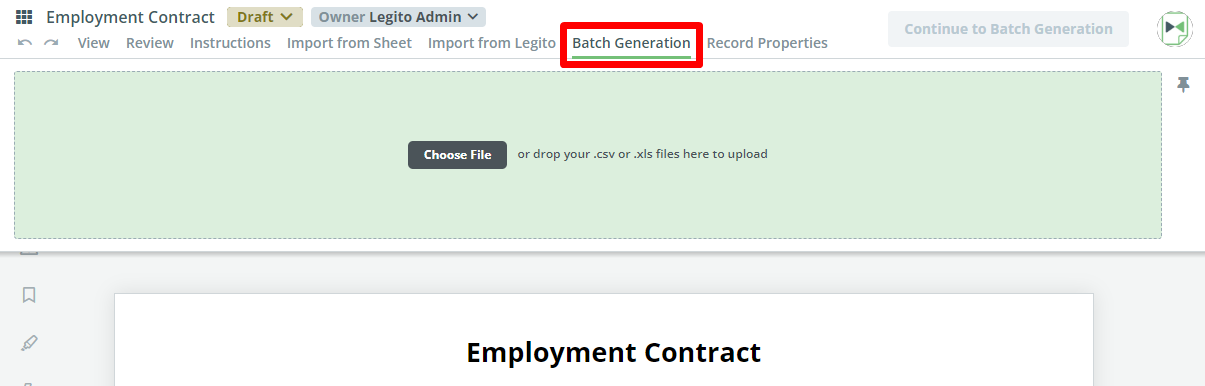 It is now possible to complete the required fields in the document by clicking the “Match Data Fields” button. You will see the following sentence:
“Please select the column to represent individual file names”
Under this, you will find a dropdown list of the column titles (top rows) available for selection. This will determine the filename for each file generated from the spreadsheet.
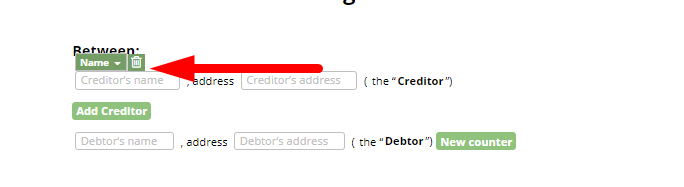
Now, when clicking on those Element fields that require data input, you will find that a small pop up will appear with a single dropdown list. The names on the dropdown represent the column titles (top rows) in the Spreadsheet. 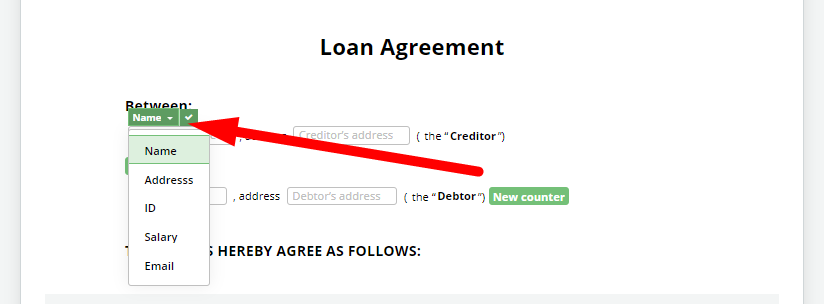 To the right of the dropdown there is an icon which toggles between a “check” and a “trash can”. Clicking the check box “locks” in your selection, the trash can resets it.
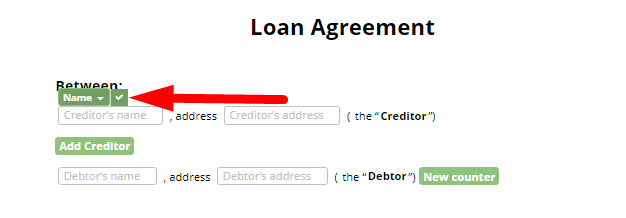
⇓
 Select the appropriate column title for each of the appropriate fields to proceed. This step is instructing Document Editor to create a new document for each row of data under that column.
For instance, if column A is mapped to a Text Input Element, then three documents will be generated, each with a different name. This can be repeated with the other columns to other Elements within the document.
Once complete, click the “Finish Matching” Button, and data from the spreadsheet will automatically populate your documents.
Once you have mapped the relevant cells from the spreadsheet to their respective Elements in Document Editor, to further enhance efficiency, Legito strongly recommends adding your import selections to your Favorite Batch Generation Settings, thus saving time for future Batch Generations.
On the next occasion, it becomes necessary to perform a Batch Generation from a sheet, after the sheet is uploaded to Document Editor, you will be able to select the appropriate Favorite Batch Generation setting from the dropdown list entitled “Choose”. This will both save time and ensure accuracy.
Below, you will notice a “Share” button. If there are Legito users or guests listed in the spreadsheet, with their user or employee information (i.e., Email, Name, Position, User ID, or Custom ID), then generated documents can be emailed directly to those users automatically, based on the details in the sheet. Further, it is possible to adjust the permissions as required (i.e., View (Document) Records only), View Documents, Edit Documents, Manage Documents).
You will also notice an Advanced Settings Button. Clicking on this presents a pop-up screen, offering options for Encoding (Unicode (UTF-8) – default; ISO-8859-1; and windows-1250); and the type of Separator for data on the spreadsheet (Comma- default; Tab; Semicolon; Space; Other)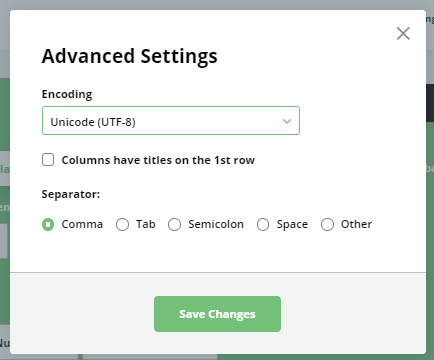 Scrolling to the bottom of the screen, clicking the “Continue to Batch Settings” button will show a pop-up window that will offer two important settings options: Document Style and Create Document Records without Batch Export.
Checking this box will allow for the creation of Document Records for each of the documents generated from the spreadsheet, without exporting to Word or PDF files.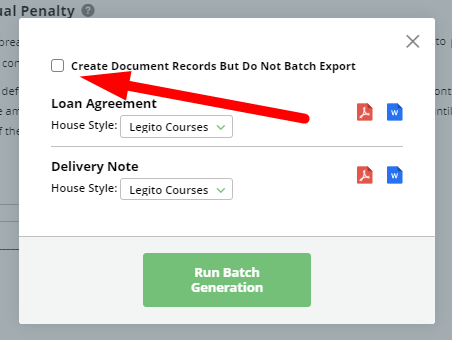 It is possible to upload a different spreadsheet at any time by clicking the “Reset” button.
Once the selections have been made, click the Run Batch Generation button to proceed. The User will be forwarded to the Batch Generation section of the Manage Documents area where the progress of each Batch Generation can be tracked, and all batch generated Documents can be downloaded in one .zip file.