Search Knowledge Base by Keyword
Condition To Text Input
Last review: March 2024
The Text Input Condition is a complex condition on account that it must anticipate a wide range of possible data entries. Applying multiple conditions can ensure that only the correct type of data is entered by end users in Document Editor.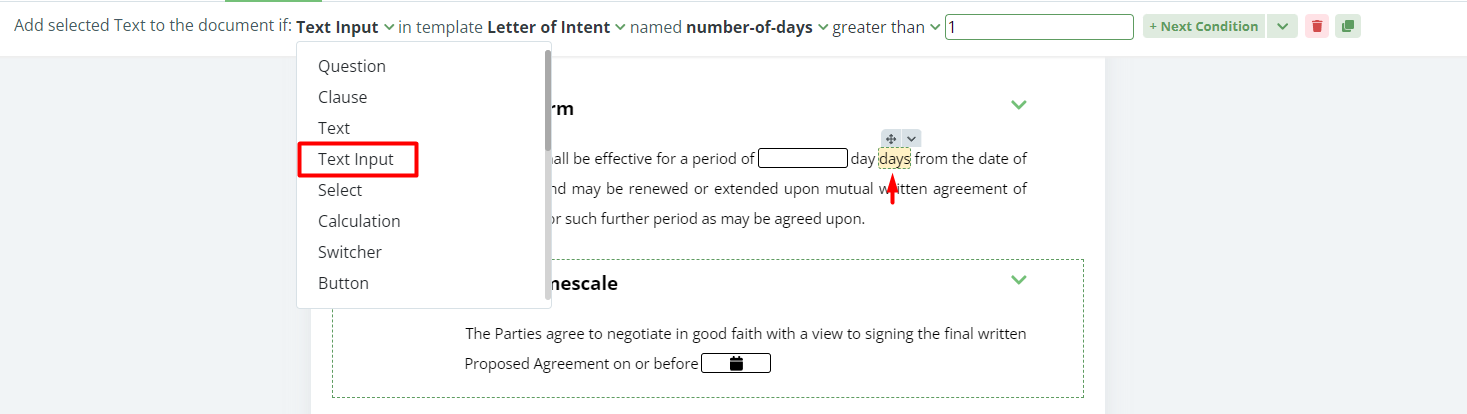
The Text Input Condition settings are as follows:
Numeric
- equals to
- not equal to
- greater than
- greater than or equal
- less than
- less than or equal
Text
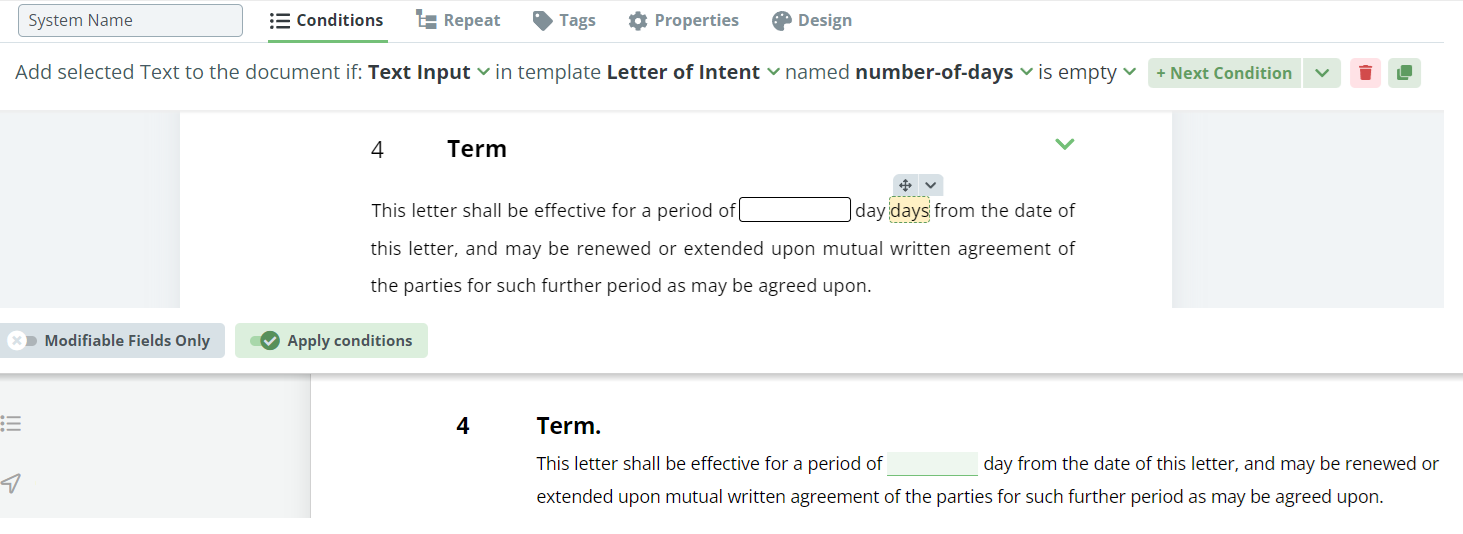
- is empty
- is not empty
- contains
- does not contain
- starts with
- does not start with
- ends with
- does not end with
Generic
- is present
- is not present
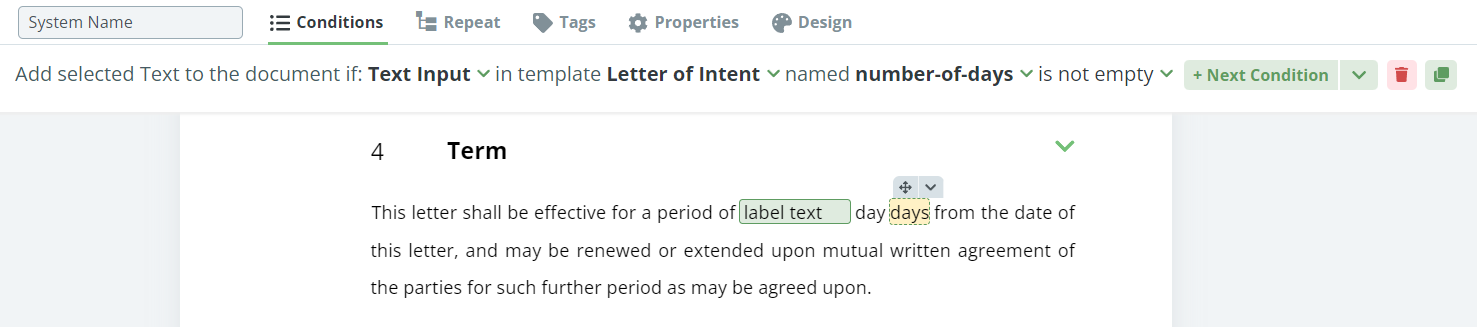
The above settings are found in the second to last dropdown selection in the Conditions Phrase, and once selected, the template designer will be prompted to choose a Text Input Value.
Below is an example of how to build a Condition for a Text Input Element that will add content:
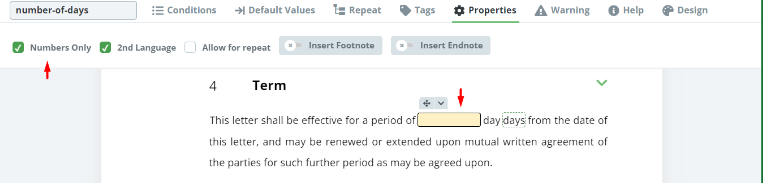
- Assign a System Name to the to the Text Input Element
- Click on the Element or Clause to be related to the Text Input Element
- Click the Conditions Tab in the top menu
- Click the “Add Conditions” Button
- Choose “Text Input” from the first dropdown (Type)
- Choose the name of the Template from the second dropdown
- Choose the “Text Input” System Name from the third dropdown
- Select an appropriate setting from the fourth dropdown to determine when the selected content will be added (or not added depending on your fourth dropdown selection)
- If a numeric value has been chosen in the previous step, choose the value option that will determine when the selected content will be added (or not added depending on your fourth dropdown selection)