Search Knowledge Base by Keyword
Image
Elements that provide a space for entering images.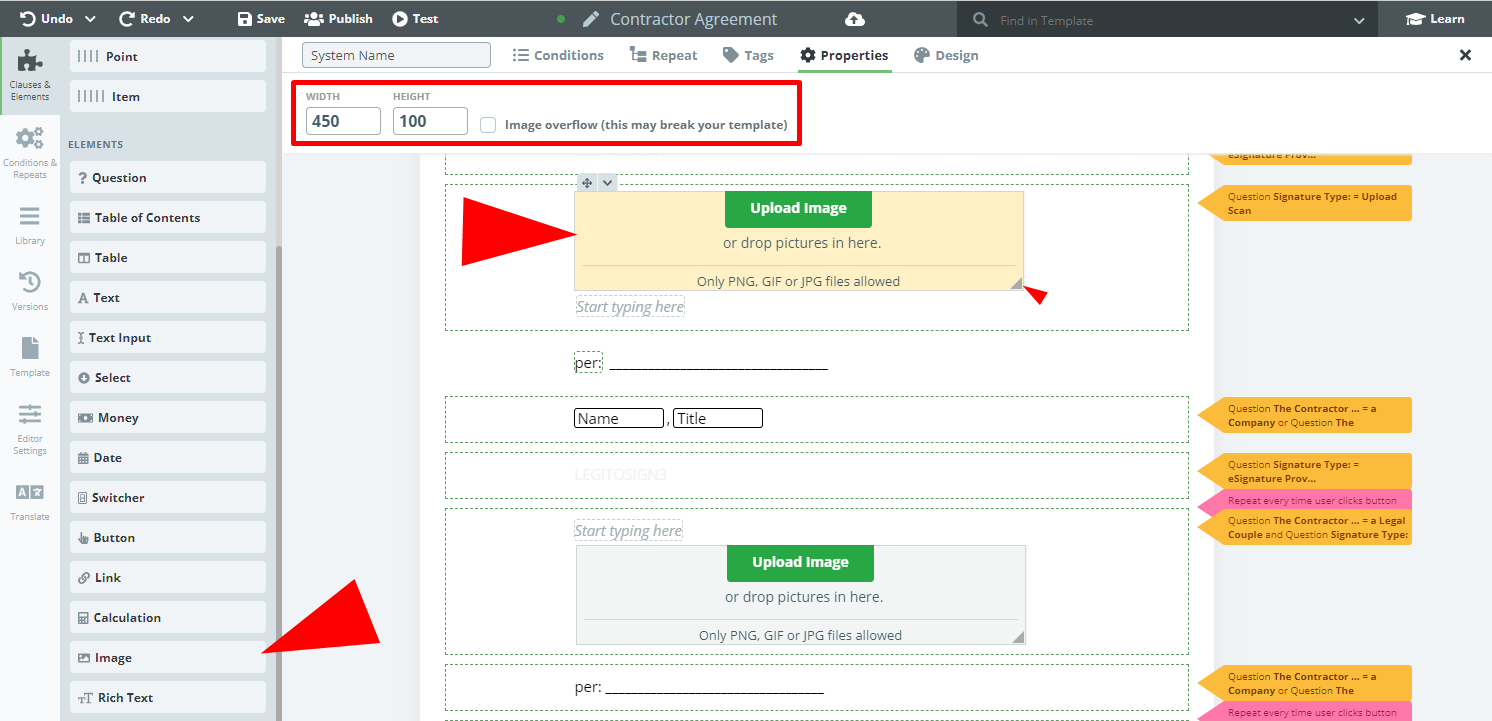 This is accomplished in two ways:
- Uploading an image directly to the Image Element in the template (the image will be fixed, and unable to be modified in Document Editor by the end user)
- Leaving the Image Element blank in the template, allowing end users to upload an image through Document Editor for a specific document.
Once an image is uploaded to the Document Editor, the size of the image is automatically adjusted to fit the area by its longest side, and the resolution of the uploaded image is kept, guaranteeing reasonable quality when exported to Word or PDF.
The space available for Images can be increased or decreased by adjusting the corners, and the size of an Image itself can be adjusted in the same way after it is uploaded to Template Editor.
Once an Image Element is clicked upon, details of the Element can be modified in the top menu with the following new tabs: Conditions; Repeat; Tags; Properties; and Design.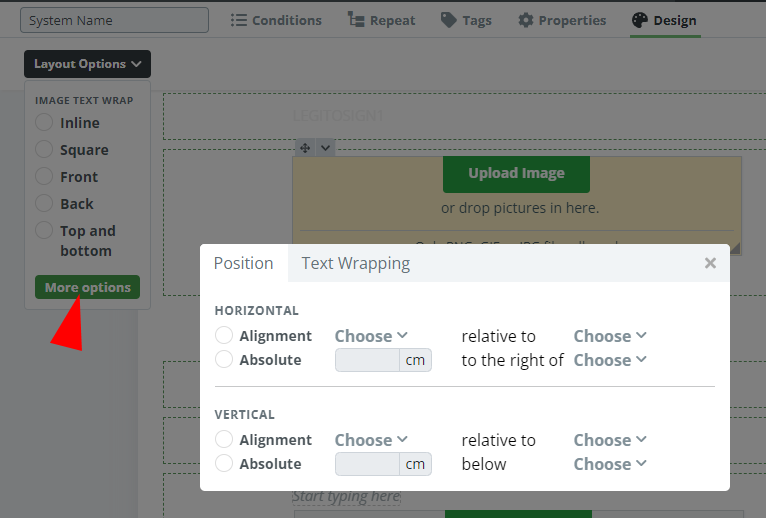 Image Elements can be used in conjunction with Table Elements, for example, to apply company logos or seals for signature blocks.