Search Knowledge Base by Keyword
Workspace Footer
Footers can be used to make important information available across your Workspace, including a company name, external links, or disclaimers or terms and conditions.
To prepare Footers for your Workspace, first
- Go to the left side of the top menu on any main landing page and find the “My Account” dropdown,
- Choose “Settings”.
- Choose “Footer” from the left column, under the Workspace category.
 On the Footer canvas, a dotted box will appear, reading “+ column”. Click this to add a column to the page. There are four columns available for Footers. Each Footer piece can be adjusted from a length of “1” to “4”. Four “1” width pieces may be added per row, and different sized pieces may be added provided they do not exceed the width of “4” (e.g., it is possible to add two Footer pieces each with a width of “2”, or one Footer piece with a width of “1”, and a second with a width of “3” or less).
  Clicking the “Add Column” button will cause a box to appear which will request the width and underneath, a button that reads, Add Content.
Clicking the “Add Content” button will cause a pop-up window to appear, offering three content types:
- Text – Provides a field for entering free text.
- Title – Provide an underlined header for each column.
- Link – Provides a field for entering a URL that can be customized to appear as a text link.
 Each of these boxes constitutes a piece that can be placed in a Footer row, and there is an unlimited number of rows available to add to the Footer. Once the Footer details are added and saved, you will be returned to the Footer start page. There you will be able to add additional rows and columns.
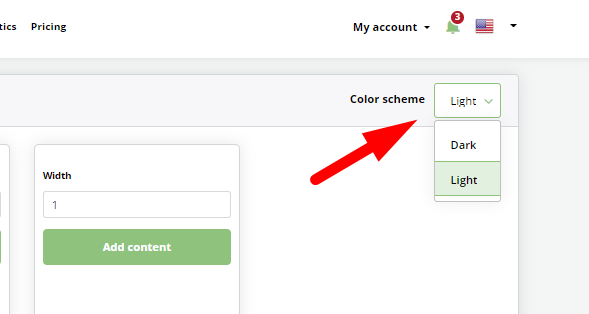
On the top right corner of the Footer canvas, it is possible to toggle the Footer color scheme (background) between light and dark.